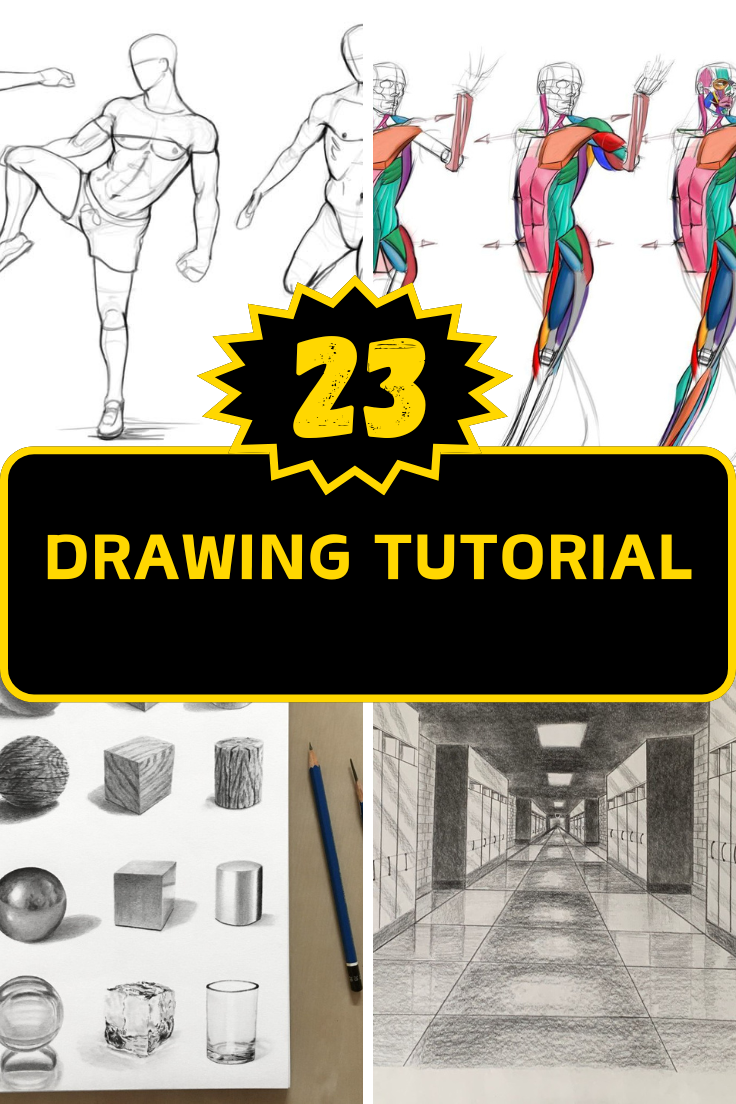
Drawing is a beautiful, intricate art form that requires creativity, patience, and practice. Whether you are just starting out or you’re a seasoned artist, there are always ways to improve your skills and enhance your drawing experience. With the right techniques and tools, you can speed up your process, achieve more accuracy, and develop unique drawing styles that set your work apart. In this post, we will explore 23 drawing tutorial hacks that will make a difference in your artistic journey. These hacks are perfect for everyone—whether you’re drawing for fun or working on a professional project. From fundamental tips to essential tools that can help you create stunning art, this list will provide you with creative inspiration and practical advice. Additionally, we’ll recommend a few must-have products available on Amazon, ideal for artists of all levels. Let’s dive in and discover the drawing hacks that will elevate your art and make you wish you knew them sooner!
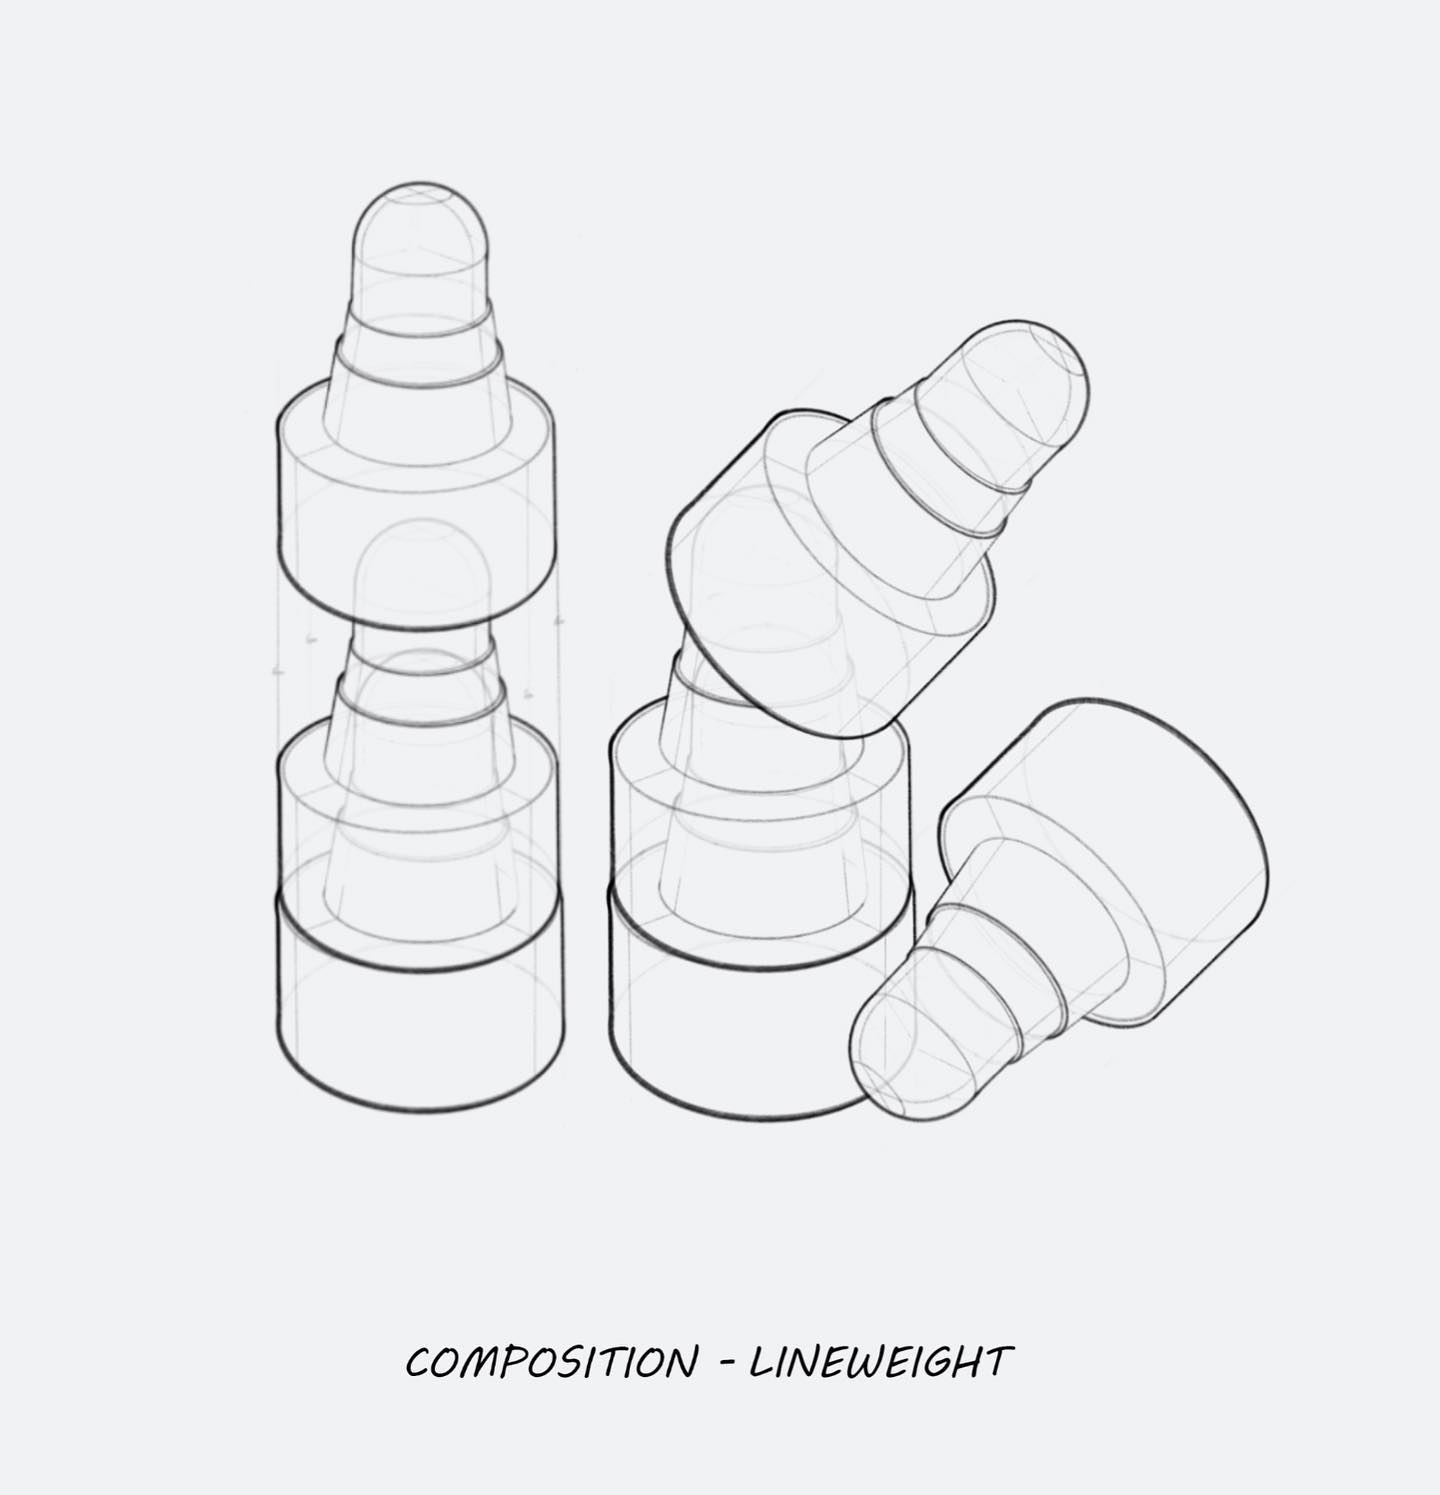
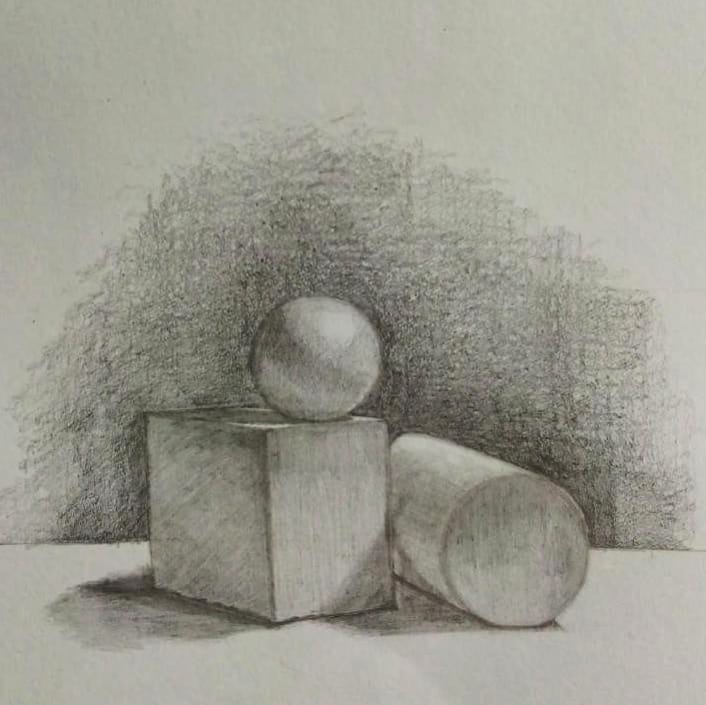
1. Start With Basic Shapes to Build Complex Figures
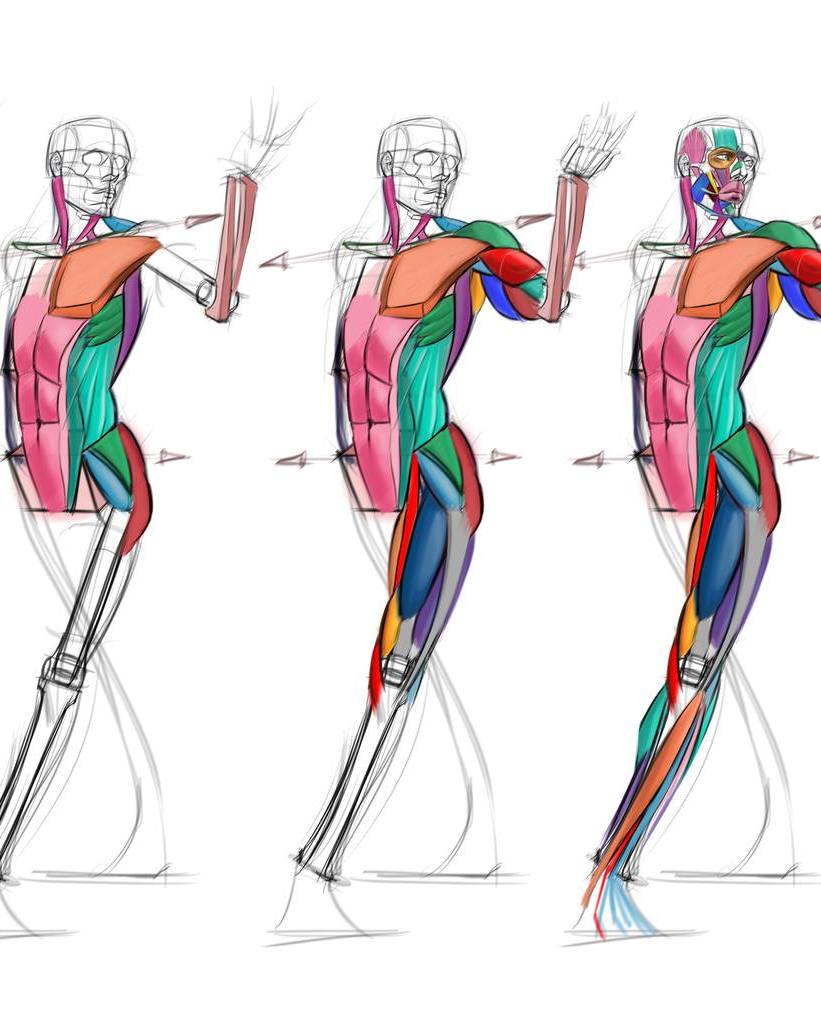
source @we_are_brainstorm_school
Starting your drawing by sketching basic shapes is a game-changer for both beginners and more experienced artists. It’s a simple but highly effective technique that gives structure to your artwork. Complex drawings, whether it’s a human figure or an animal, can be overwhelming if you try to draw them all at once. However, breaking the subject into basic geometric shapes like circles, squares, and triangles makes it much easier to work out the proportions and details later on. This method allows you to adjust the positioning of the shapes until everything fits into place, saving you time and frustration. By mastering this simple technique, you can lay the groundwork for more complex compositions, ensuring that your final piece has accurate proportions and perspective.
2. Use a Lightbox for Tracing and Perfecting
source @lightbox.life
A lightbox is one of the best tools you can add to your drawing kit. This simple yet effective device allows light to shine through your paper, so you can trace over your existing sketches or reference images with precision. It’s an invaluable tool for artists who want to perfect their line work, create multiple iterations of the same design, or improve accuracy without having to start a drawing from scratch. Whether you’re refining your sketches, creating clean line art, or tracing intricate details, the lightbox can make your process faster and more efficient. The gentle light makes the underlying sketch or reference photo visible, ensuring that you can trace over it with ease. For artists working on commissions, comic strips, or detailed projects, a lightbox can save time and provide consistency across your work.
3. Invest in Quality Pencils for Different Textures
source @ran_art_blog
When it comes to drawing, not all pencils are created equal. Investing in a set of high-quality pencils can drastically improve the look and feel of your artwork. A professional pencil set offers a variety of hardness levels, from soft (B) pencils for shading to hard (H) pencils for fine, sharp lines. Soft pencils are perfect for creating rich, dark shadows and deep textures, while hard pencils are ideal for fine details and delicate lines. Having a variety of pencils on hand allows you to experiment with different textures and tonal ranges, helping you create dynamic and engaging drawings. Additionally, premium pencils often have smoother graphite, allowing for cleaner lines and a more enjoyable drawing experience.
4. Learn the Art of Negative Space Drawing
source @swirl_art_art_tutor
Negative space drawing is a technique that involves focusing on the areas surrounding your subject, rather than the subject itself. This is an excellent way to improve your composition and understand the relationships between objects within your drawing. Negative space is the “empty” space between and around objects, and by drawing the negative space, you train your mind to see the subject in a new way. This can make a huge difference in achieving balance and harmony in your artwork. As you develop this skill, you will notice an improvement in the overall flow of your compositions, and you’ll be able to create more dynamic, balanced drawings.
5. Practice With Contour Drawing to Improve Line Quality
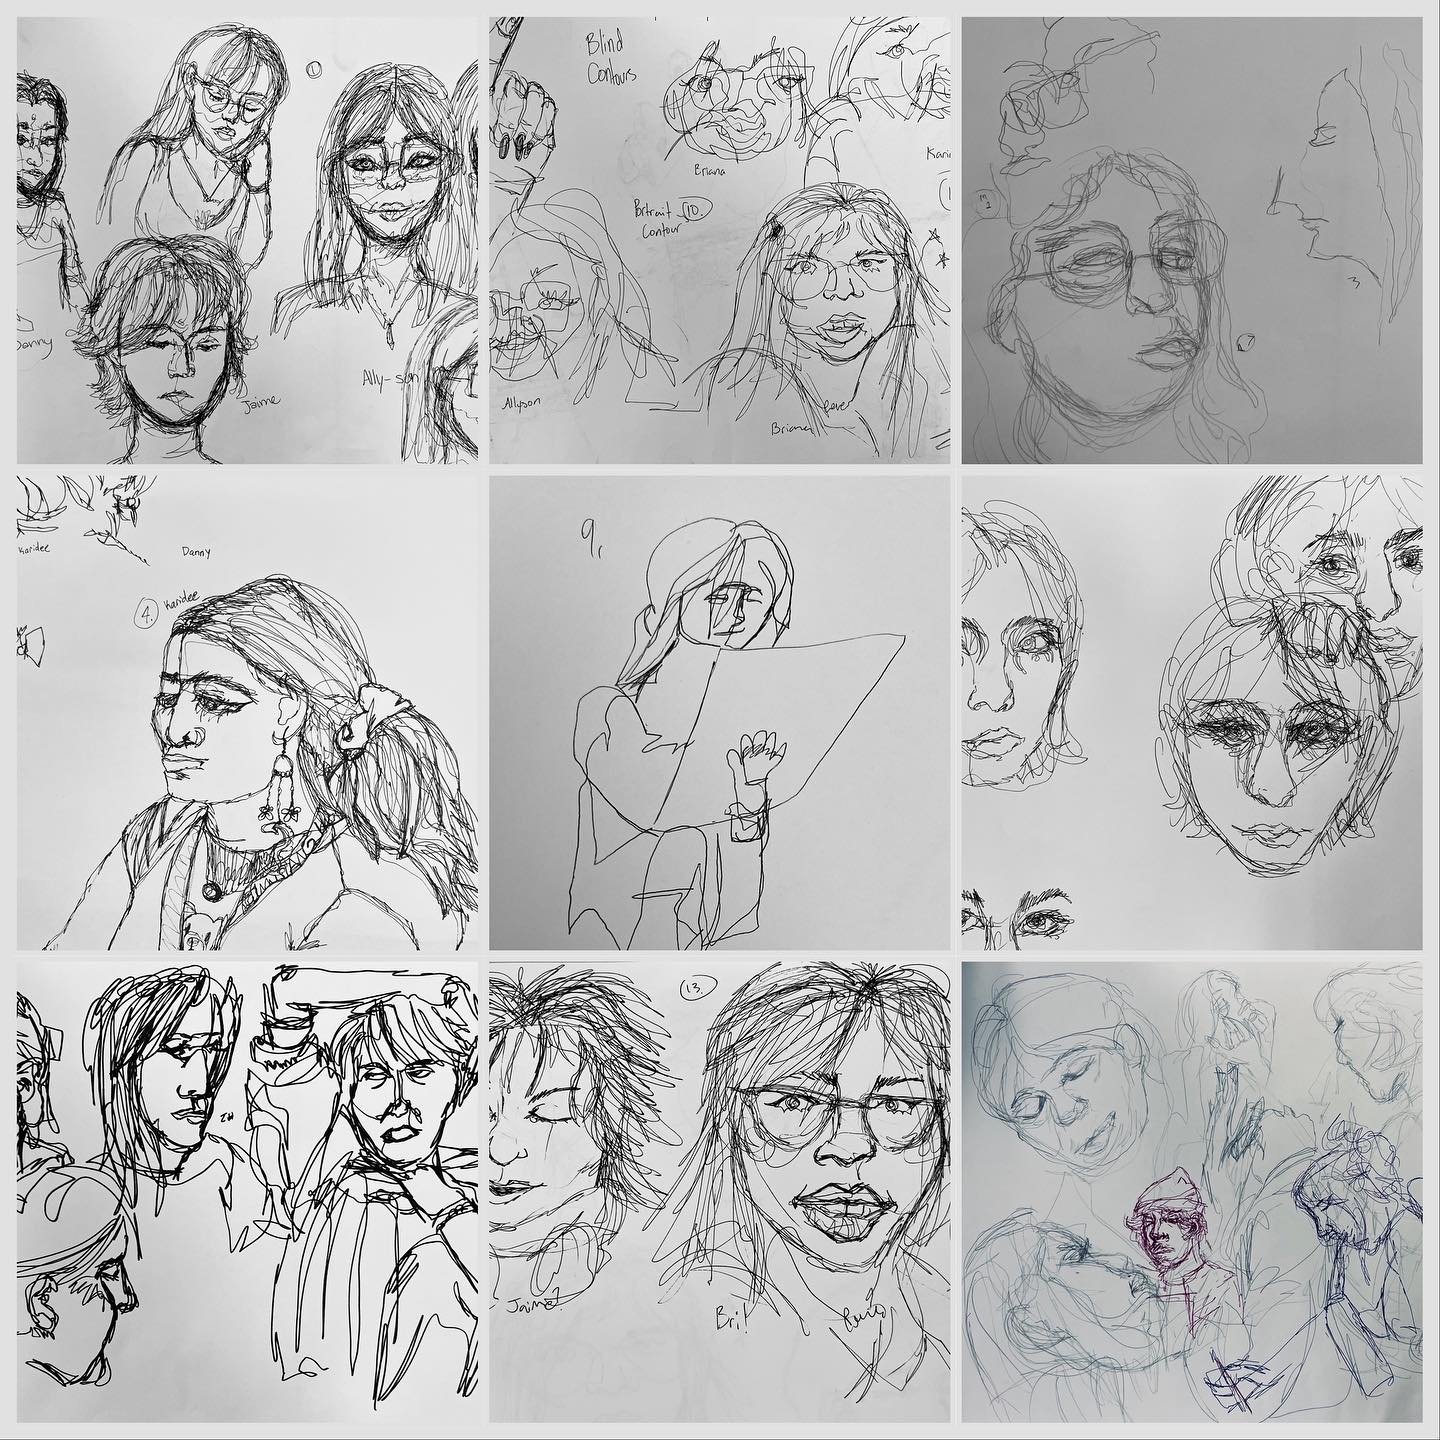
source @thatartteacher_machado
Contour drawing is an exercise that helps you refine your hand-eye coordination and improve the quality of your lines. In contour drawing, you focus on the outline of a subject, drawing without lifting your pencil from the paper. This technique forces you to slow down and really observe the subject you’re drawing, allowing you to capture its true essence. You can experiment with blind contour drawing, where you don’t look at your paper while drawing, or just try regular contour drawing to develop smooth, confident lines. This method is excellent for refining your skills and learning to capture details with precision.
6. Use Grid Systems for Accurate Proportions
source @mysketchfolios
Using a grid system is one of the most effective ways to achieve accurate proportions when transferring images from a reference photo to your paper. By overlaying a grid on your reference image and drawing a corresponding grid on your own paper, you can break down the image into smaller sections that are easier to replicate. This technique allows you to focus on one section at a time, ensuring that everything aligns perfectly and that you maintain the correct proportions. Whether you’re drawing a portrait or a complex landscape, the grid method can help you produce precise and detailed artwork. It’s especially useful for beginners who struggle with scaling or drawing proportions.
7. Invest in an Adjustable Drawing Board
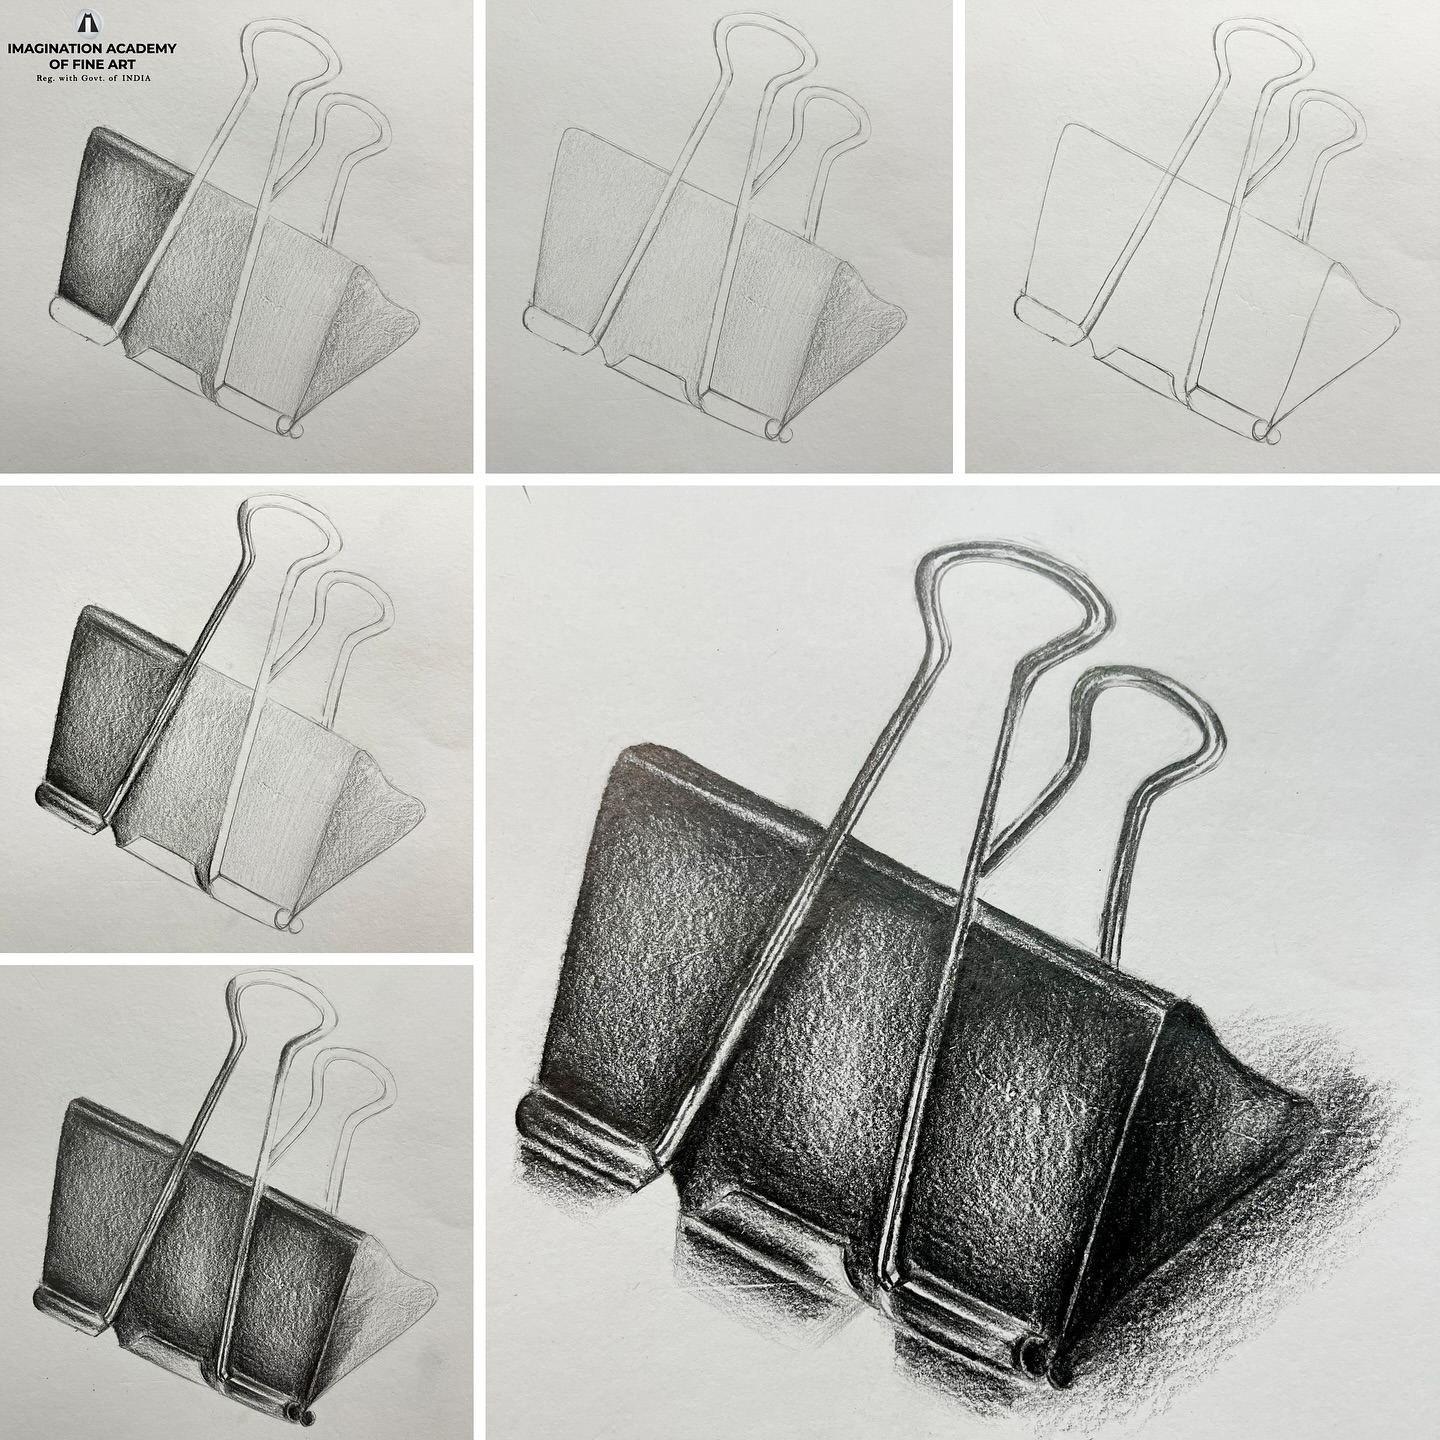
source @imaginationacademyoffineart
An adjustable drawing board is an essential tool for any artist who spends extended hours drawing or sketching. By allowing you to adjust the angle and height of your workspace, these boards make it more comfortable to work for longer periods, reducing strain on your back, neck, and wrists. Whether you’re drawing with pencils, charcoal, or ink, an adjustable drawing board helps you find the perfect angle to work from, which can improve your overall posture and efficiency. It’s particularly helpful for artists who work on large-scale projects or who use a variety of drawing tools.
8. Try the “Blind Contour” Drawing Technique
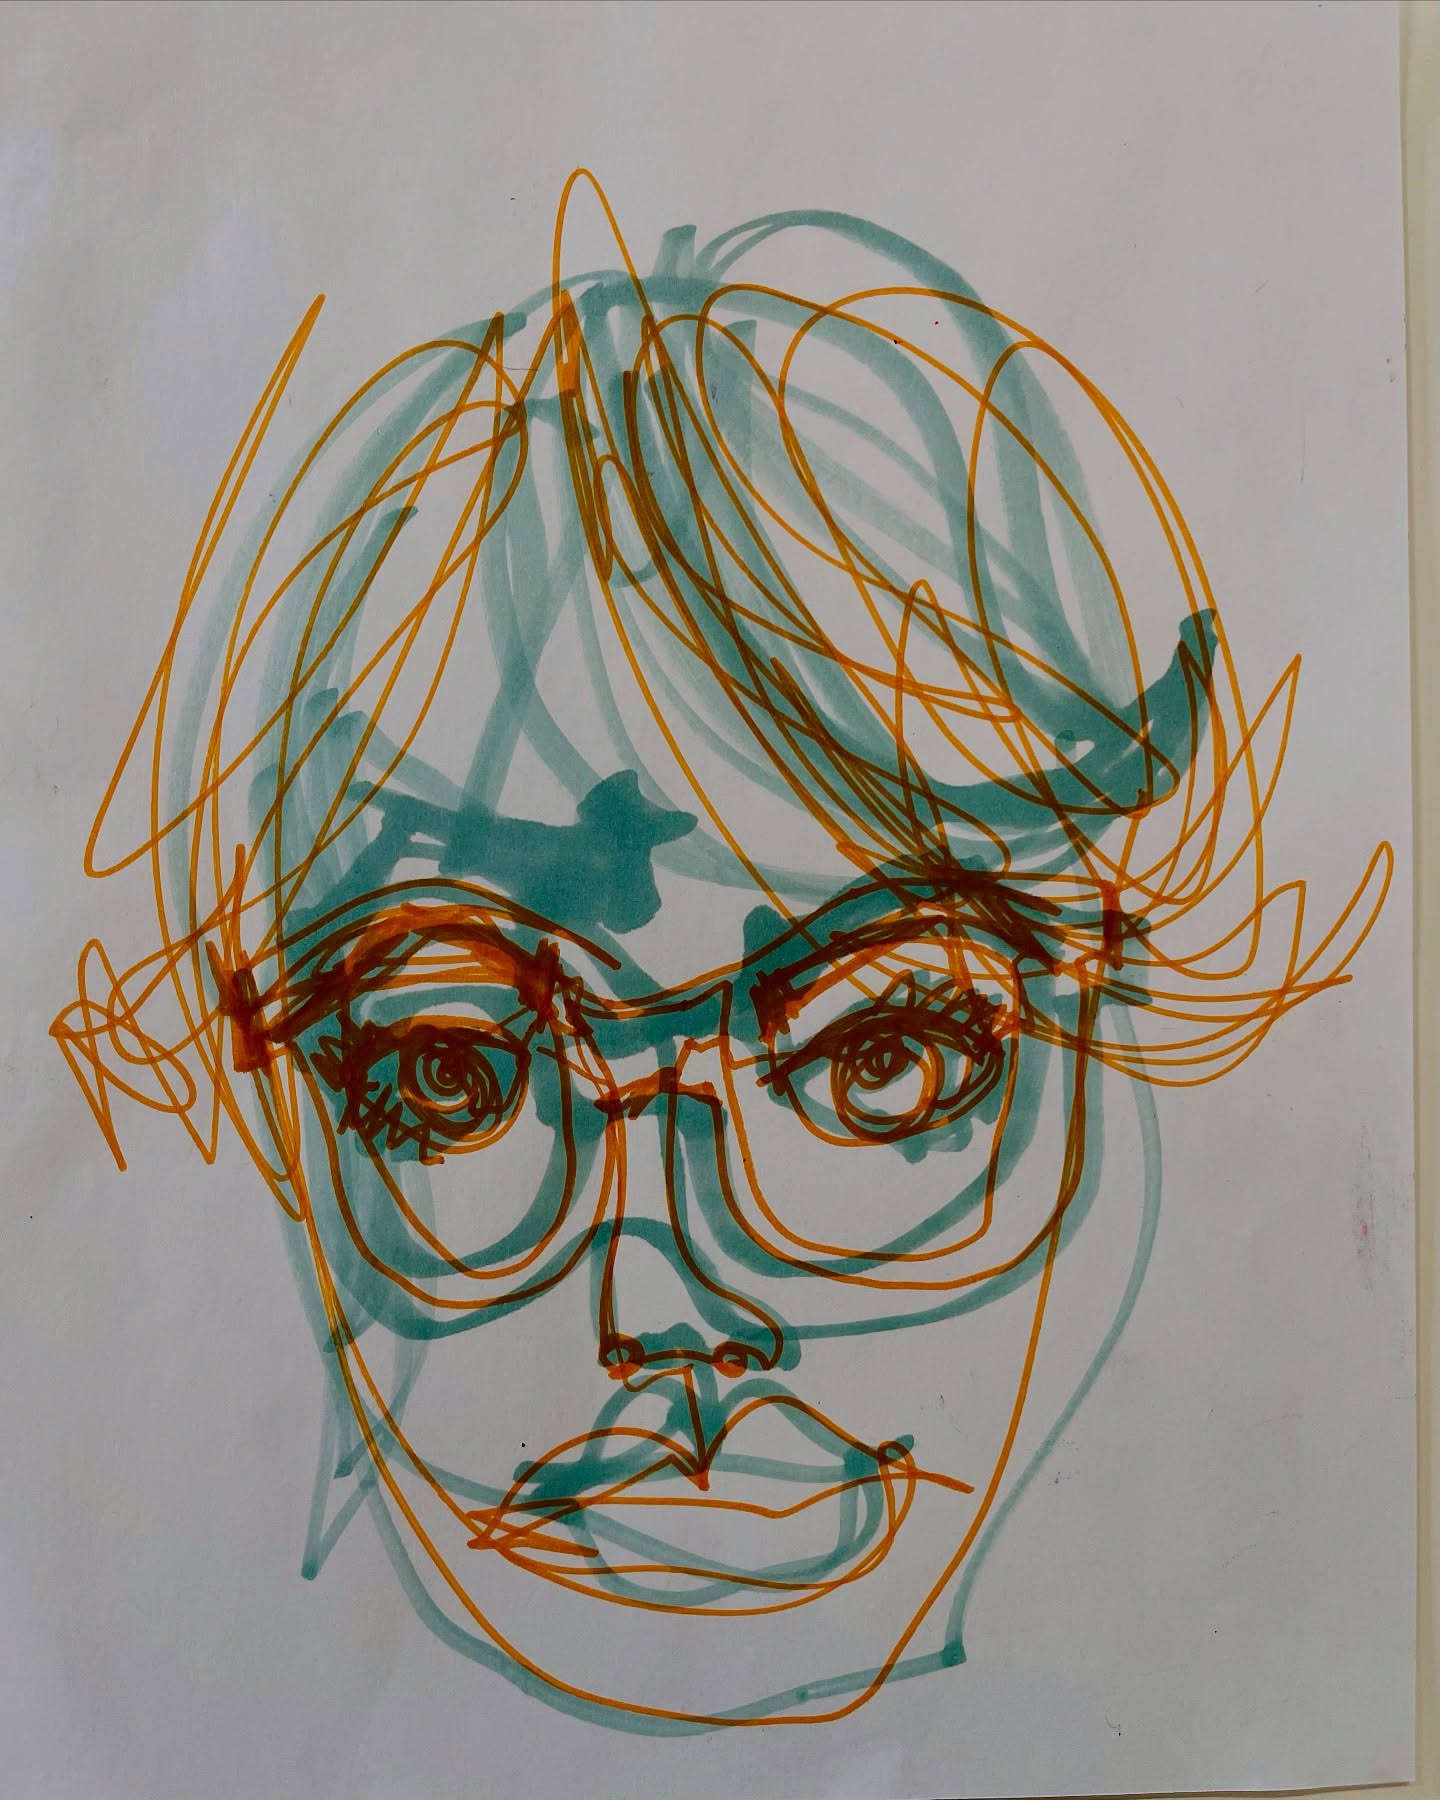
source @sarahmaysstudio
Blind contour drawing is a fun and challenging exercise that improves your observational skills and hand-eye coordination. In blind contour drawing, you draw the contour of an object without looking at your paper. This forces you to pay close attention to the details of your subject and to trust your instincts. Although the results may look messy or abstract, the technique is incredibly effective in honing your ability to capture shapes and lines with accuracy. Plus, it’s a great exercise for loosening up and breaking away from rigid thinking in your drawings.
9. Create Textures With Cross-Hatching and Stippling
source @healingtreant
Shading is what brings life to your drawings and gives them depth and realism. Cross-hatching and stippling are two techniques that add texture and shading in a precise way. Cross-hatching involves drawing intersecting sets of parallel lines to create varying levels of darkness, while stippling uses small dots to achieve a similar effect. Both techniques are excellent for creating fine details and depth in your artwork, whether you’re drawing portraits, landscapes, or still life. Mastering these shading techniques can elevate your art and make your drawings look more polished and professional.
10. Use the “Underpainting” Technique for Color Depth
source @tjc.paints
Underpainting is a technique where you begin your drawing with a monochromatic layer, usually in a neutral color, to establish the basic structure, shadows, and highlights of your composition. This technique is commonly used in painting but can also be applied to pencil or charcoal drawings. By using a single color to map out your light and dark areas, you can create a strong foundation for the rest of your drawing. Once the underpainting is complete, you can layer other colors or textures on top, adding richness and depth to the final piece. This technique is especially useful for creating dramatic lighting effects and enhancing the realism of your work.
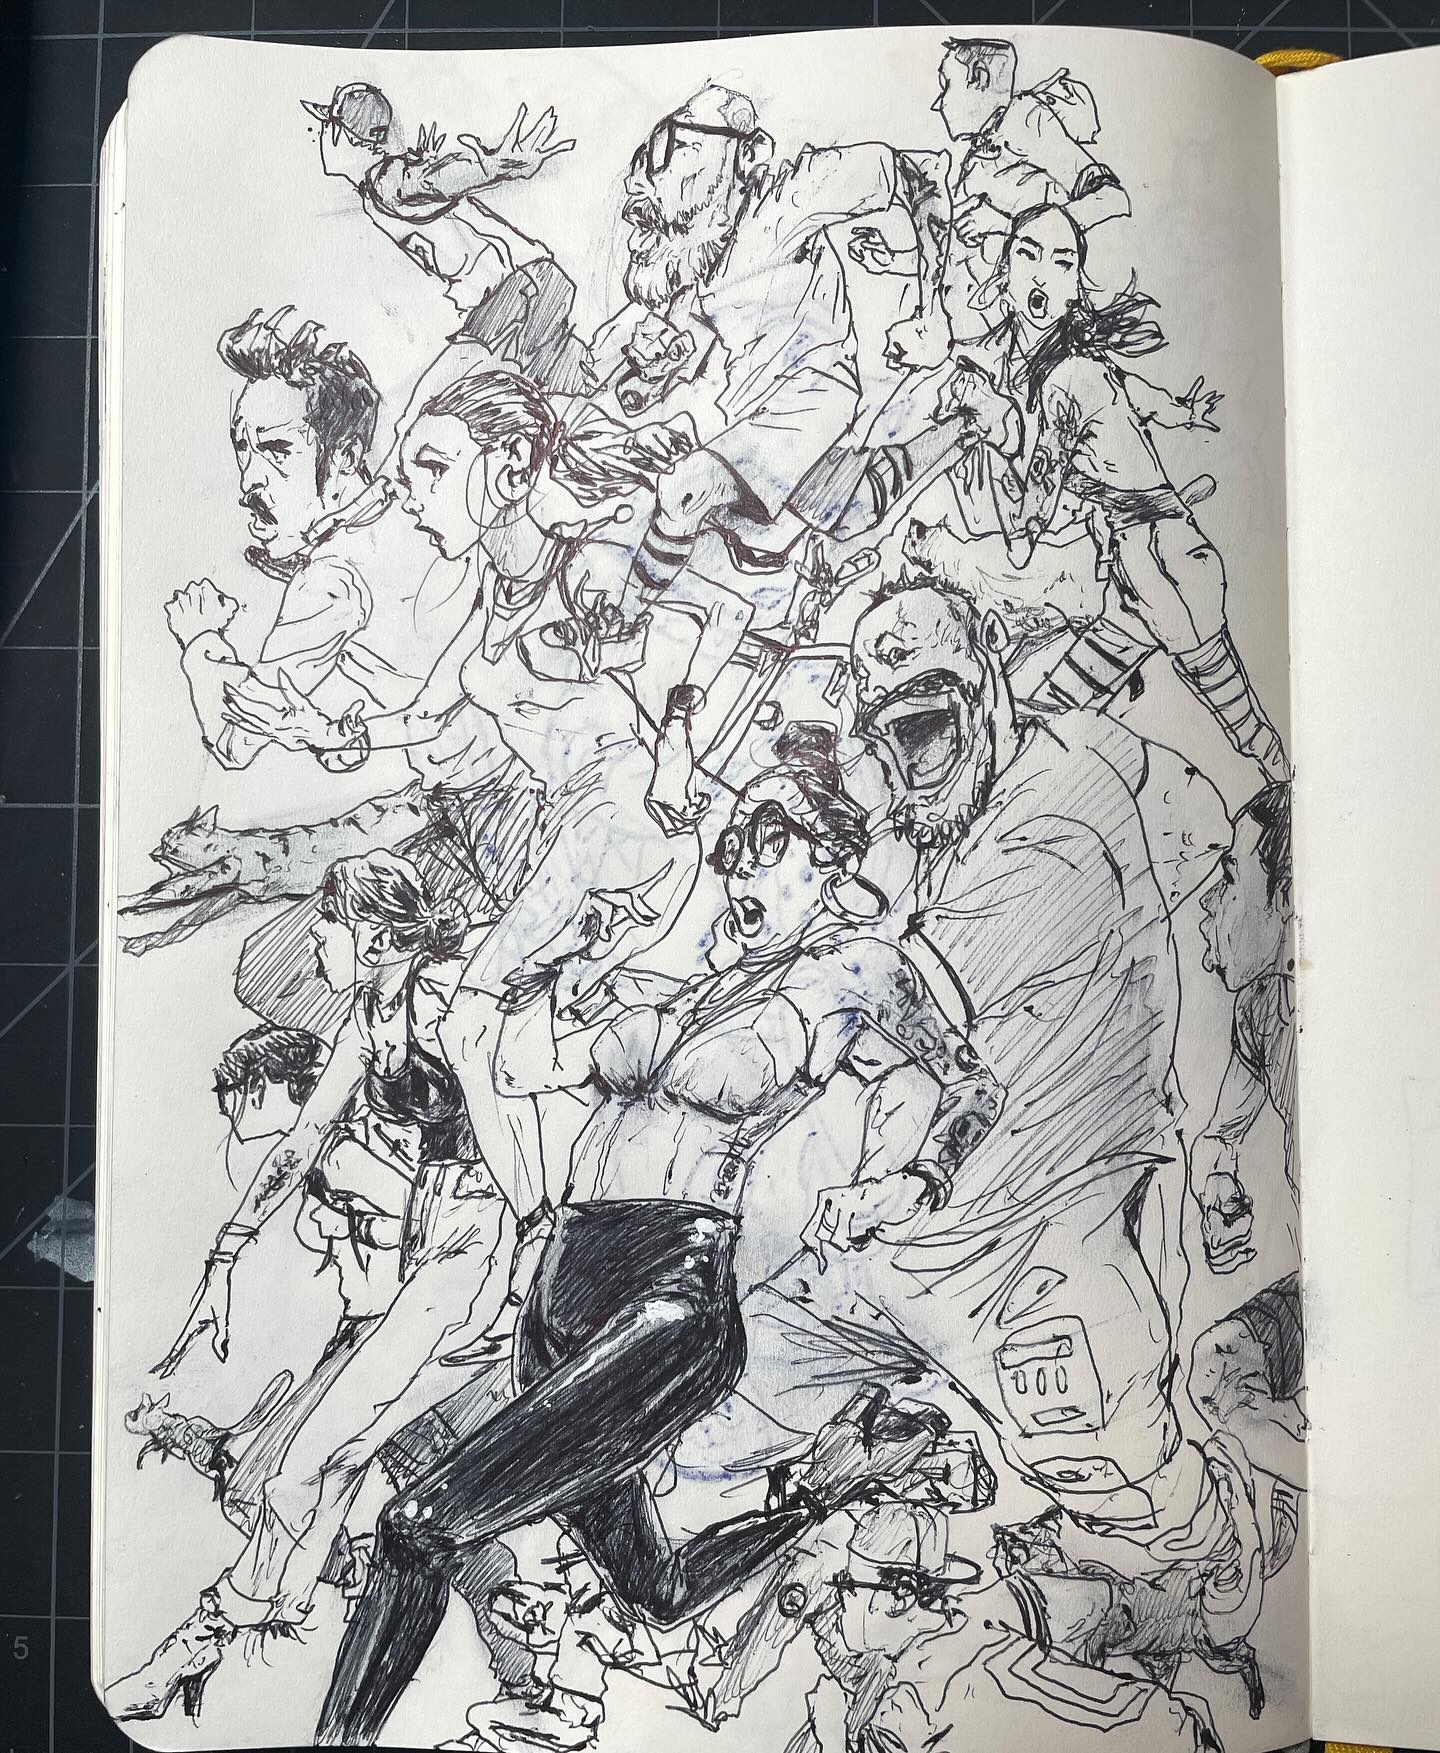
11. Draw Using the “Gesture Drawing” Method
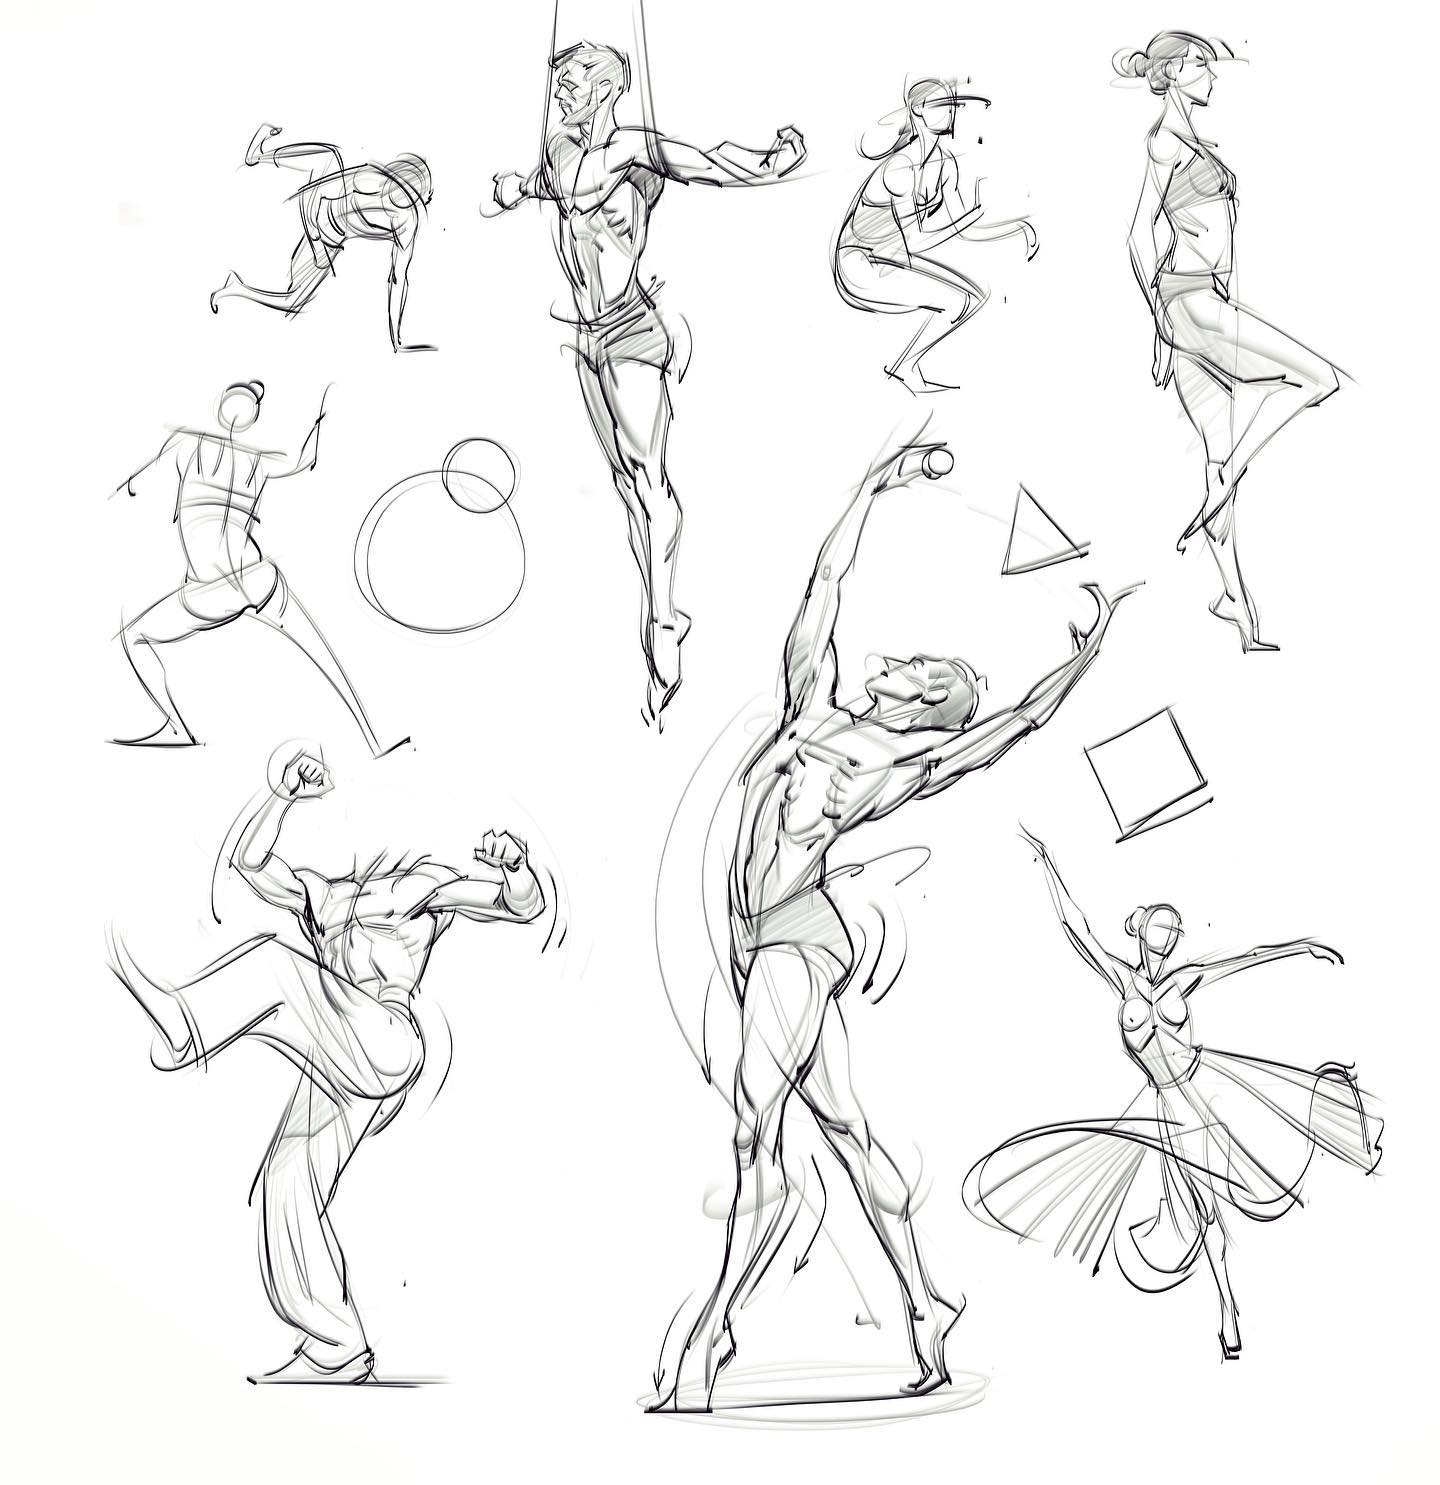
source @joshhunterblack
Gesture drawing is a quick and loose method of sketching that is all about capturing the essence and movement of a subject. It’s typically done in a short time frame, often in just a few minutes, which forces you to focus on the overall posture, motion, and form of the subject rather than getting bogged down in details. This technique is especially useful for artists who want to improve their ability to draw dynamic figures or animals in motion. Gesture drawing is also a great way to warm up before starting a more detailed drawing, as it helps loosen up your hand and mind, making it easier to flow into more intricate work.
12. Use a Ruler for Precise Line Work
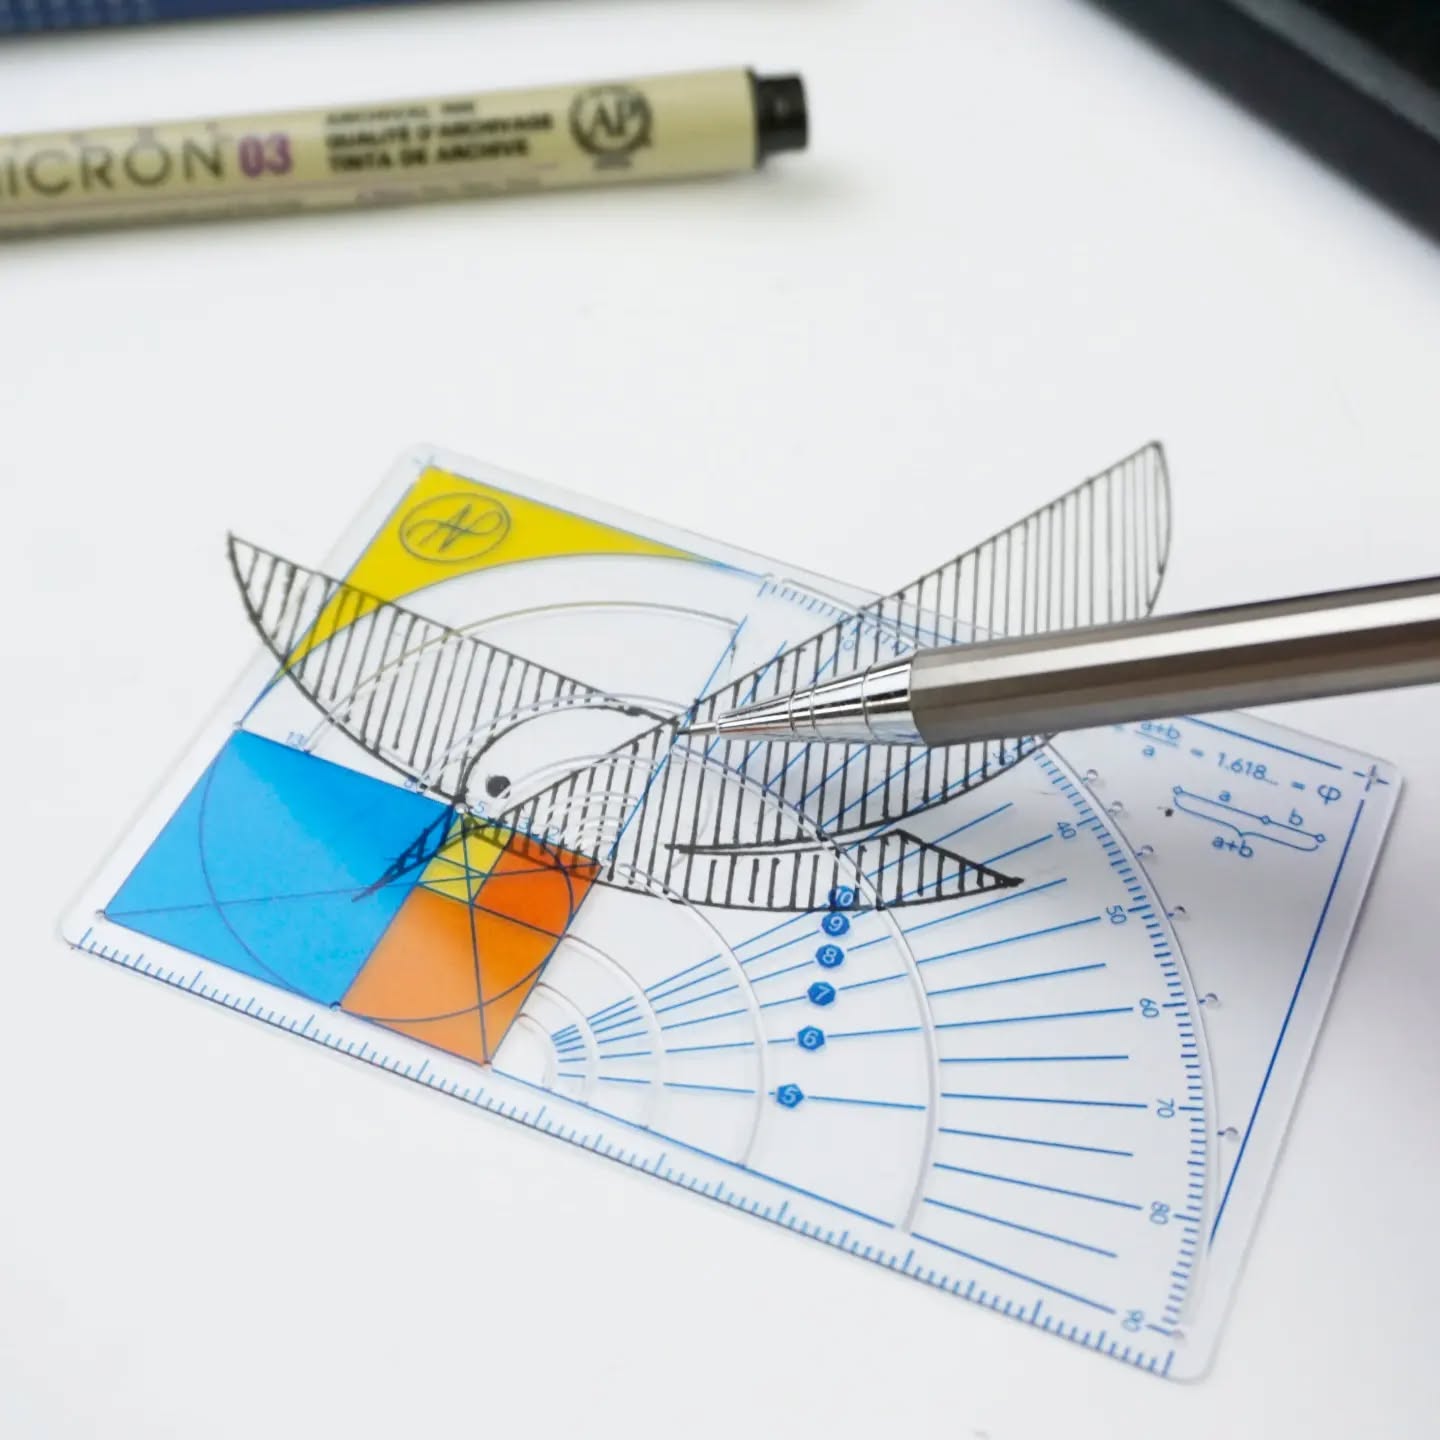
source @phi.ruler
When working on detailed illustrations or architectural sketches, using a ruler can save you a lot of time and ensure that your lines are perfectly straight. Although it might seem basic, a ruler is essential for anyone who needs precise measurements or clean, sharp edges in their work. It can be especially helpful when drawing geometric patterns, buildings, or technical illustrations where accuracy is key. Whether you’re sketching a modern cityscape or designing a logo, the ruler ensures your lines are aligned and your proportions are consistent. It’s an easy and inexpensive tool that adds a level of professionalism to your work.
13. Practice Light and Shadow with a Simple Setup
source @anu_an_artist
One of the most essential aspects of creating lifelike drawings is understanding how light interacts with objects. A simple setup of a light source, an object, and a piece of paper can help you learn how light creates shadows, highlights, and textures. By experimenting with different light angles and intensities, you can observe how they affect the shapes, forms, and depth in your drawing. This exercise can be particularly helpful when drawing still lifes or portraits, as you’ll be able to create a sense of volume and dimension in your artwork. Don’t forget to focus on the light and dark areas and learn how to blend smoothly to achieve a three-dimensional look.
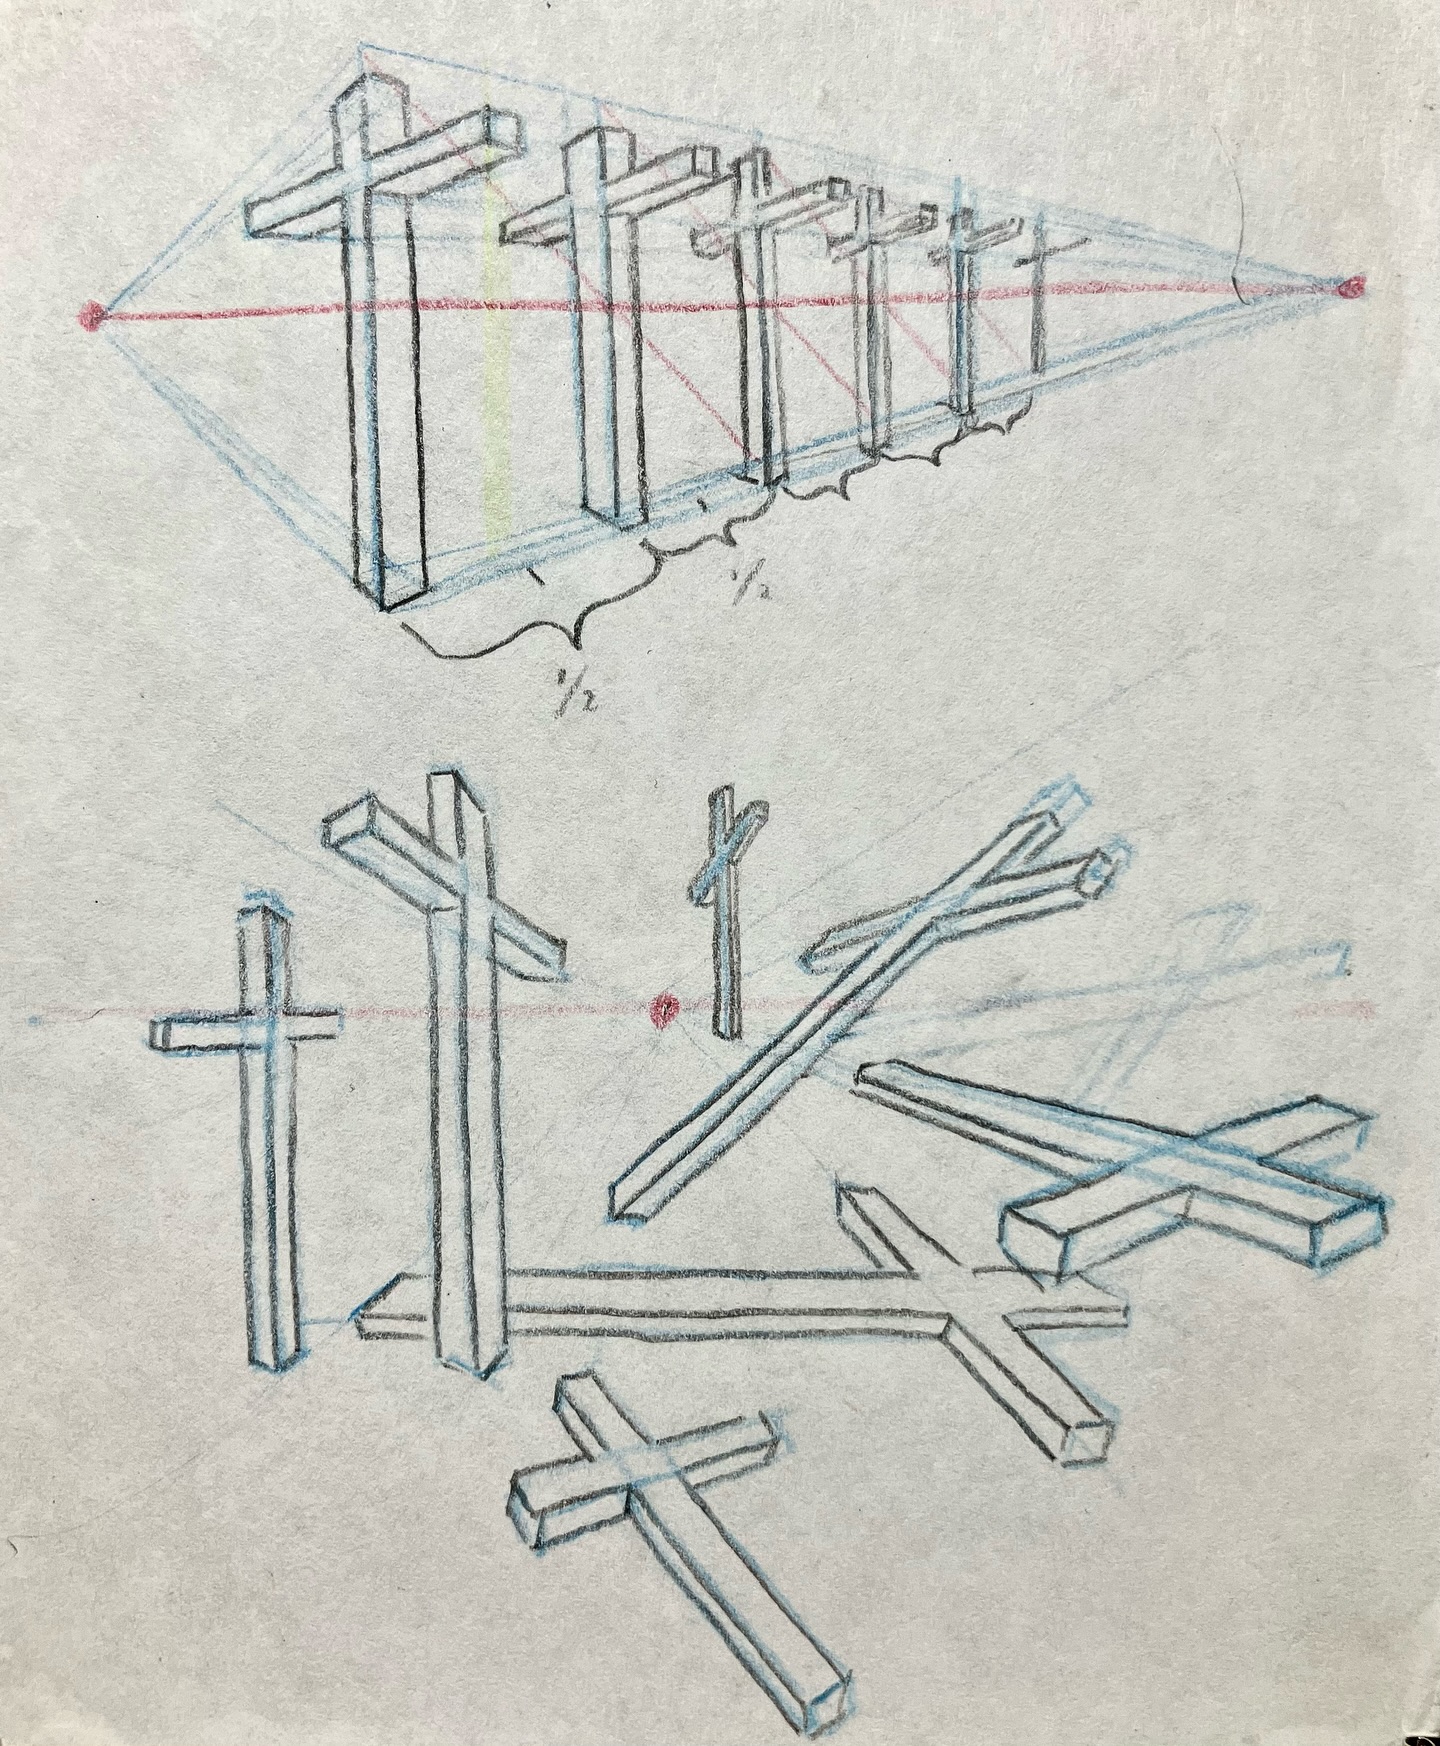
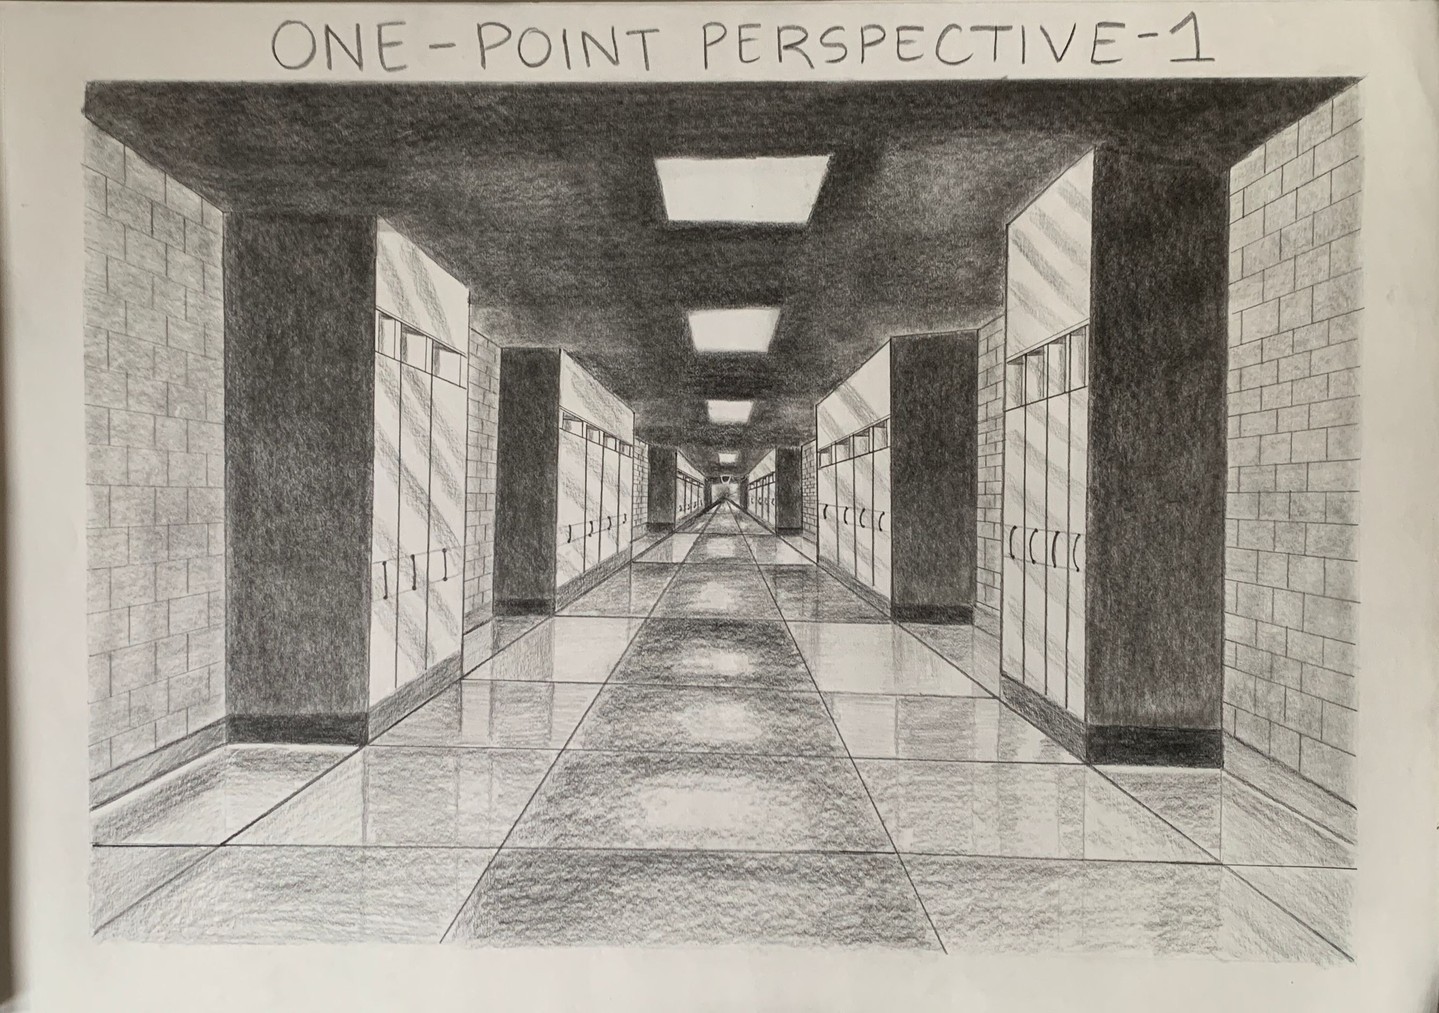
14. Master Perspective With Vanishing Points
source @sampratishta
Perspective is the technique used to represent three-dimensional objects on a two-dimensional surface. By understanding the principles of perspective, such as vanishing points and horizon lines, you can create drawings that appear realistic and full of depth. For example, when drawing a road or railroad tracks, the parallel lines appear to converge toward a single point on the horizon—the vanishing point. Using this concept in various scenes can add a sense of realism and dimensionality to your work. Mastering perspective can be challenging, but it’s incredibly rewarding once you start seeing your drawings come to life with depth and space.
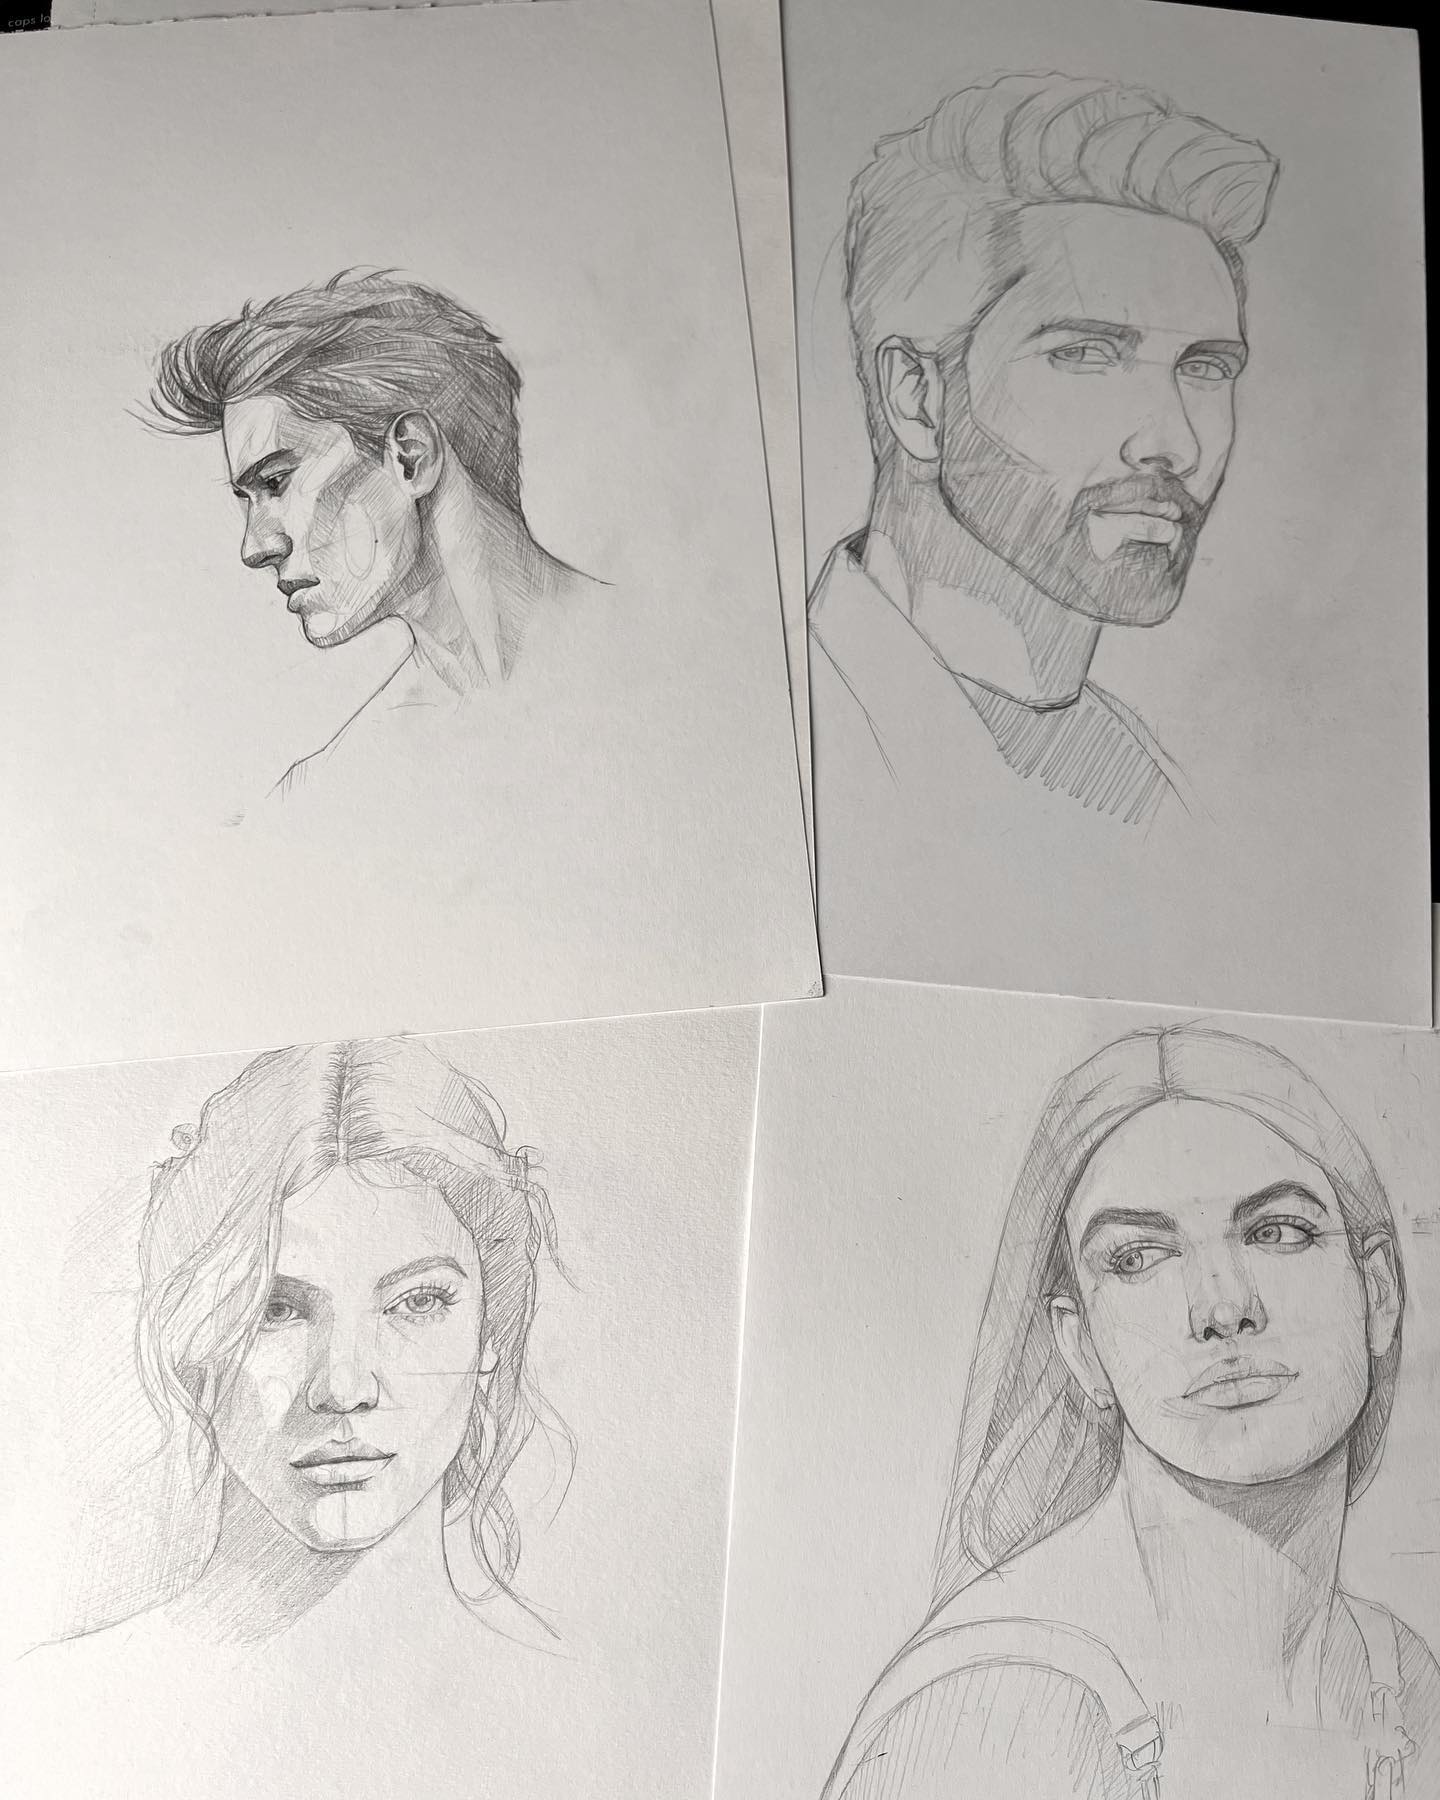
15. Improve Proportions with the “Loomis Method”
source @vk_artbox
The Loomis method is a widely recognized technique for drawing the human figure, developed by illustrator Andrew Loomis. This method provides a step-by-step approach to creating accurate proportions by breaking down the human body into simple shapes. By following this method, you can learn to draw the human figure with greater ease and precision. The Loomis method involves using guidelines to establish the head’s placement, then constructing the body’s proportions using basic shapes like spheres and cylinders. Understanding this method will help you draw more realistic human figures, regardless of the style or medium you’re working in.
16. Use a Viewfinder to Focus on Composition
source @naina_ds_ydv
A viewfinder is a tool that helps you isolate a specific portion of a scene or reference photo, making it easier to focus on the most important elements of your composition. It’s especially helpful when you’re working with complex scenes or trying to decide what to include or exclude in your artwork. A viewfinder is typically a small frame, often made from cardboard, that you hold up to your reference photo or scene. By looking through the viewfinder, you can focus on the most visually compelling part of the composition and decide how to best frame it in your drawing. This is a great technique for improving composition and simplifying complex scenes.
17. Experiment with Color Theory in Your Art

source @wiggie_draws
Color theory is an essential concept for any artist, as it helps you understand how colors interact and how to use them to evoke certain moods or effects in your artwork. By experimenting with the color wheel, you can learn about complementary, analogous, and triadic color schemes. Understanding how colors work together will allow you to create harmonious compositions and add depth to your drawings. For example, using contrasting colors in your artwork can create emphasis and make certain elements stand out, while using complementary colors can help balance your composition. Color theory opens up endless possibilities for experimentation and creativity, and mastering it will elevate your artwork.
18. Use Textured Paper for Unique Effects
source @rahulofficialart_
While smooth paper is commonly used for drawing, textured paper can introduce interesting effects and depth to your artwork. Textured surfaces, such as cold-press watercolor paper, can create unique marks and tones, making your drawings look more dynamic. The texture of the paper interacts with the medium, giving your artwork a more organic feel. Artists who work with pencils, pastels, or charcoal often find that textured paper provides more control and variety in their shading techniques. Experimenting with different types of textured paper can unlock new possibilities in your art and offer a refreshing change from traditional smooth surfaces.
19. Draw From Life to Improve Observation Skills
source @iamshaneburke
Drawing from life is one of the best ways to improve your observation and rendering skills. Whether it’s drawing a still life arrangement, a person, or a landscape, drawing directly from the world around you helps you develop a deeper understanding of form, light, and texture. Life drawing helps you capture the subtleties of the subject that might be missed in photographs or reference images. It also allows you to practice proportions, perspective, and shading in real-time. The more you draw from life, the more confident you’ll become in capturing accurate and dynamic compositions.
20. Keep a Sketchbook for Regular Practice
source @michaelbyers
Keeping a sketchbook is one of the best habits you can develop as an artist. By sketching daily, you give yourself the opportunity to practice new techniques, experiment with different subjects, and record your ideas. A sketchbook acts as a visual journal that shows your progress over time and allows you to track your artistic development. Whether you’re doodling for fun or working on more serious studies, a sketchbook is a valuable tool for improving your drawing skills. Plus, it’s portable, so you can take it with you and sketch wherever inspiration strikes.
21. Use a Colorless Blender for Smooth Transitions
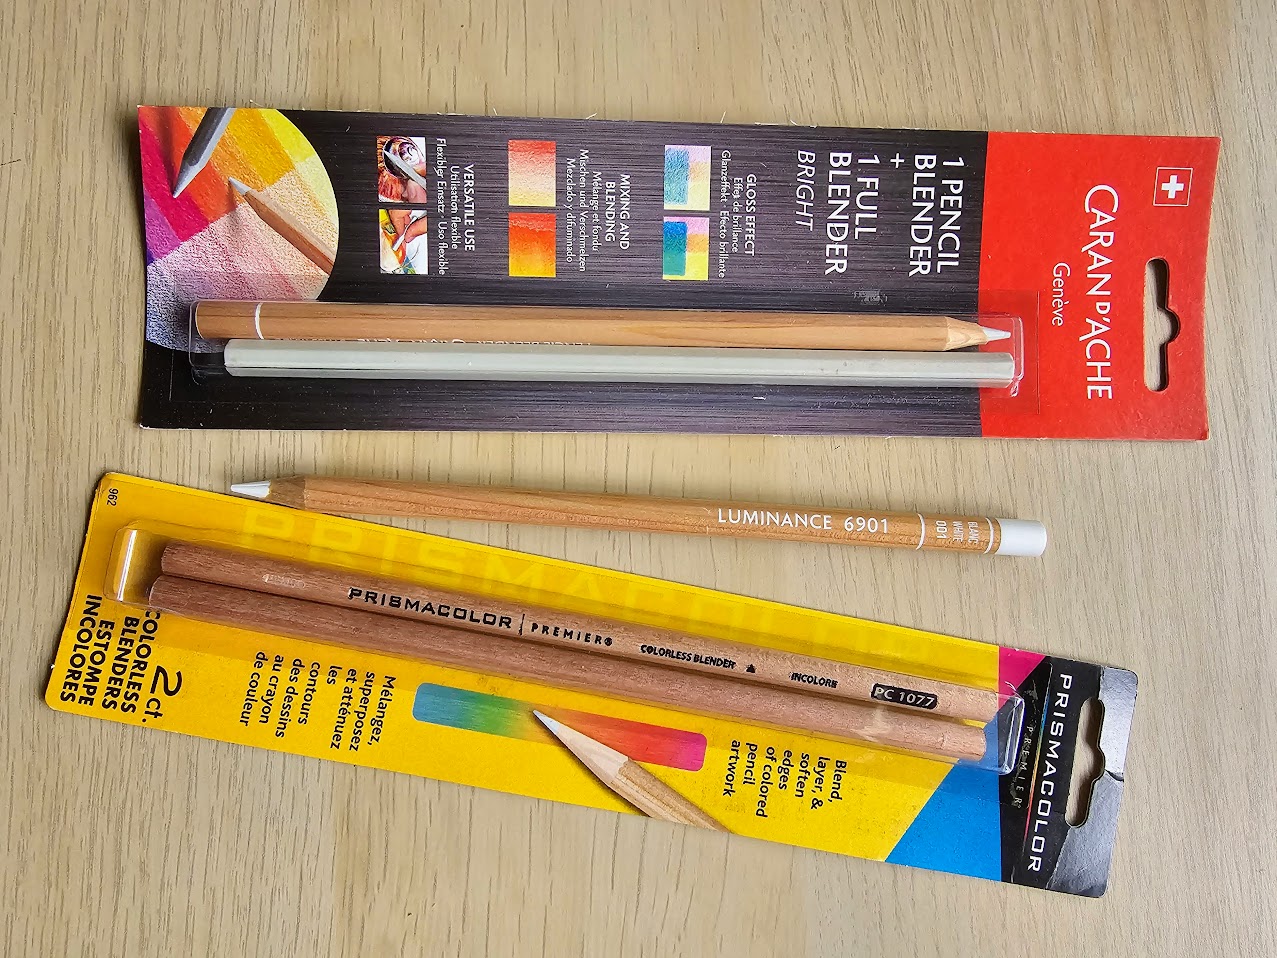
source @smellslikesundays
A colorless blender is an essential tool for artists who work with colored pencils or pastels. This pencil has no pigment, but it allows you to blend colors smoothly, creating seamless transitions between different shades. Whether you’re working on portraits, landscapes, or still life, a colorless blender helps you soften harsh lines and create a smooth gradient effect. It’s also great for smoothing out any pencil strokes that are too noticeable or distracting. By incorporating a colorless blender into your drawing process, you can add a level of polish and professionalism to your work.
22. Experiment with Different Drawing Mediums
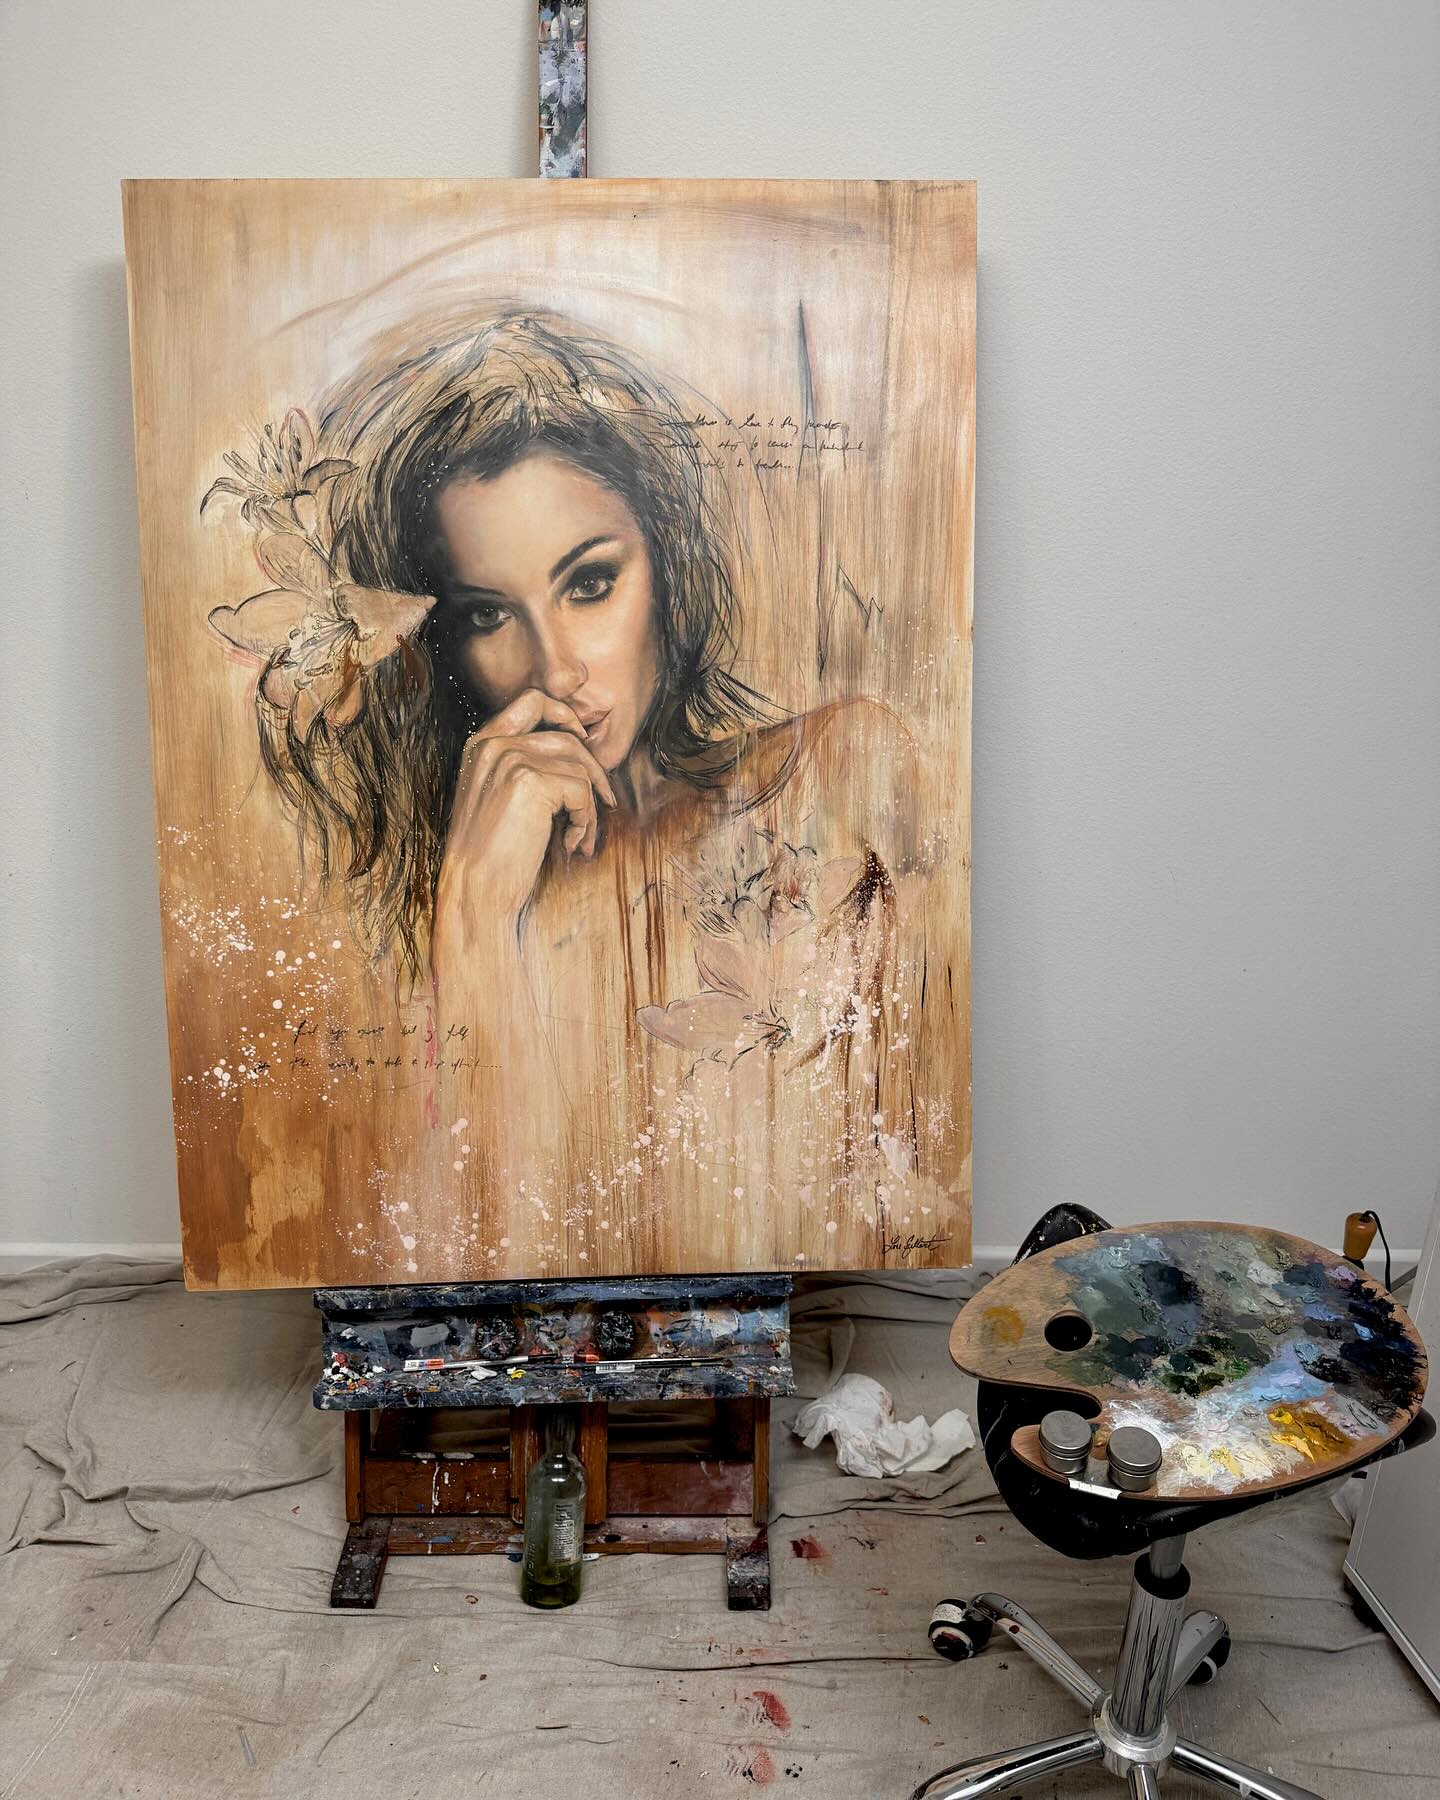
source @lorigilbertart
As an artist, it’s important to experiment with different drawing mediums to discover which one best suits your style and technique. Pencils, pens, charcoal, pastels, and markers each offer different qualities, such as varying degrees of texture, opacity, and blending capability. By exploring each medium, you can find the one that allows you to create the effects and textures you desire. You can also combine multiple mediums to achieve unique results, such as using pencil for fine details and charcoal for bold shadows. Don’t be afraid to experiment and push the boundaries of your materials to discover new possibilities for your artwork.
23. Take Regular Breaks to Prevent Burnout
source @thef00lswhodream
Drawing for long hours can be draining and lead to burnout or creative fatigue. One of the most important tips for artists is to take regular breaks to refresh your mind and body. Stepping away from your drawing allows you to return to it with fresh eyes and renewed energy, which can improve your focus and creativity. Whether it’s a quick 5-minute break or a longer pause to stretch and relax, taking breaks helps prevent mistakes and ensures that you continue to enjoy the drawing process. Remember, art is a marathon, not a sprint!