Drawing is an incredible form of self-expression, but like any skill, it requires patience, practice, and the right techniques to improve. Whether you’re a beginner trying to develop your artistic foundation or an experienced artist aiming to refine your skills, there are always ways to elevate your work. The good news is that small, intentional changes in how you approach drawing can yield significant improvements. From understanding basic shapes and shading techniques to investing in high-quality tools, this guide will walk you through 23 expert drawing tips that can instantly enhance your art. We’ll also recommend some useful Amazon products to support your artistic journey and help you achieve better results. Let’s dive in and start transforming your sketches today!
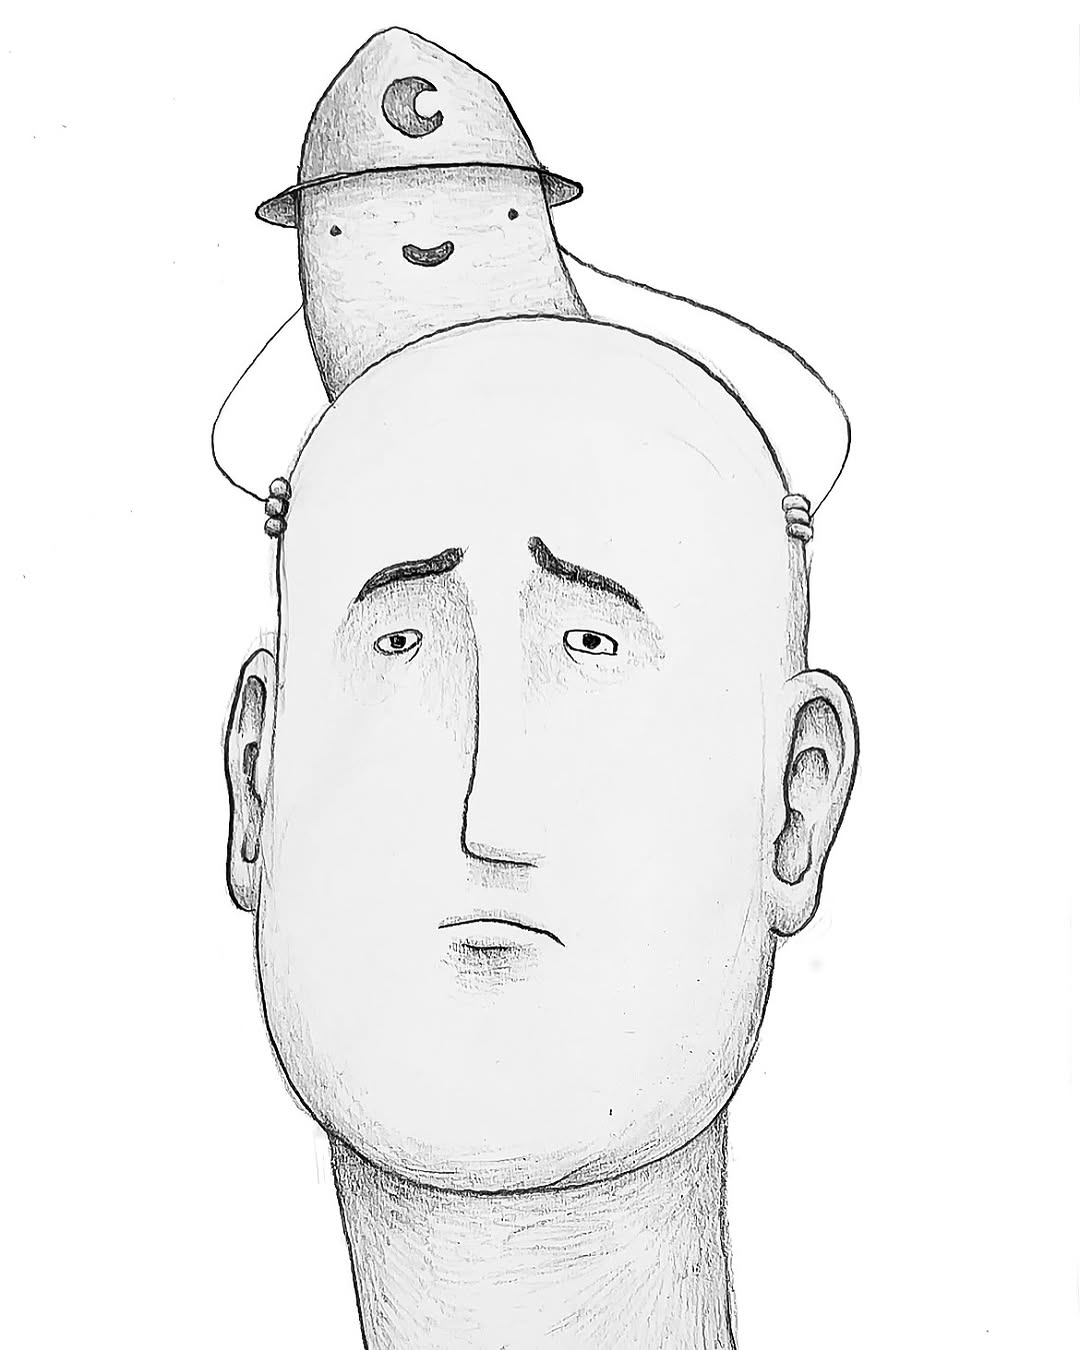
1. Master Basic Shapes Before Going Complex
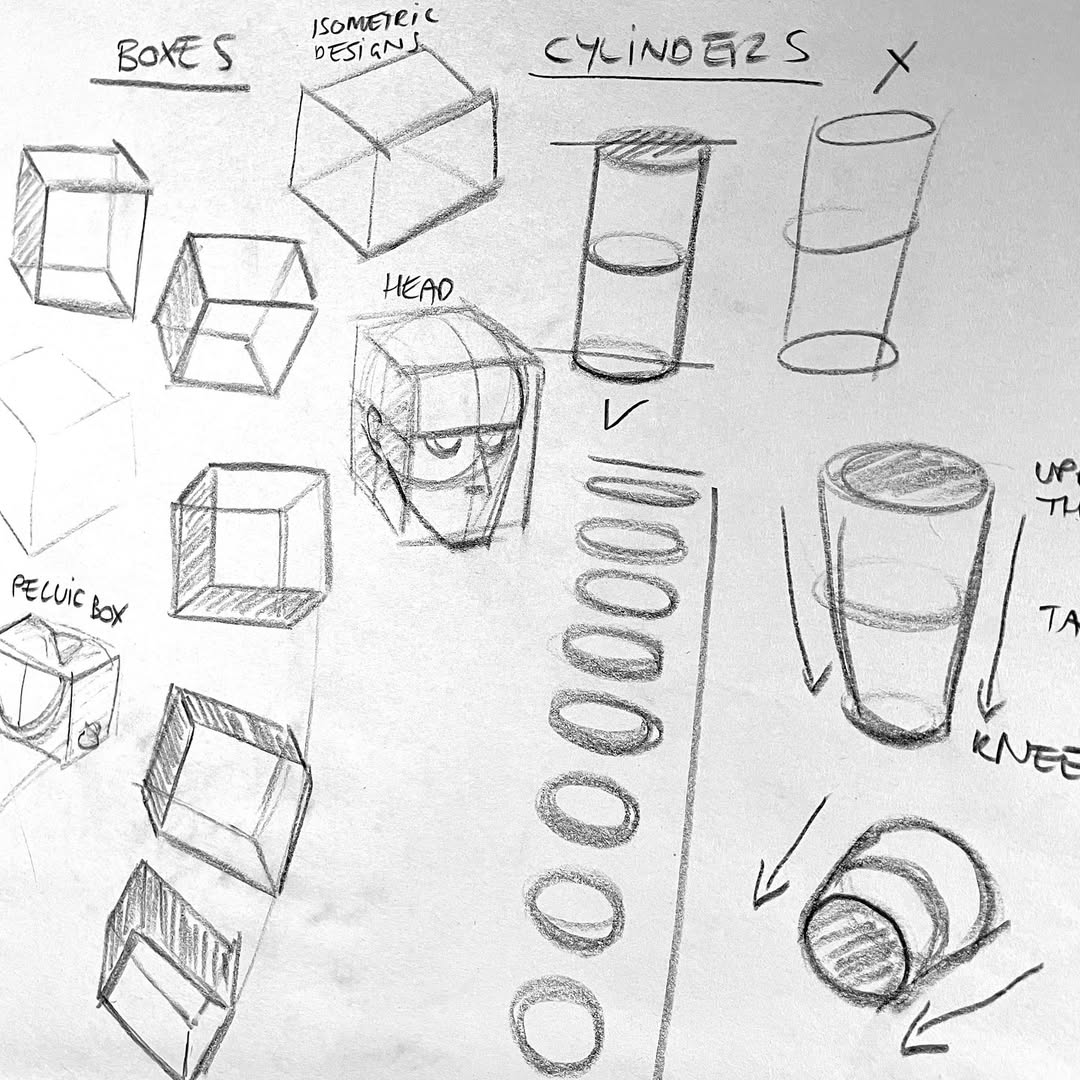
source @gilliangestures
Many aspiring artists make the mistake of jumping straight into drawing complicated subjects without understanding their underlying structure. The foundation of every drawing lies in basic shapes such as circles, squares, triangles, and ovals. Before attempting detailed artwork, practice breaking down objects into their simplest geometric forms. For example, a human head can start as a sphere, while a tree trunk can begin as a cylinder. This method helps you create accurate proportions and develop a strong sense of structure in your drawings. When you can confidently build forms using simple shapes, adding details becomes much easier and more natural.
2. Train Your Hand with Daily Warm-Up Exercises
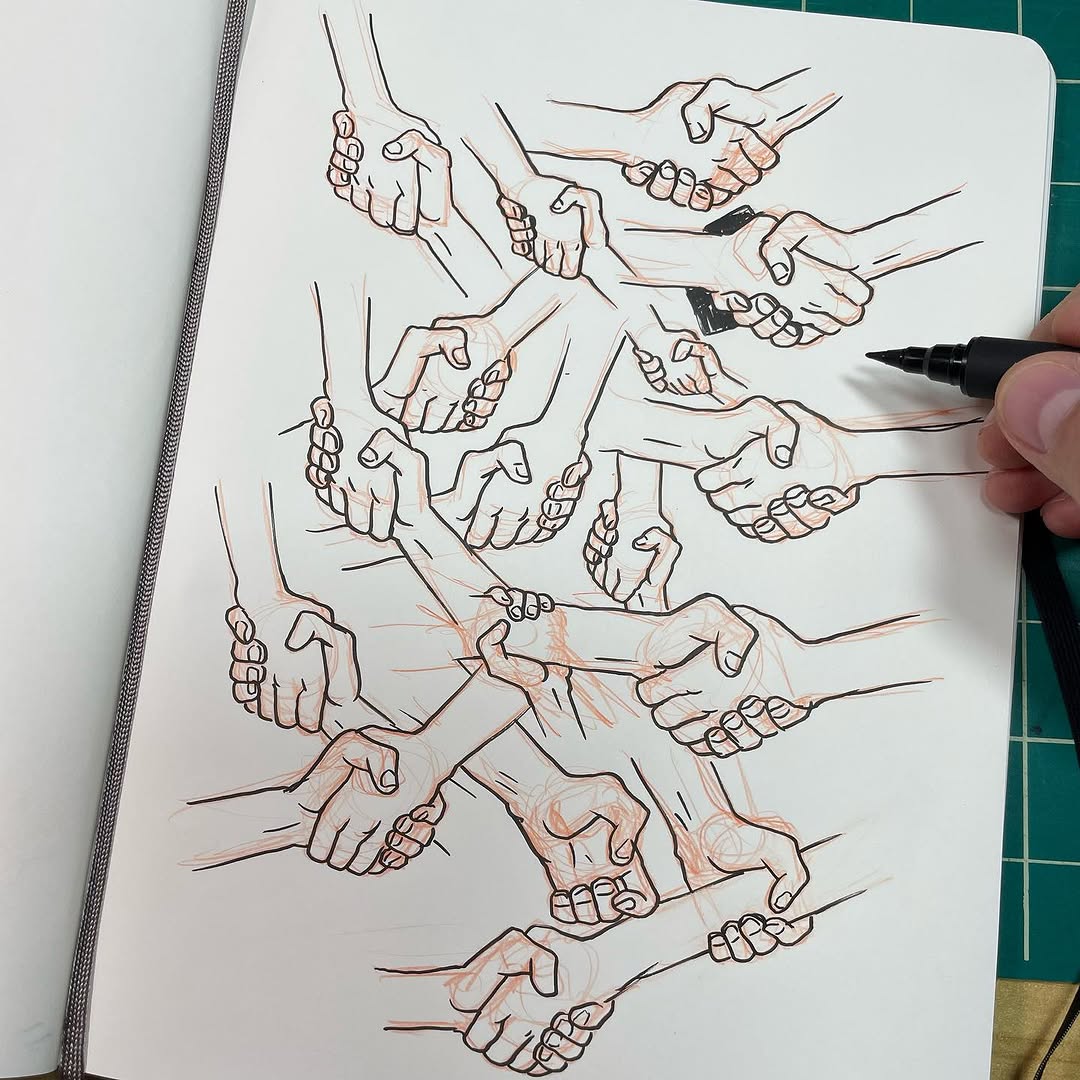
source @jakeparker
Just like athletes stretch before a workout, artists need warm-up exercises to loosen up their hands and improve control. Simple activities like drawing lines, circles, figure-eights, and spirals help build muscle memory and enhance fluidity in your strokes. These exercises are especially beneficial if you struggle with shaky or uneven lines. By spending just five to ten minutes warming up before diving into a drawing session, you’ll notice a significant difference in how steady and confident your lines become.
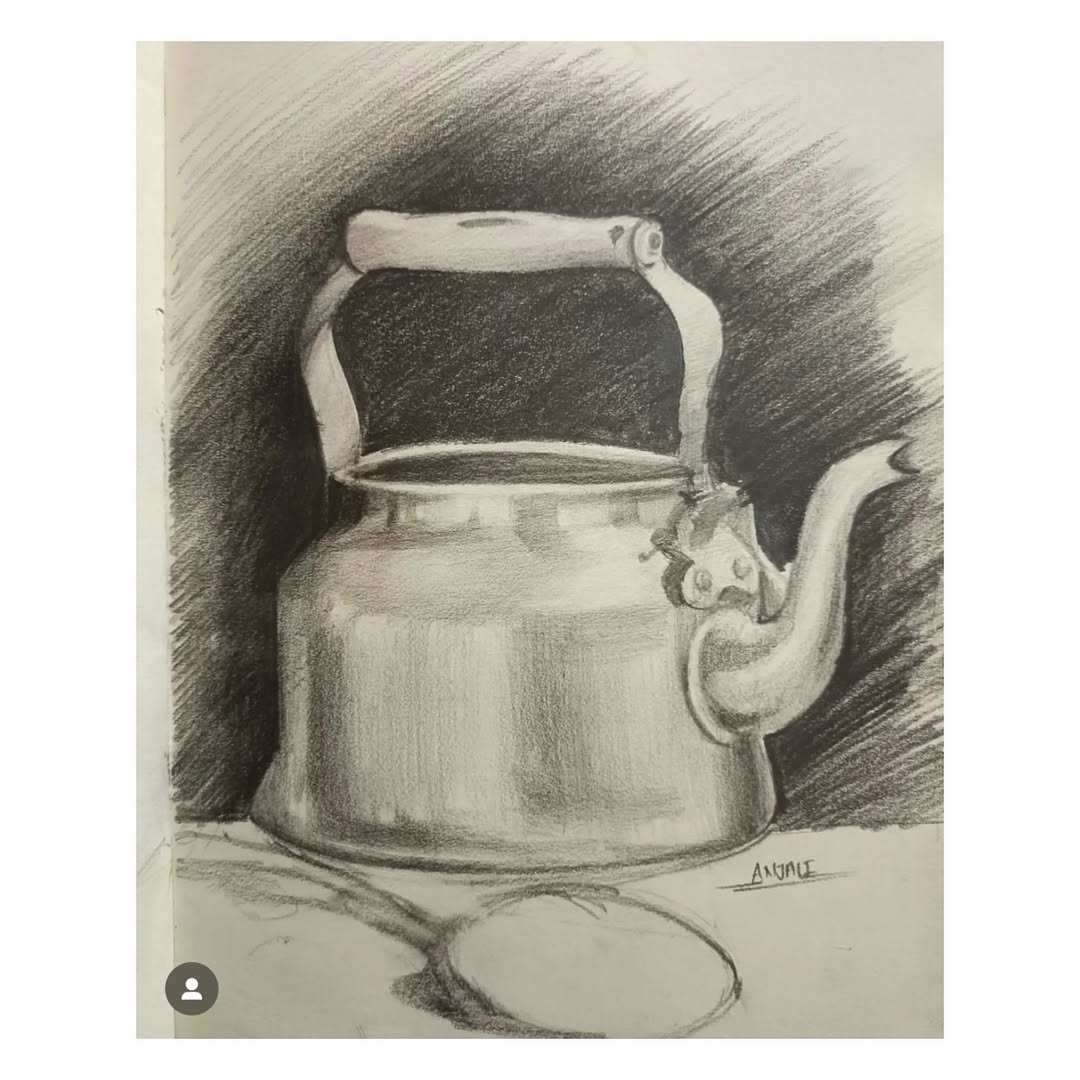
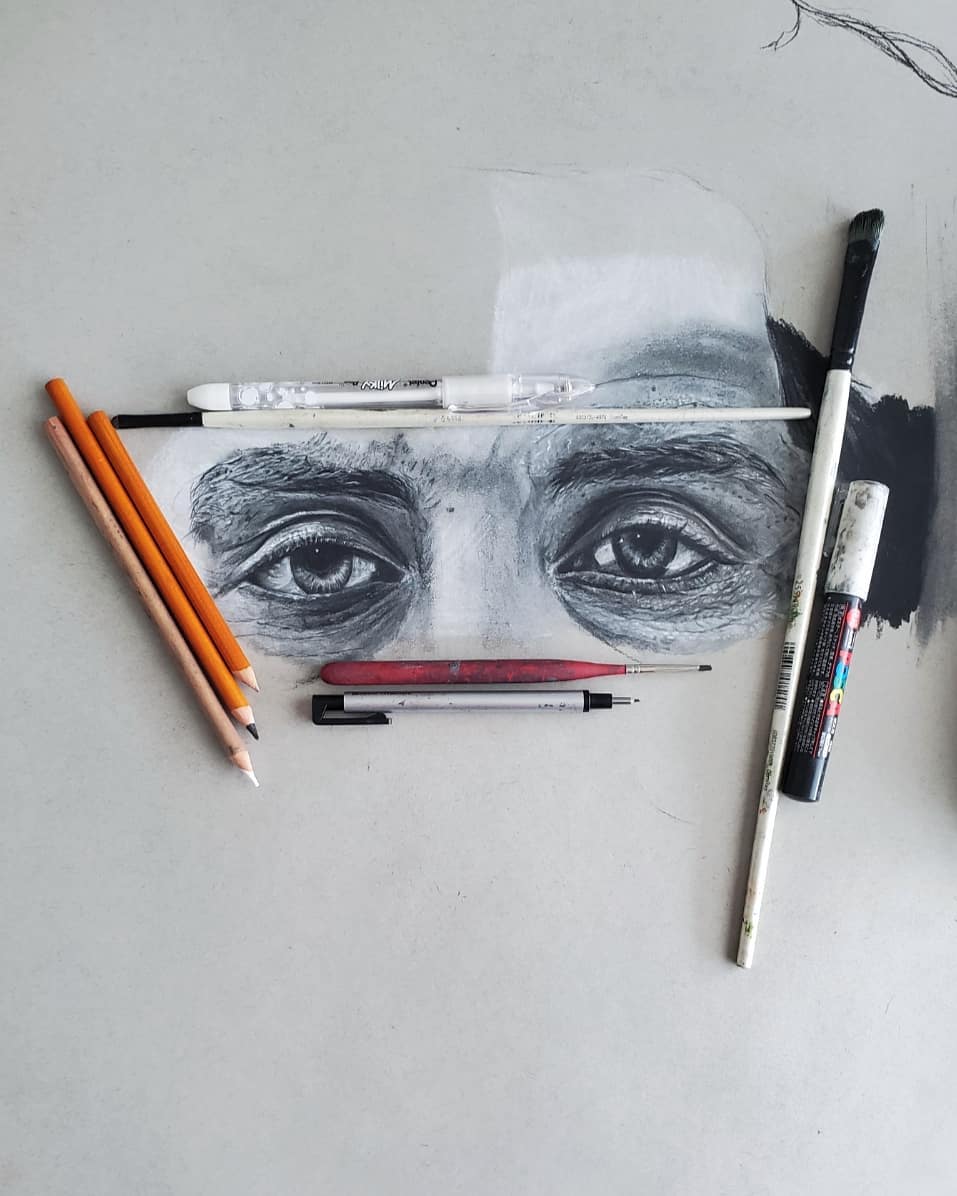
3. Use High-Quality Pencils and Sketchbooks
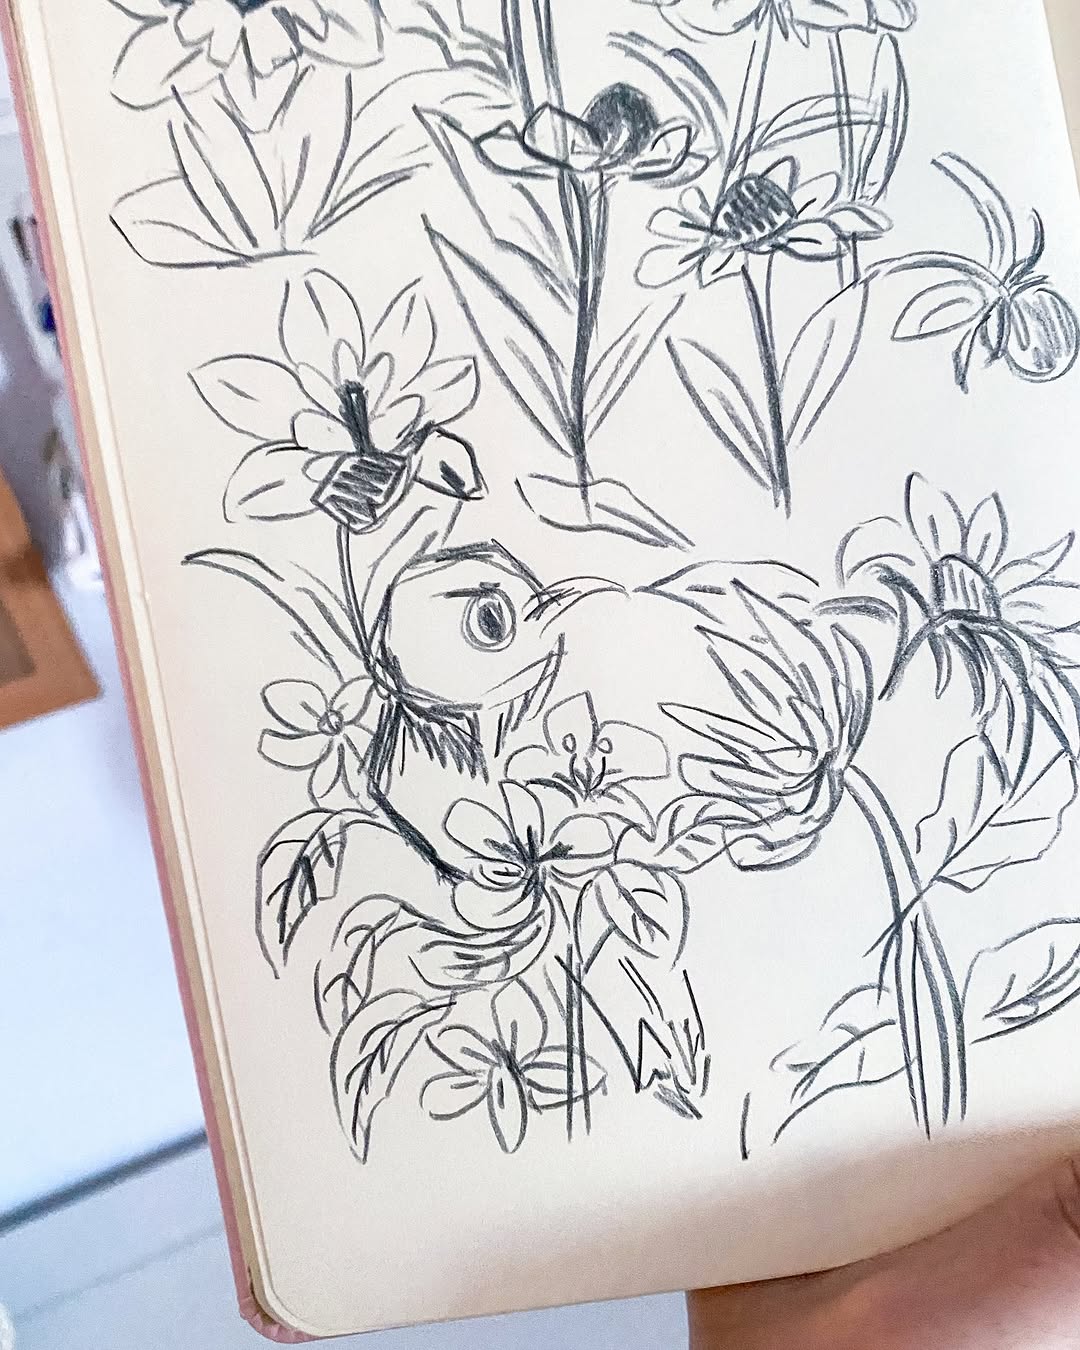
source @frothylattestudio
The right tools can make a world of difference in your artwork. While skill is the most crucial factor, investing in high-quality drawing supplies enhances your experience and final results. A good set of graphite pencils, ranging from hard (H) to soft (B) leads, allows you to create a wide variety of tones and textures. Additionally, a smooth-textured sketchbook prevents paper grain from interfering with your shading. Some top-rated Amazon choices include professional graphite pencil sets and acid-free sketchbooks that provide durability and precision for every stroke.
4. Learn to Hold Your Pencil Properly
source @artistsdrawingbook
Your grip affects the pressure and control you have over your strokes. Instead of holding the pencil tightly near the tip (as you would when writing), try different grips for varied effects. A looser overhand grip works well for sketching broad strokes, while a firm tripod grip allows for precise details. Experiment with these techniques to see which works best for different parts of your drawing. The more comfortable you are with switching grips, the more versatile your artistic approach becomes.
5. Practice Light and Shadow Techniques
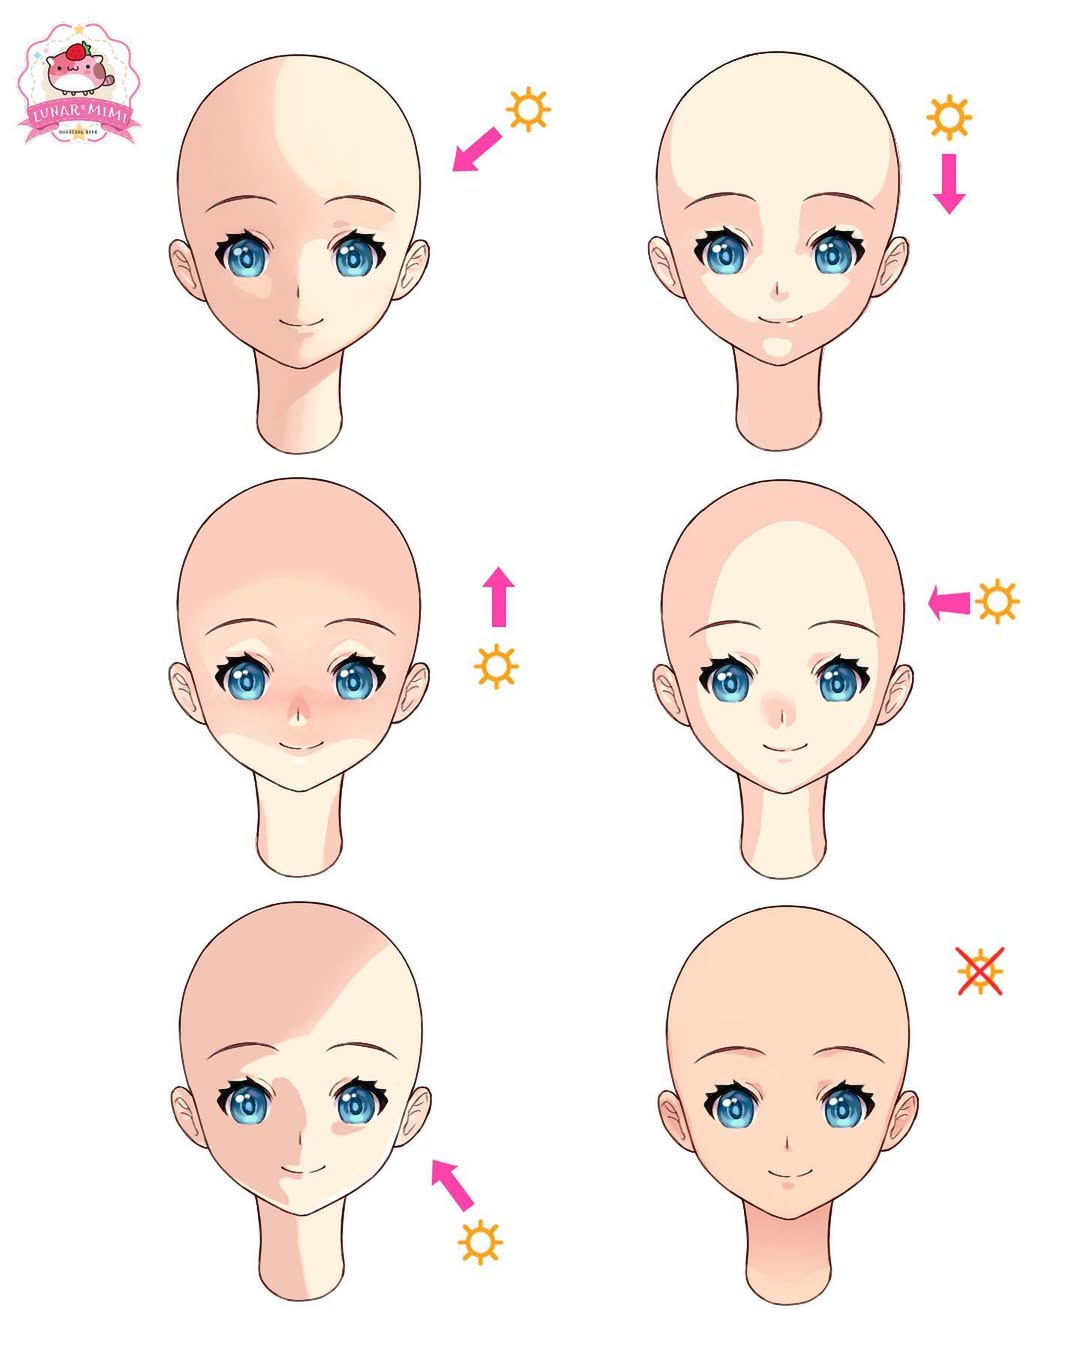
source @lunarmimi
Shading adds depth and realism to your drawings, making objects appear three-dimensional. To master shading, start by understanding the light source in your scene. Areas facing the light should be lighter, while those hidden from it will be in shadow. Use techniques like hatching (parallel lines), cross-hatching, and stippling (dotting) to create different textures and tones. Learning to control value shifts between light and dark can significantly enhance the realism of your artwork.
6. Don’t Press Too Hard on the Paper
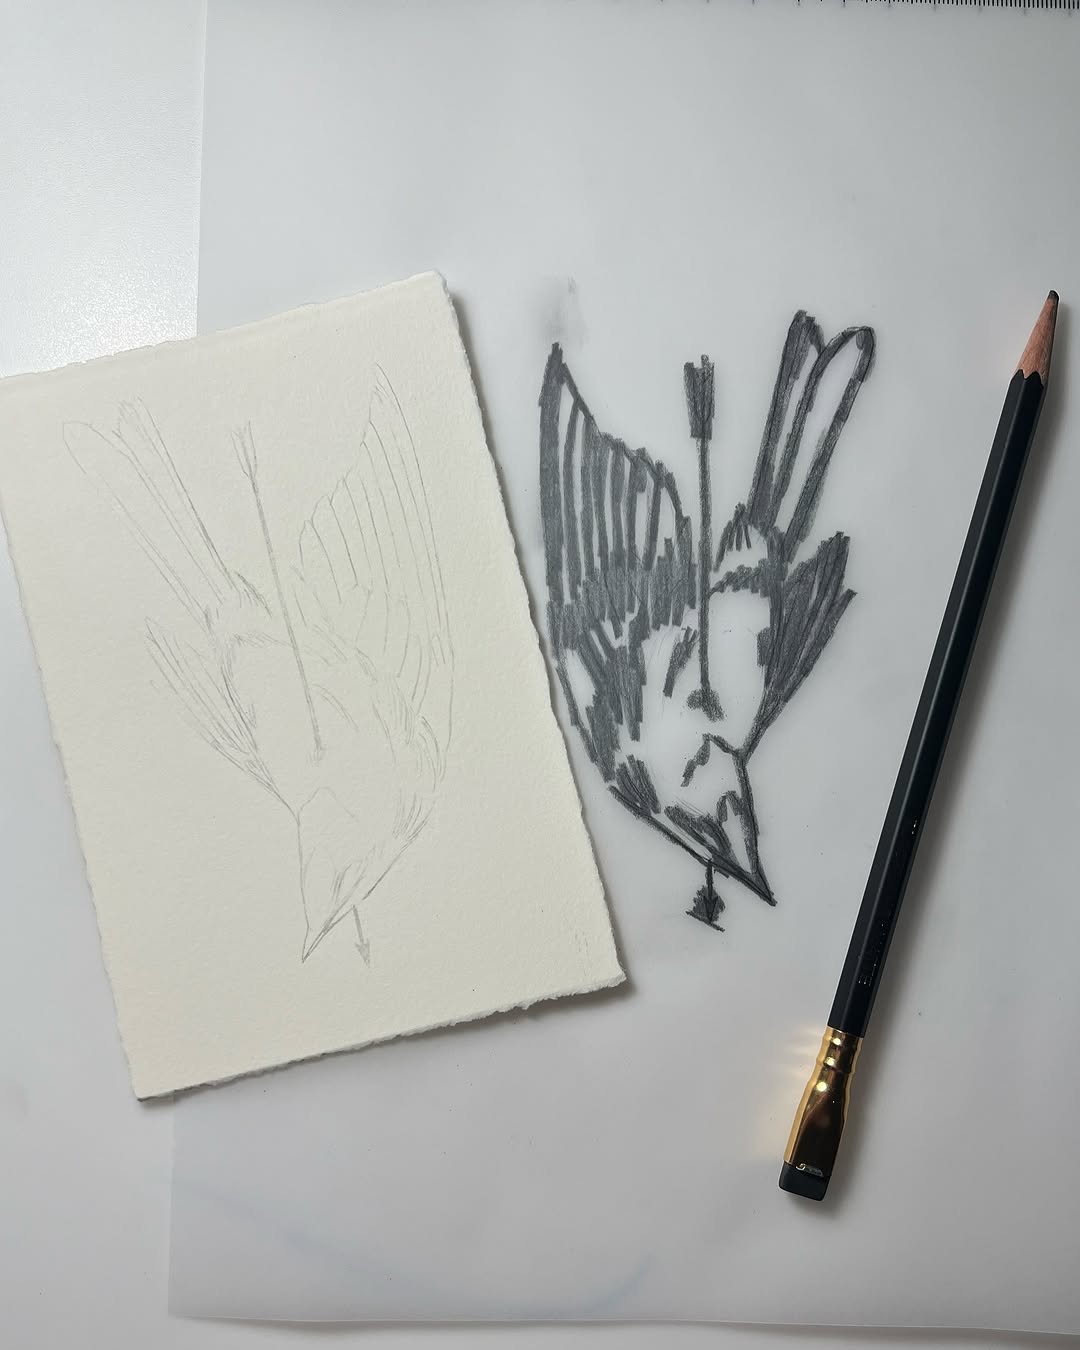
source @birdcvlt
One common beginner mistake is pressing too hard with the pencil, making it difficult to erase mistakes and create smooth shading. Instead, use light, feathery strokes to build up tone gradually. This approach allows for easier blending and more natural transitions between light and dark areas. Working lightly also prevents paper damage, which can make your drawing look uneven or overworked.
7. Use a Blending Stump Instead of Your Finger
source @luvlee_art
Blending is essential for soft transitions in shading, but using your fingers can transfer oils onto the paper, leading to smudges and uneven textures. Instead, opt for blending stumps or tortillons, which allow for more controlled and professional-looking gradients. These tools are affordable and available on Amazon in sets of various sizes, making them a must-have for any artist looking to improve shading techniques.
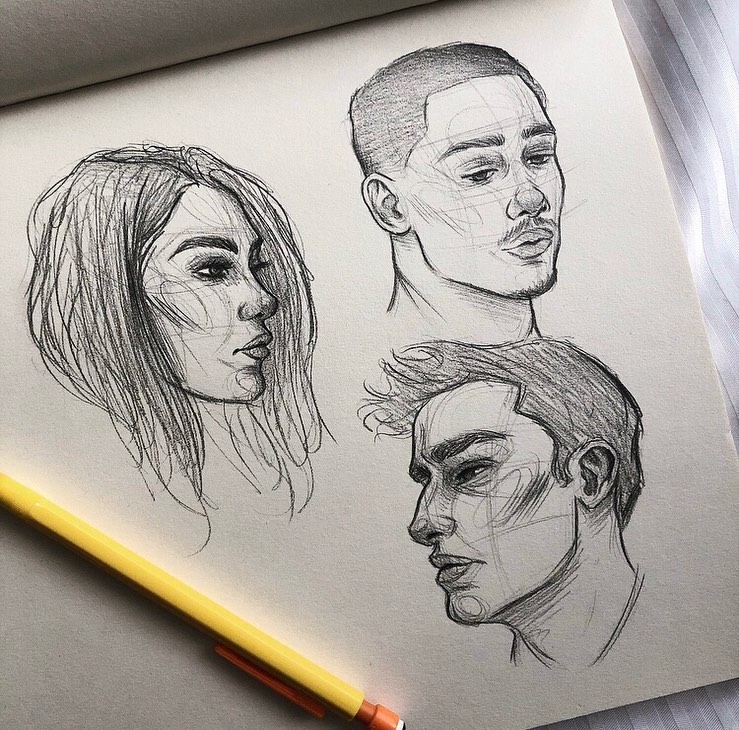
8. Break Down Complex Objects into Simple Shapes
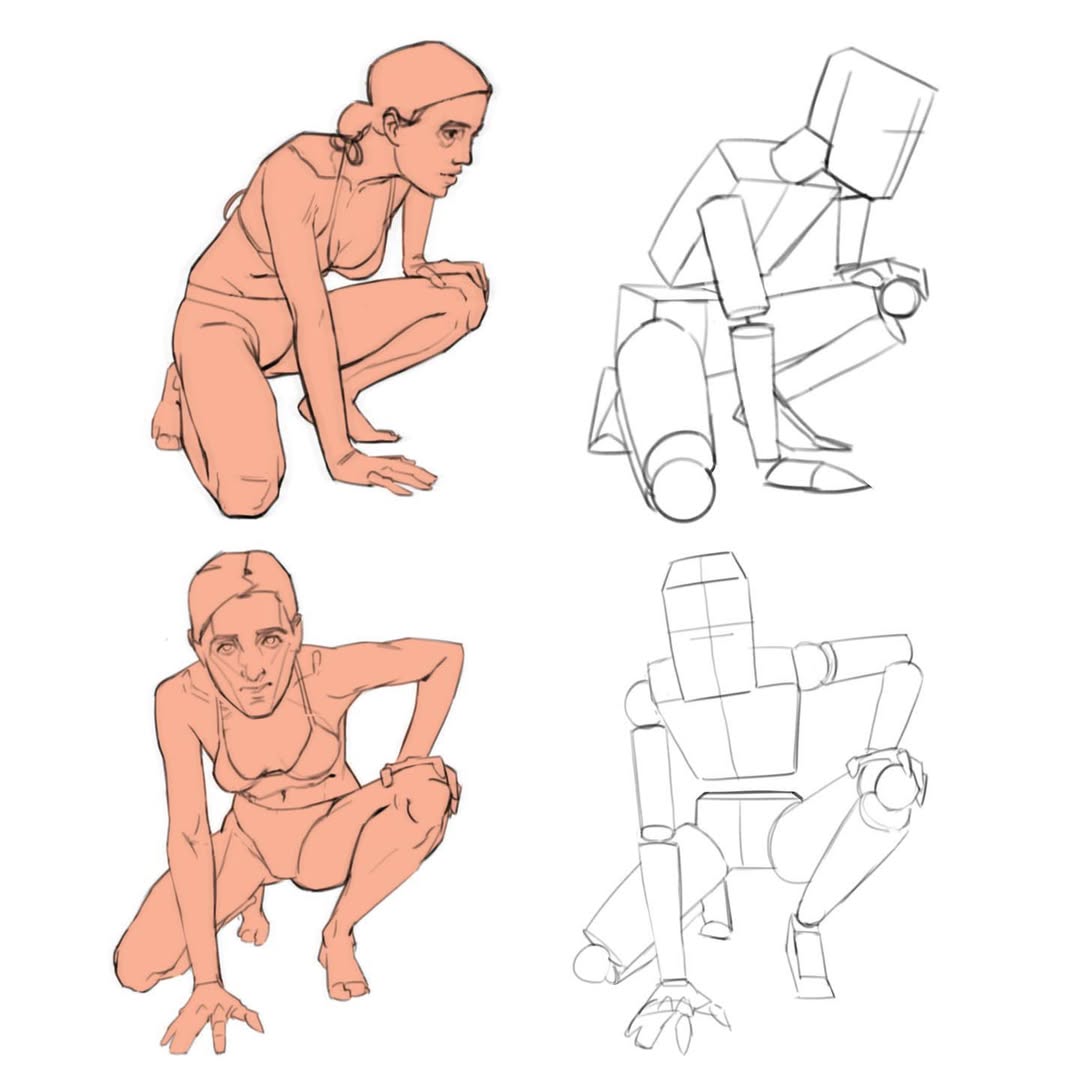
source @kaycem__
Whether drawing a portrait, an animal, or a landscape, complex subjects can feel overwhelming. Breaking them down into basic shapes simplifies the process and ensures proper proportions. For example, when drawing a cat, start with circles for the head and body, then refine the details from there. This method helps you focus on structure before diving into intricate details, making it easier to correct mistakes early in the process.
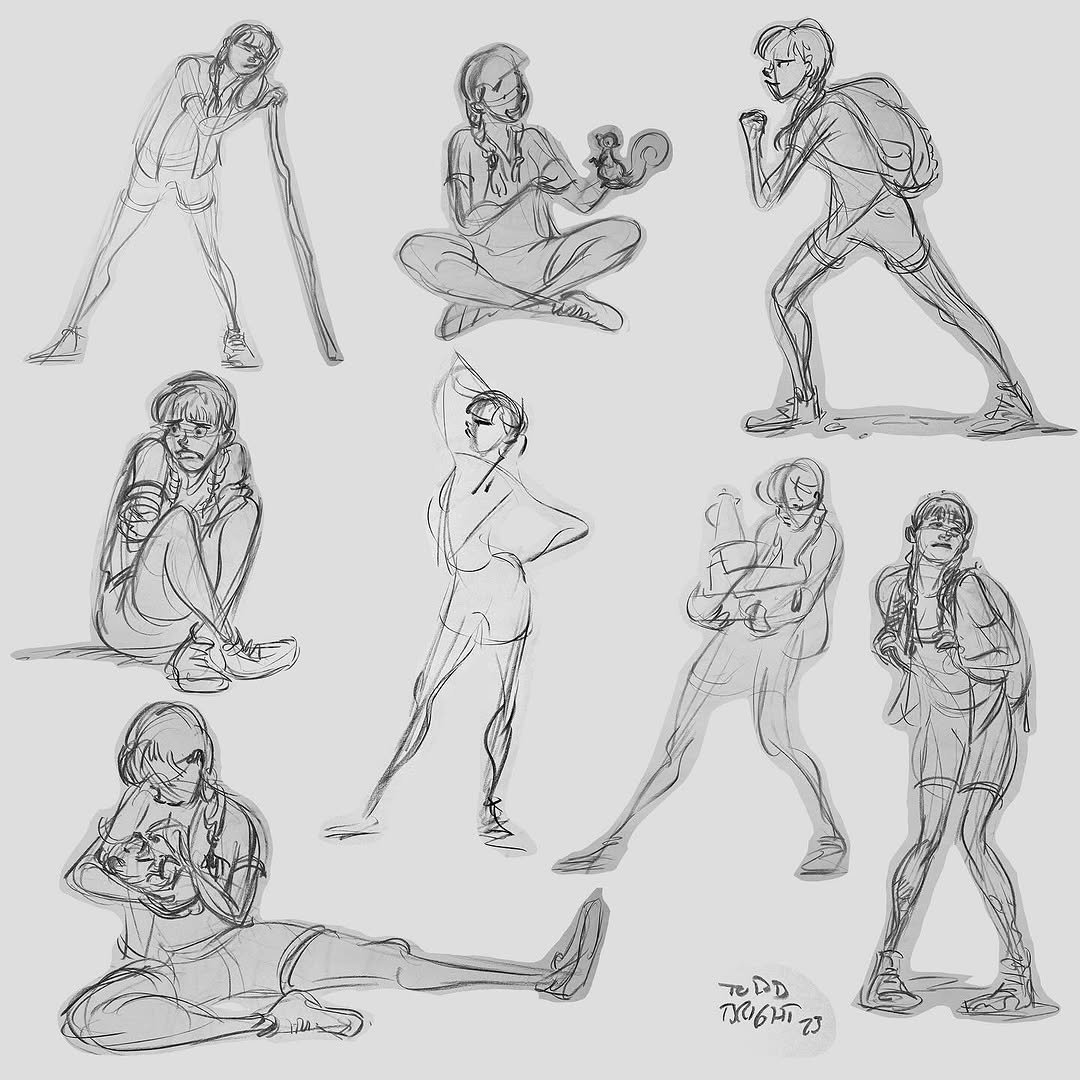
9. Master the Art of Gesture Drawing

source @j2dstar
Gesture drawing involves creating quick, loose sketches to capture the movement and essence of a subject. Instead of focusing on details, you emphasize the energy and flow of the pose. This practice improves your ability to draw dynamic figures and helps prevent stiffness in your artwork. Try sketching moving people, animals, or even action scenes in short bursts of 30 seconds to two minutes to build your confidence in fluid line work.
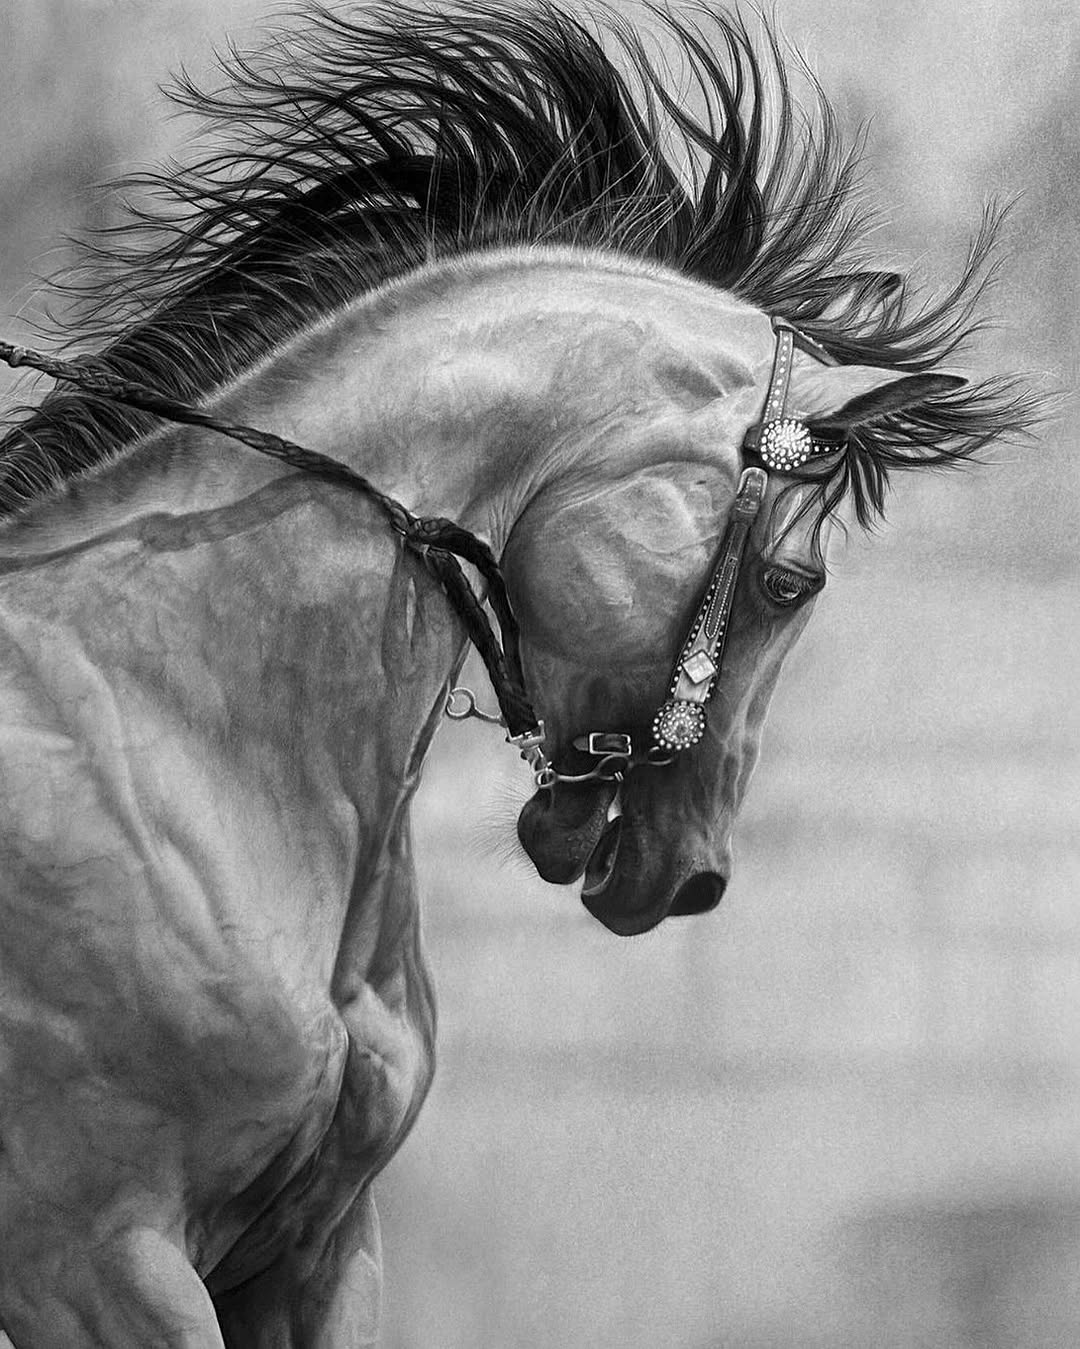
10. Experiment with Different Pencil Grades
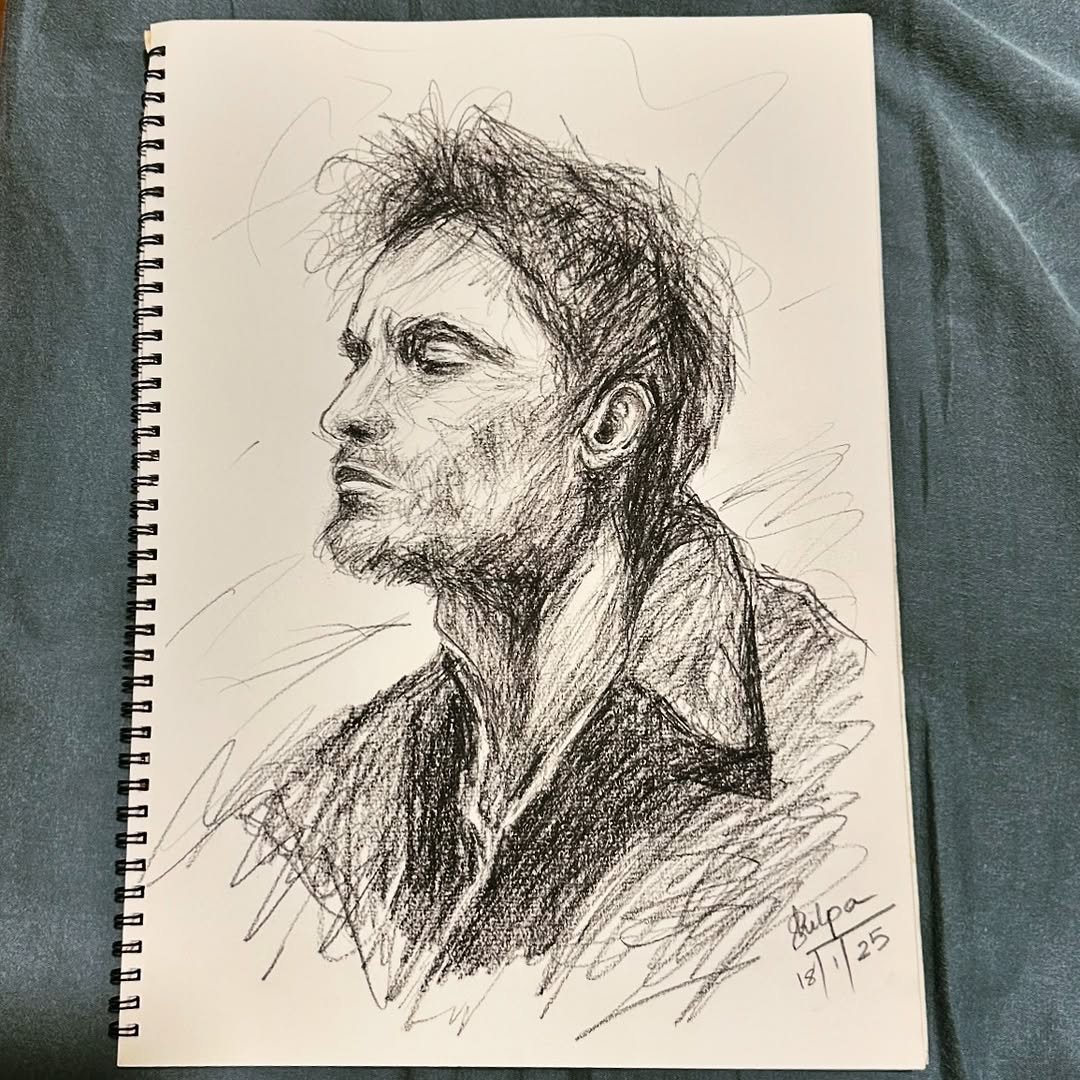
source @shilpakrishnanshukla
Using a variety of pencil grades opens up new possibilities in your artwork. Each pencil grade (from hard H to soft B) offers unique qualities, allowing you to create a wide range of textures and tones. For example, H pencils create fine, light lines perfect for delicate details, while B pencils offer darker, bolder strokes ideal for shading and adding depth. By experimenting with different grades, you can achieve a more dynamic drawing with varied contrast and shading. It’s also important to note that softer pencils (like 2B to 6B) help you create smoother transitions, while harder pencils (such as 2H and 4H) are great for light, clean lines and sketching.
11. Train Your Eyes to Observe Like an Artist
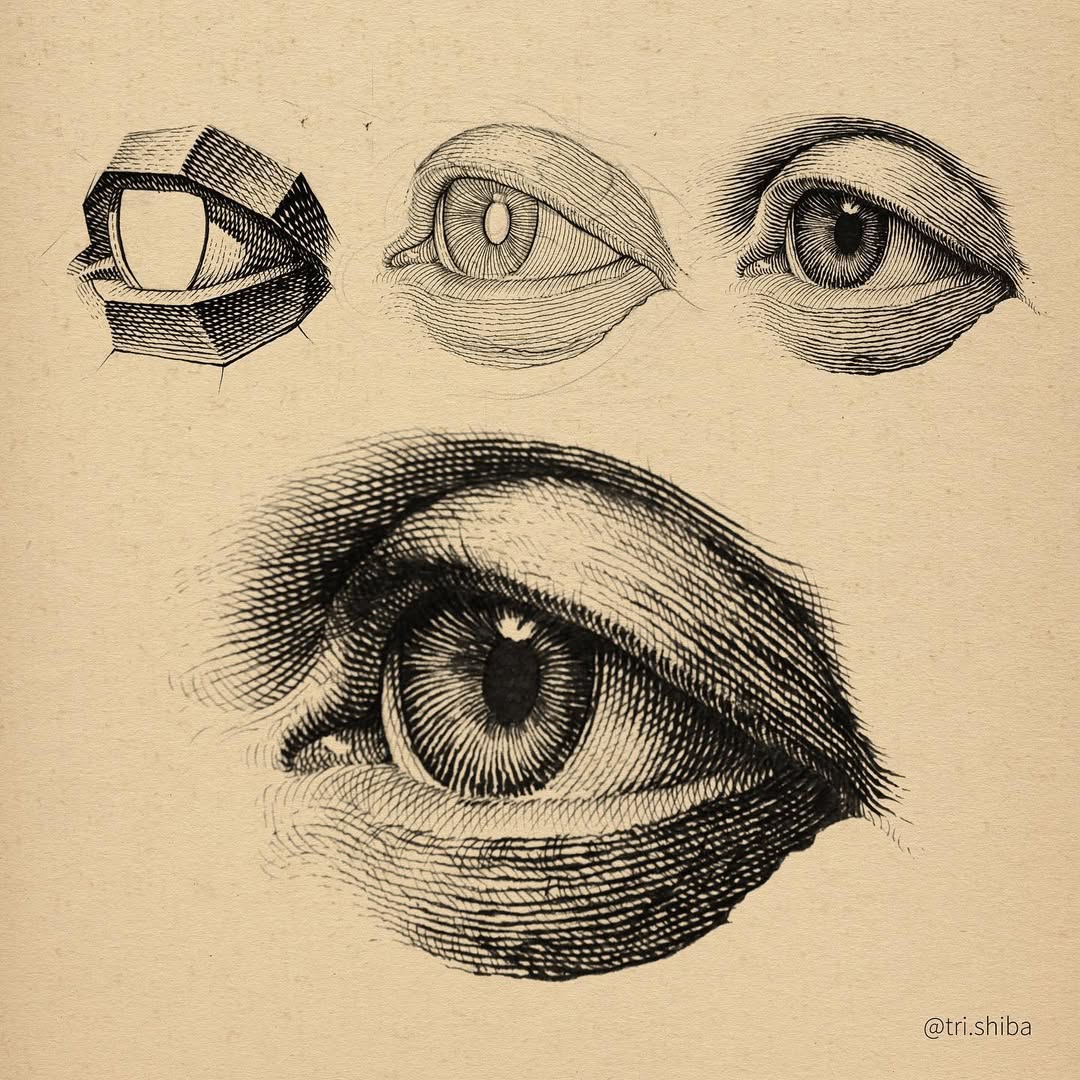
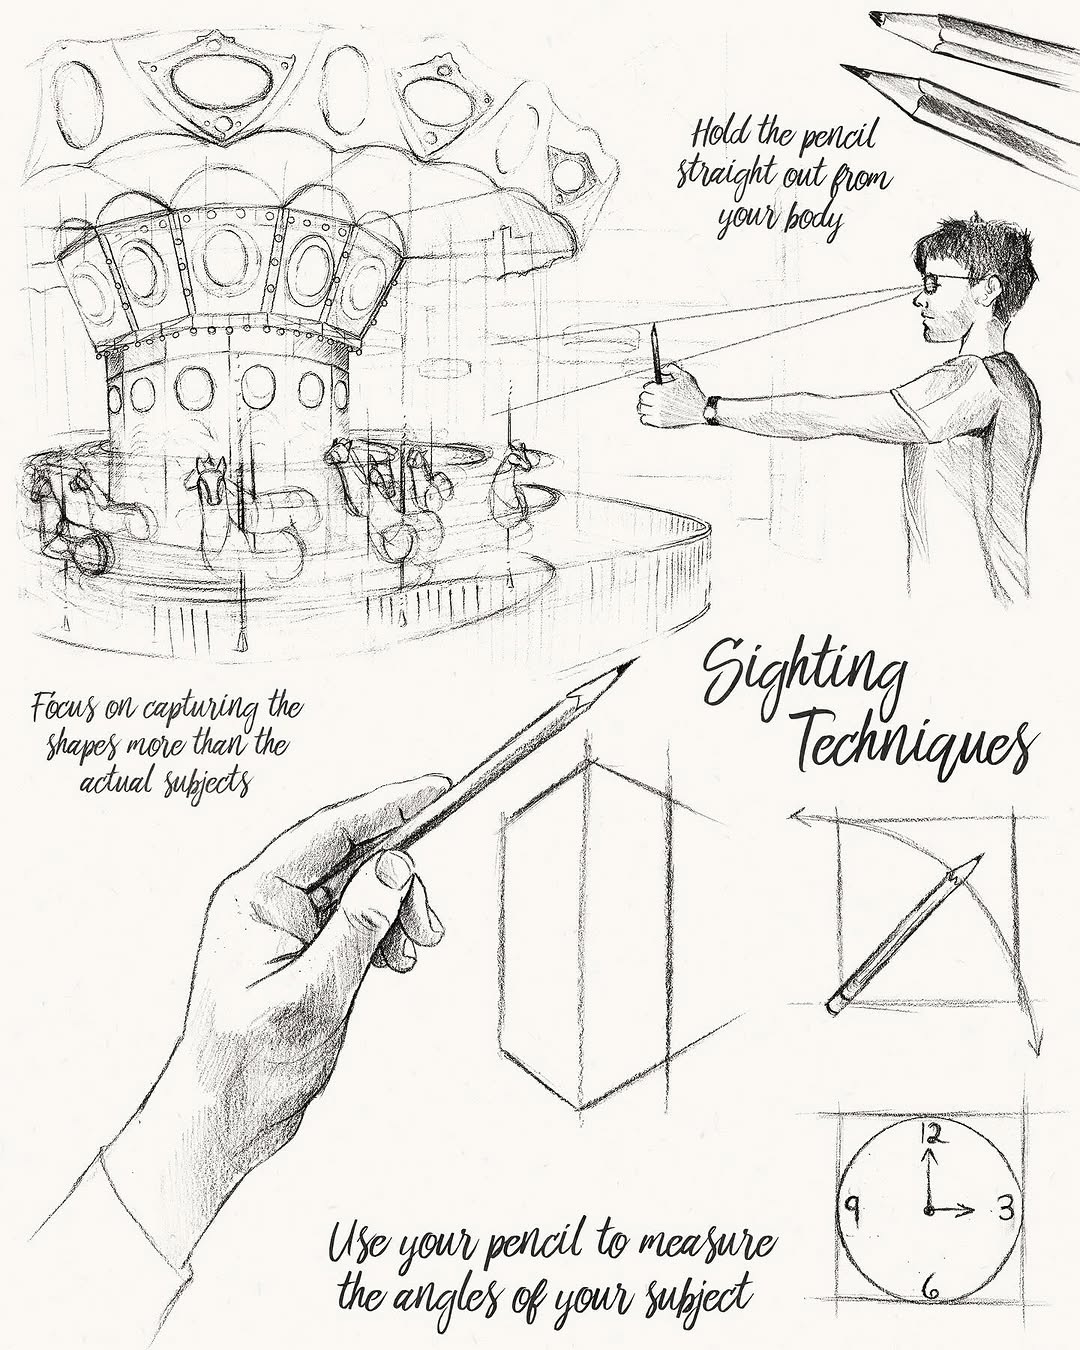
source @tri.shiba
One of the most essential skills every artist must develop is the ability to observe the world around them in great detail. Instead of just glancing at your subject, take the time to truly look at it. Pay attention to how light affects objects, the texture of surfaces, and the way shapes fit together. Artists see things differently than non-artists—they break down objects into shapes, study the way light hits them, and notice the smallest of details. The more you train your eyes, the better your ability to reproduce what you see onto the page.
12. Use the Grid Method for Accurate Proportions
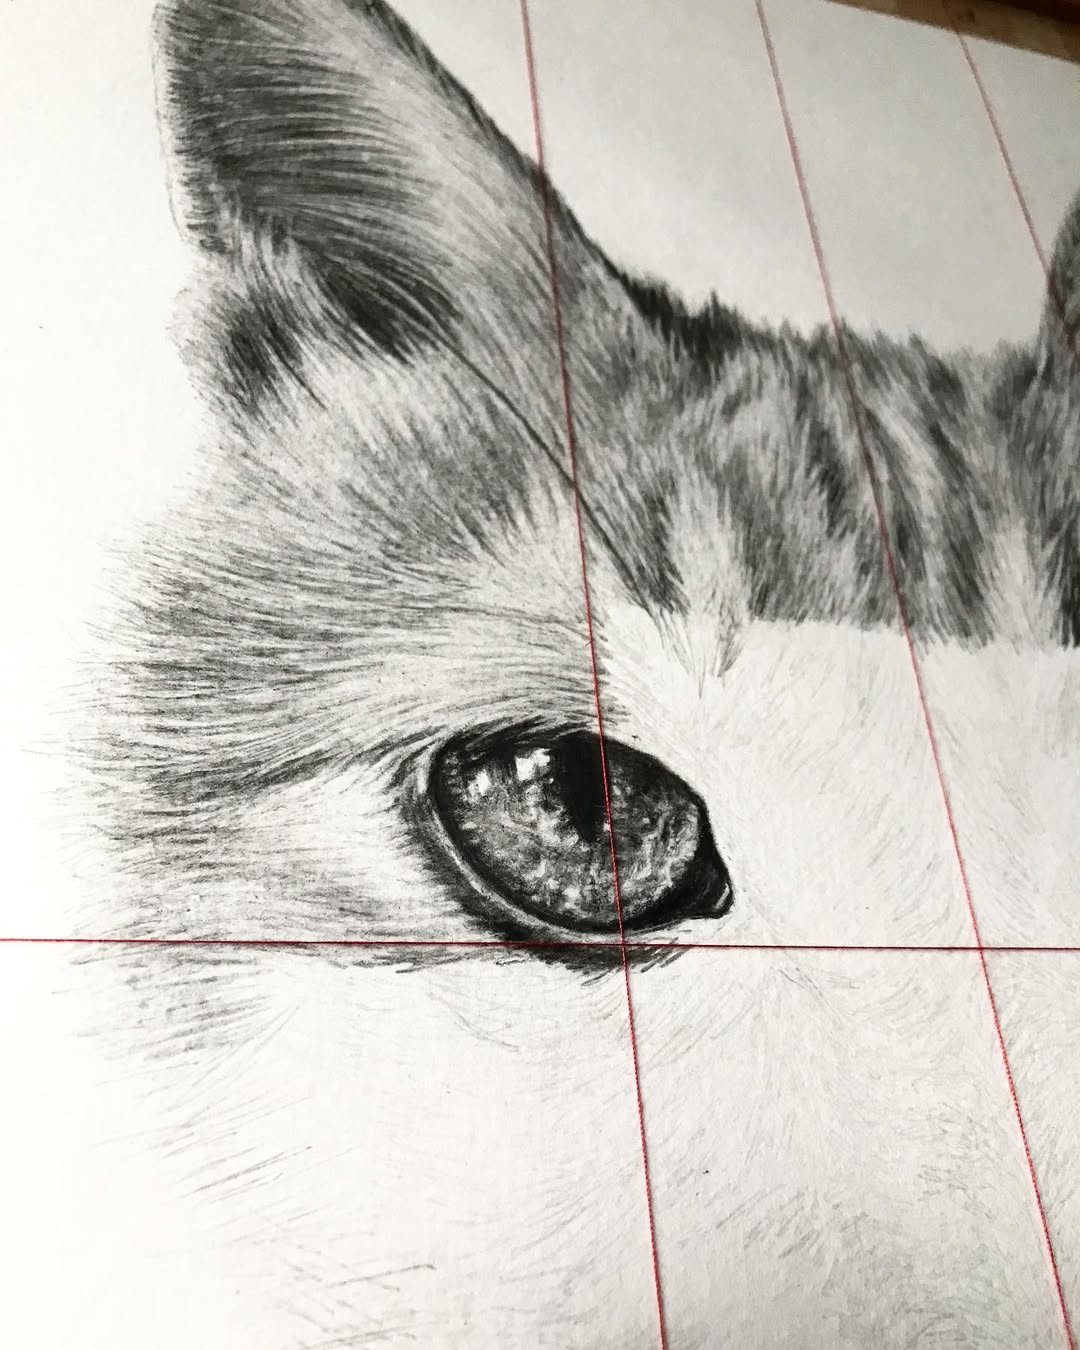
source @dnka.studio
If you’re struggling with proportions, the grid method is a simple yet effective technique to improve accuracy. You can print out your reference photo and overlay a grid, or use a grid tool to draw on your own paper. This technique helps break down a complex image into smaller, more manageable sections, making it easier to capture the details correctly. By focusing on one square at a time, you can ensure the proportions are accurate before you begin adding the finer details. The grid method is especially helpful when scaling up smaller drawings or transferring images from references.
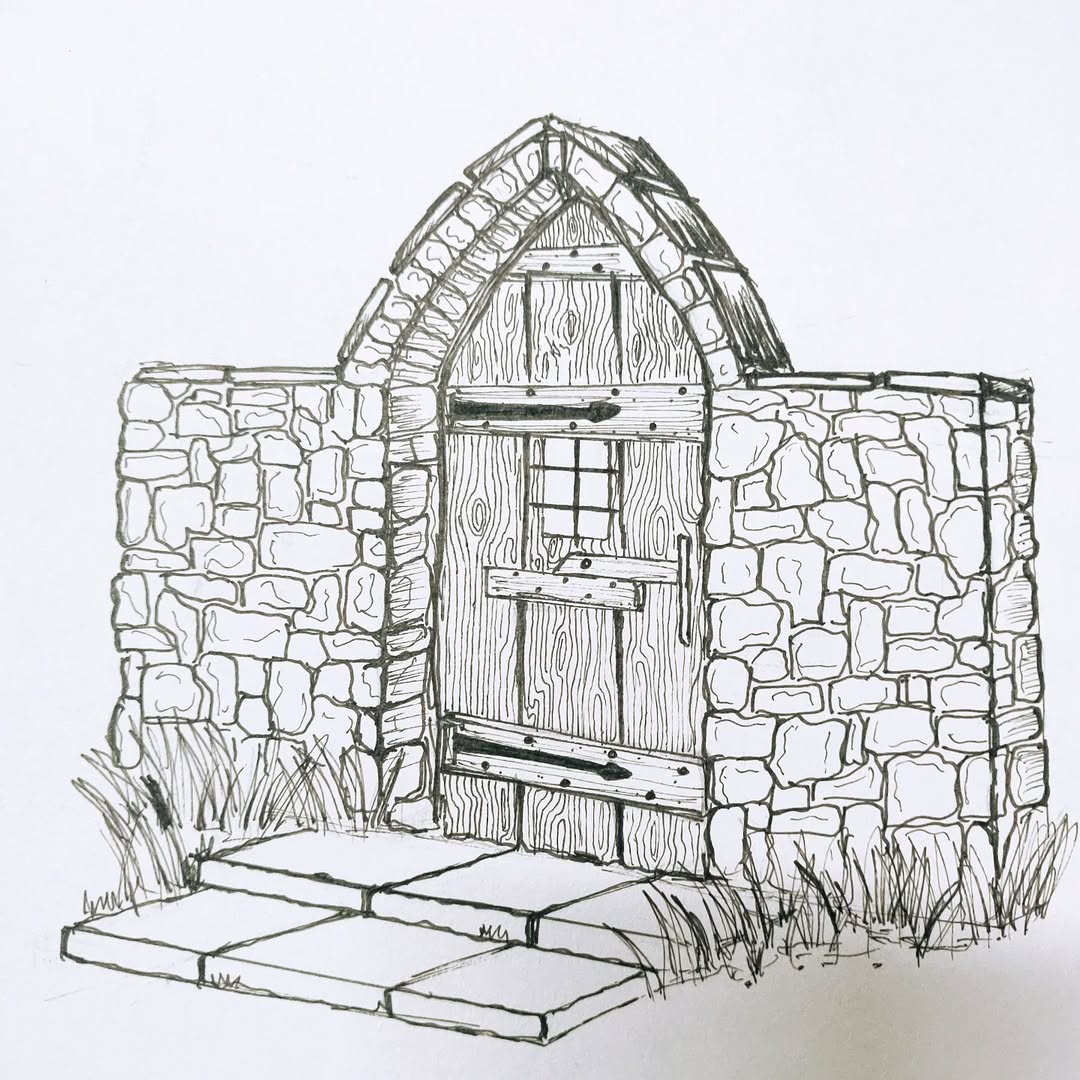
13. Learn Perspective Drawing Techniques
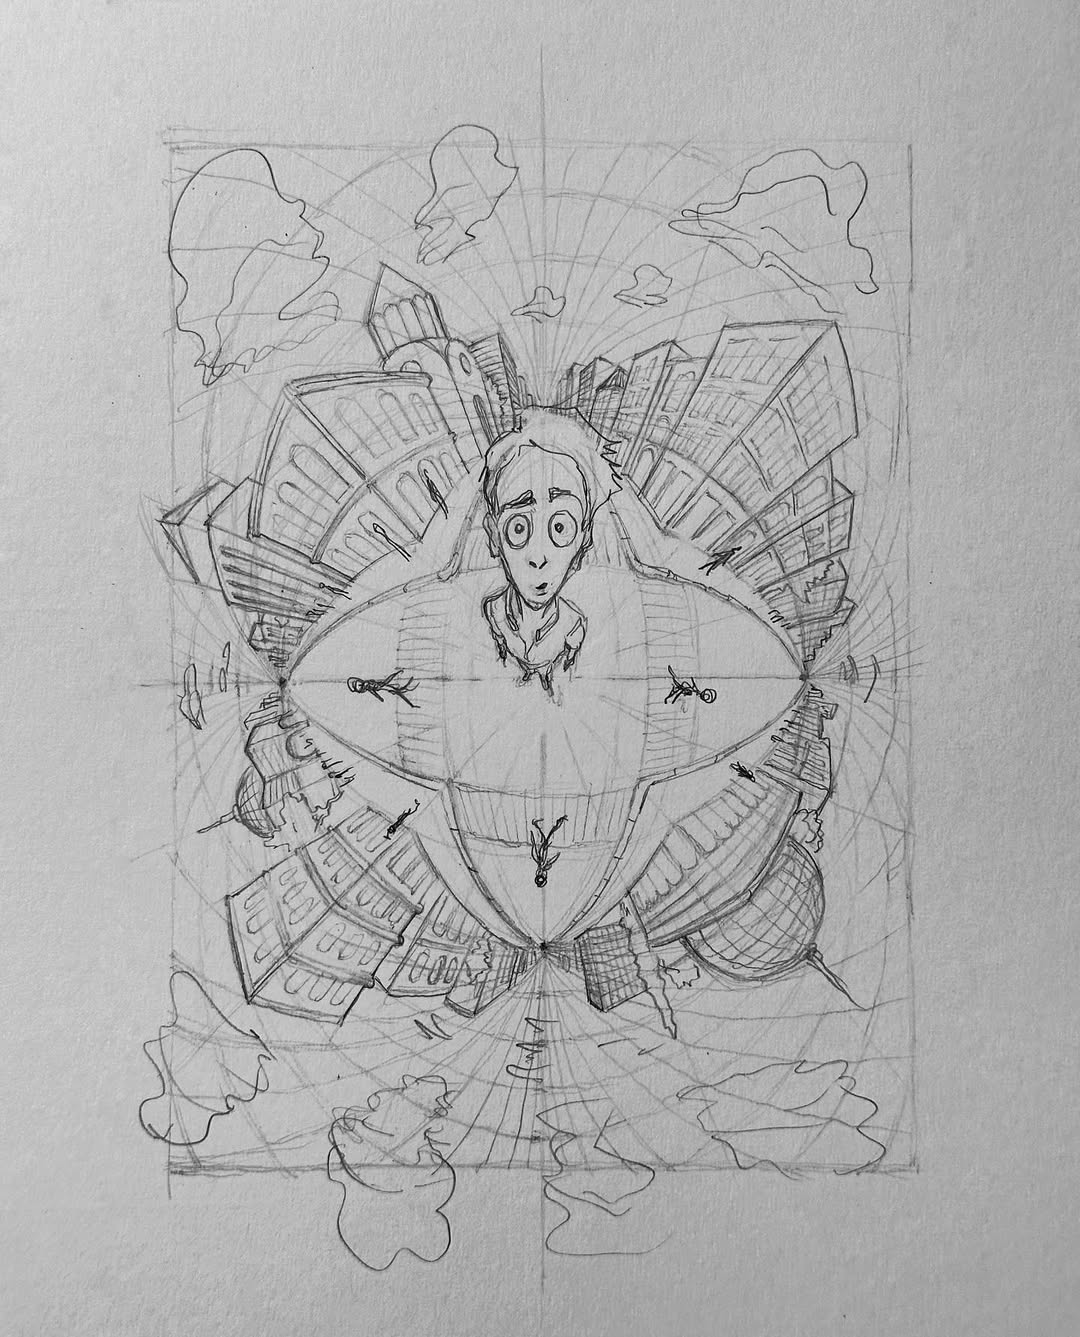
source @j.a.d.o.k.a.r
Mastering perspective is key to making your drawings look more realistic. Whether it’s one-point, two-point, or three-point perspective, these techniques are essential for accurately depicting the depth of objects in a scene. One-point perspective is ideal for objects like roads or railroad tracks that converge at a single point, while two-point perspective is perfect for architectural drawings. Three-point perspective, which adds an extra vanishing point, is ideal for drawing tall buildings or looking up at a subject. Learning how to apply these perspectives will help you create dynamic and convincing artwork.
14. Focus on Line Weight and Variation
source @the_design_venue
Line weight refers to the thickness of the lines in your drawing, and varying it can have a huge impact on the overall composition. Thicker lines can create emphasis and depth, while thinner lines add delicate details or background elements. Varying line weights also help create contrast, making your drawing appear more three-dimensional and visually engaging. When you focus on line weight, you can highlight key elements of your composition, drawing the viewer’s eye to focal points. Practicing this technique will give your artwork more depth and personality.
15. Sketch from Real Life, Not Just Photos
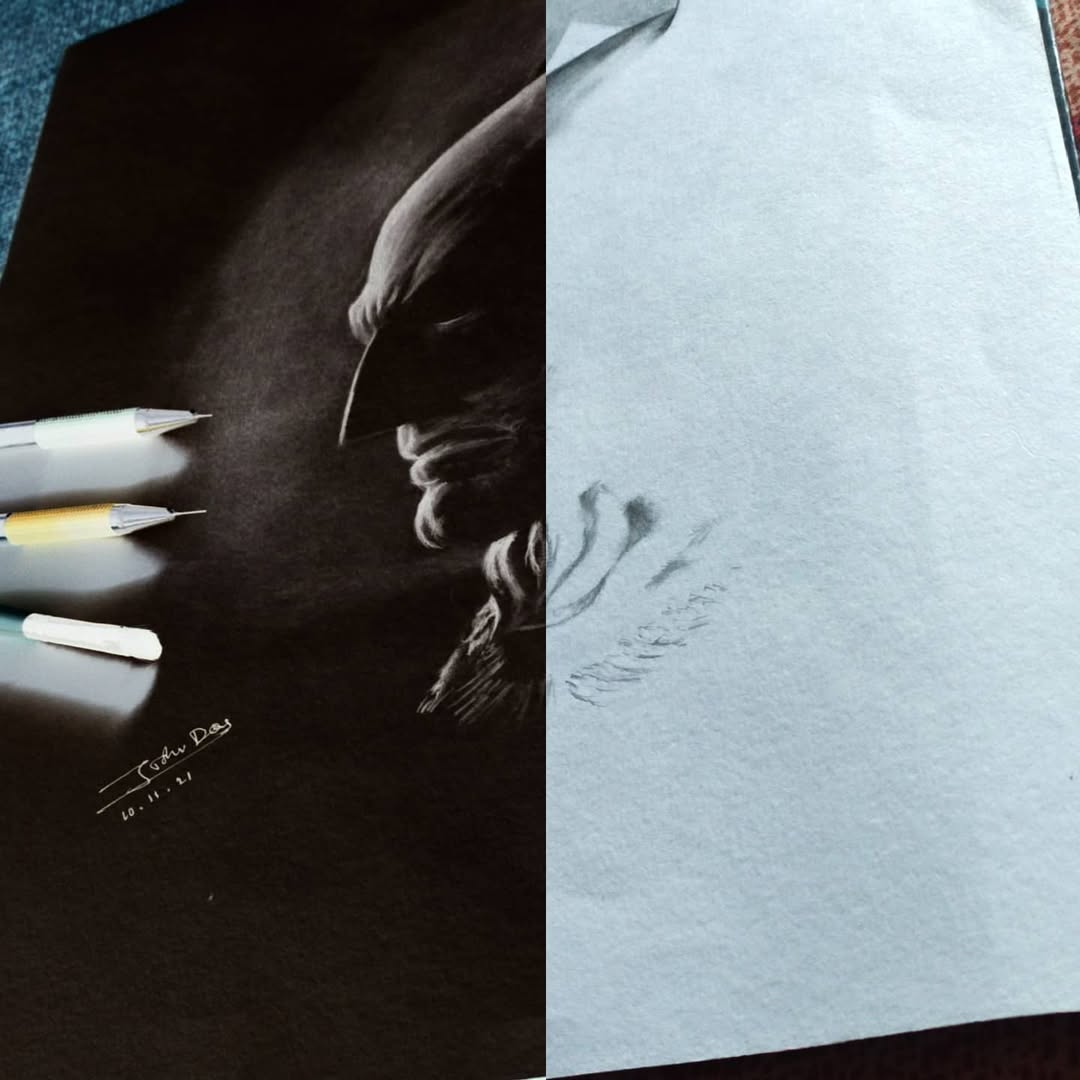
source @jishudas25
While photos can be a great reference, drawing from real life offers unparalleled learning opportunities. Real-life observation allows you to see subtle details that might be lost in a photograph, such as changing light, texture, and perspective. Whether it’s a flower, a person, or a scene outside your window, drawing from life helps you develop your observational skills and improve your accuracy. Try sketching people, landscapes, or even everyday objects, and you’ll start to notice how much better you understand proportions, anatomy, and form.
16. Use Erasers as a Drawing Tool
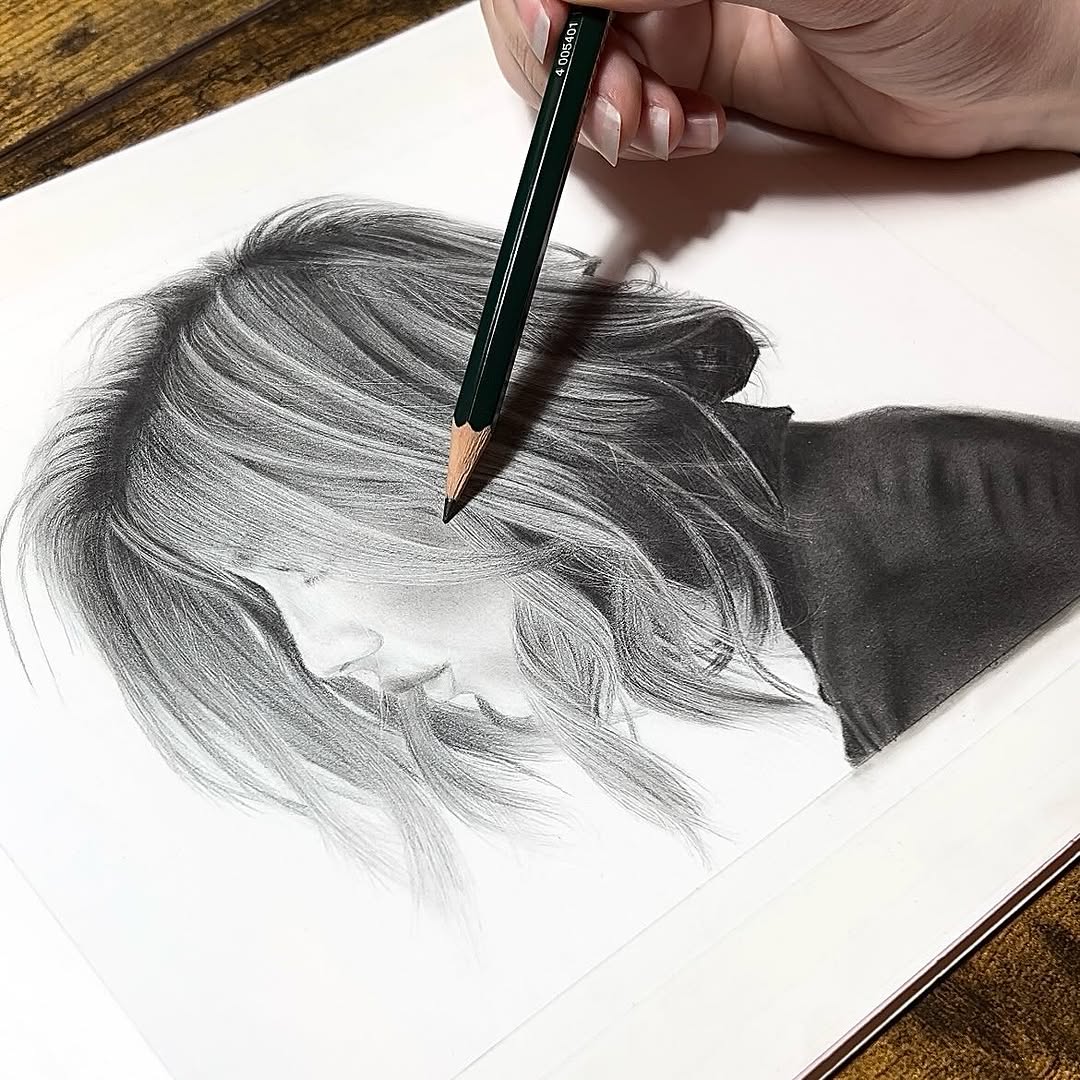
source @brittanyclareart
Many artists think of erasers as tools for mistakes, but they can also be used creatively to add highlights and texture. A kneaded eraser, in particular, is perfect for lifting graphite to create highlights in shaded areas. Instead of only using your eraser for corrections, think of it as a way to introduce light into your drawings, especially in areas that need a subtle touch of brightness. Precision erasers also allow you to add intricate details like highlights on eyes or strands of hair. By using erasers strategically, you can add dimension and contrast to your work.
17. Experiment with Different Drawing Mediums

source @ateliermouette
While pencils are a fantastic medium, experimenting with other materials like charcoal, ink, and colored pencils can help you take your art to new levels. Charcoal, for instance, is excellent for bold, expressive lines and deep contrasts. On the other hand, ink can add intricate detail and precision, while colored pencils provide the opportunity for vibrant, layered textures. By experimenting with different mediums, you’ll expand your artistic range and learn new ways to express your ideas. Consider adding colored pencils or charcoal to your Amazon shopping cart and discover how versatile your art can become.
18. Pay Attention to Negative Space
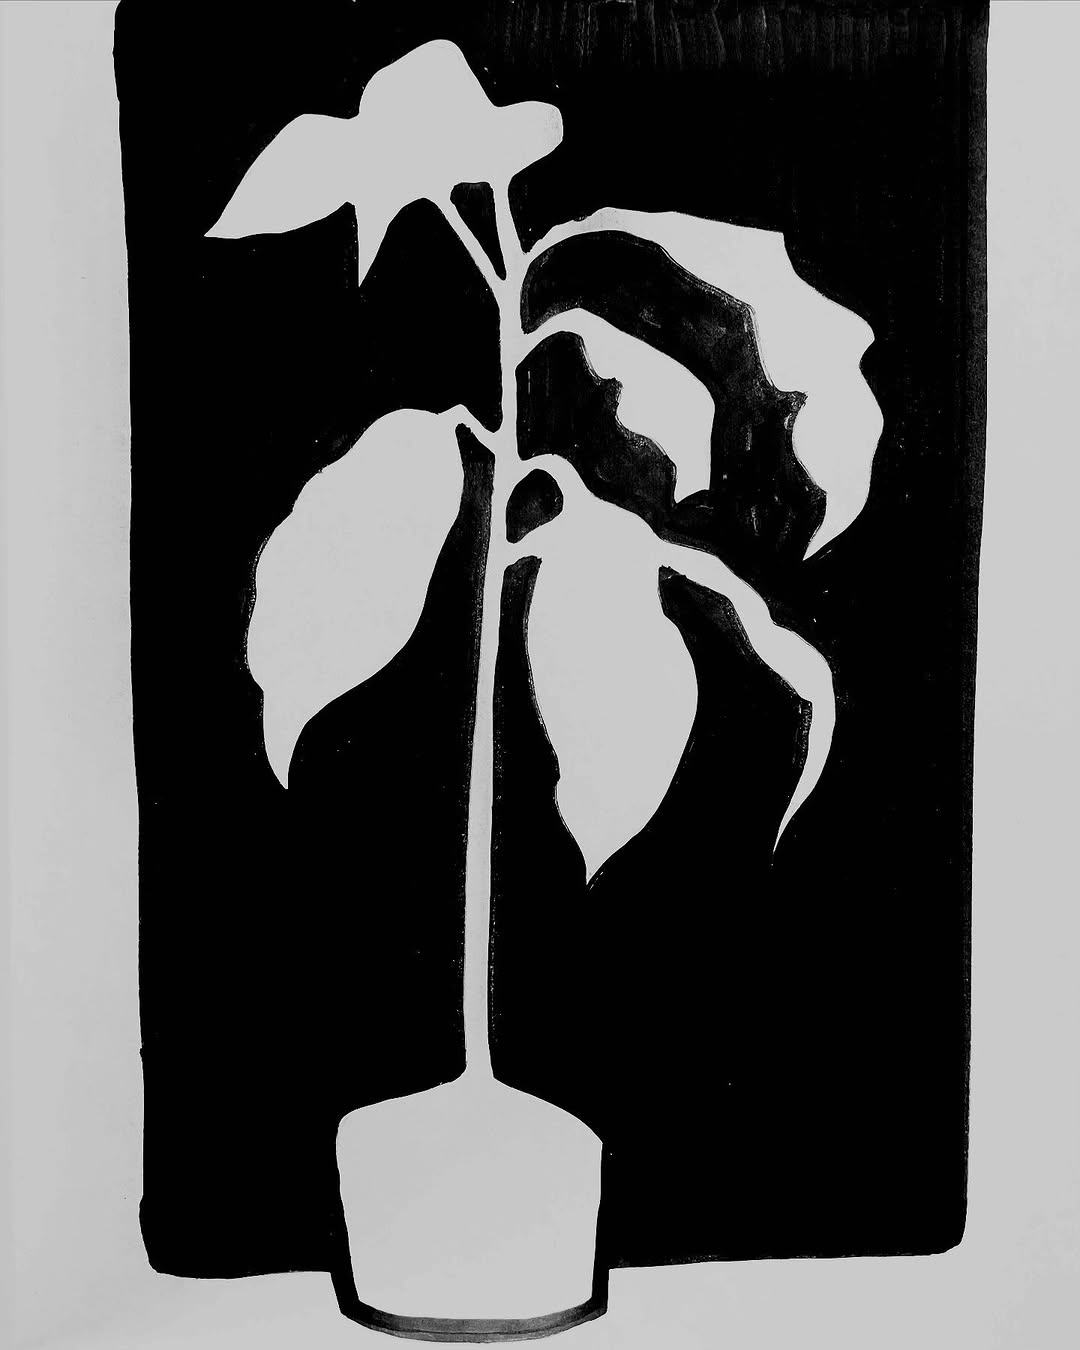
source @greymonkeymonk
Negative space is the area around and between the objects you’re drawing. While you might focus on outlining the subject itself, paying attention to the negative space can significantly improve your composition and perspective. Often, the shapes of negative space are as important as the objects themselves. By noticing the empty spaces around your subject, you can achieve a balanced composition and ensure proper proportions. Negative space can also be used creatively to add depth and dimension to your work, often enhancing the overall effect.
19. Create a Reference Library
source @j.a.d.o.k.a.r
Having a collection of reference images, books, or other artworks can inspire your creative process and help you learn new techniques. Whether it’s photographs of landscapes, still lifes, or portraits, a reference library allows you to study various subjects and styles. A good reference library also helps you understand different textures, lighting, and compositions, which will ultimately improve your own drawings. Make it a habit to save images or take photos that you can refer to for practice. You’ll be amazed at how much more confident you’ll feel with a reliable library to draw from.
20. Practice Drawing from Memory
source @bfa_entrance
One of the best ways to improve your drawing skills is to practice drawing from memory. While it may seem difficult at first, drawing without looking at a reference helps strengthen your visual recall. Start by sketching simple objects or scenes from your memory and focus on capturing their proportions, shapes, and details. As you practice, you’ll improve your ability to remember details more accurately and draw them more fluidly. Try keeping a sketchbook with daily memory exercises to track your progress.
21. Don’t Be Afraid to Make Mistakes
source @dream2draw
Every artist makes mistakes. In fact, mistakes are an essential part of the learning process. Rather than erasing every imperfection, allow yourself to embrace errors and learn from them. Mistakes can teach you valuable lessons about proportions, shading, and technique. When you make a mistake, instead of being frustrated, take a step back and analyze what went wrong. Understanding why something didn’t work can help you avoid making the same mistake in the future. Remember, every mistake is an opportunity for growth.
22. Join a Drawing Community or Take a Class
source @brightanimation
Sometimes the best way to improve your skills is to connect with other artists. Joining a local art group or taking an online drawing class allows you to get feedback, share ideas, and find inspiration. Engaging with other artists can help you stay motivated and give you fresh perspectives on your work. Whether it’s through social media, art workshops, or local meetups, connecting with fellow artists is a great way to expand your knowledge and sharpen your skills. Plus, having a community to share your progress with will keep you motivated to continue practicing.
23. Stay Consistent and Keep Practicing
source @pantonickartwork
Finally, the most important tip for improving your drawing is to stay consistent and practice regularly. The more you draw, the better you’ll become. Set aside time each day or week to sketch, experiment with new techniques, and refine your skills. Whether you draw for 10 minutes a day or an hour, consistent practice is the key to growth. As you continue to challenge yourself and develop new skills, you’ll notice your art improving in ways you never thought possible. Remember, artistic progress is a journey, and the more you practice, the better you’ll get.