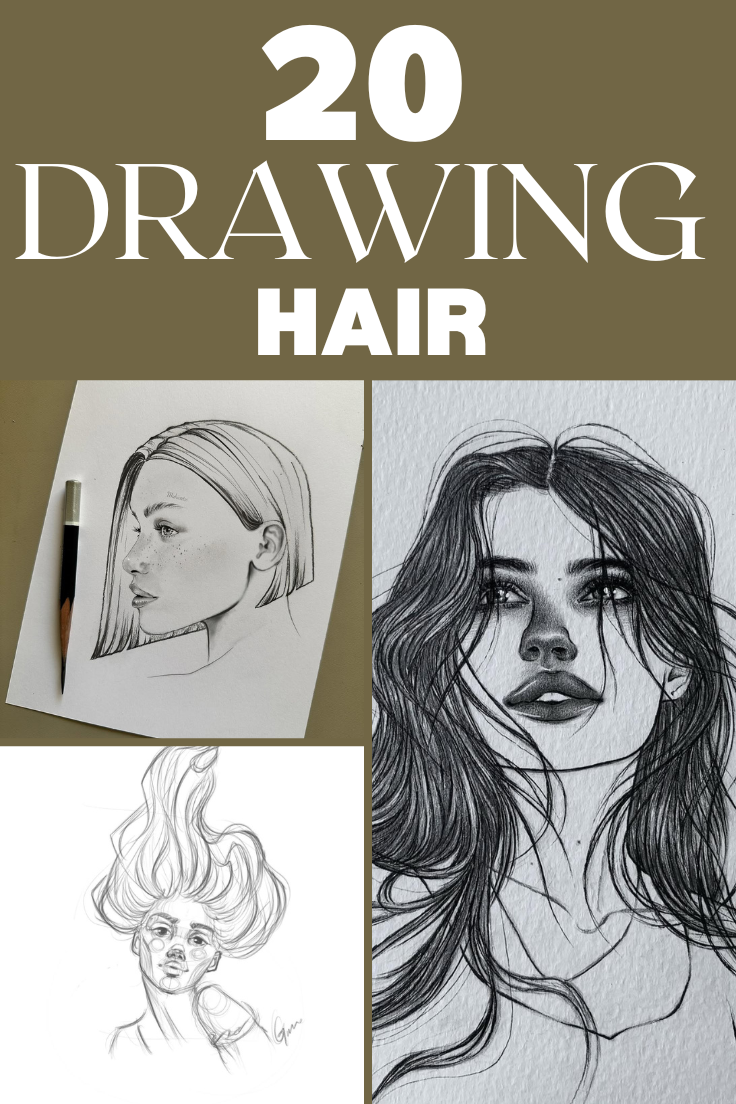
Drawing hair realistically can be a challenging yet rewarding skill for any artist. Whether you’re working with graphite, charcoal, or digital tools, mastering the art of hair drawing requires a solid understanding of texture, flow, and light. Hair is dynamic and full of movement, so capturing it accurately on paper involves more than just sketching a few lines—it’s about building volume, depth, and dimension. Many beginners struggle with making hair look flat, stiff, or unnatural, but with the right techniques, you can bring it to life. In this guide, we will explore 20 essential drawing secrets that will help you create beautifully detailed hair in your artwork. From selecting the right tools to understanding the nuances of shading, these expert tips will elevate your drawing game. Plus, we’ll recommend some must-have Amazon art supplies to make your creative journey even smoother. Whether you’re a beginner or an experienced artist looking to refine your skills, these tips will help you achieve professional-looking results.
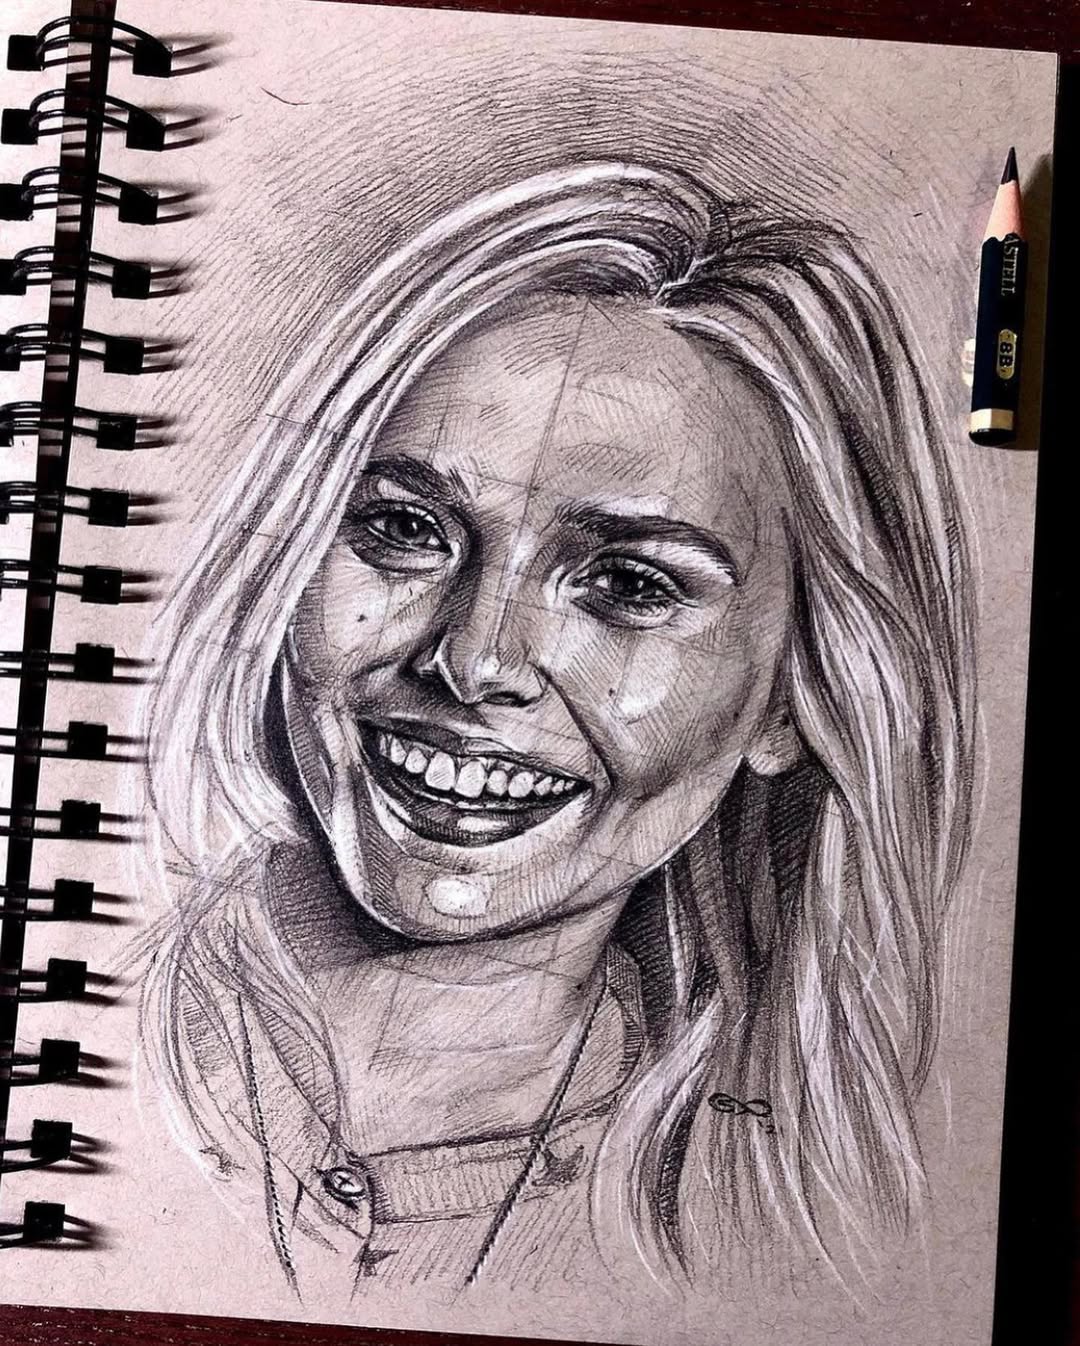
1. Understand Hair’s Natural Flow
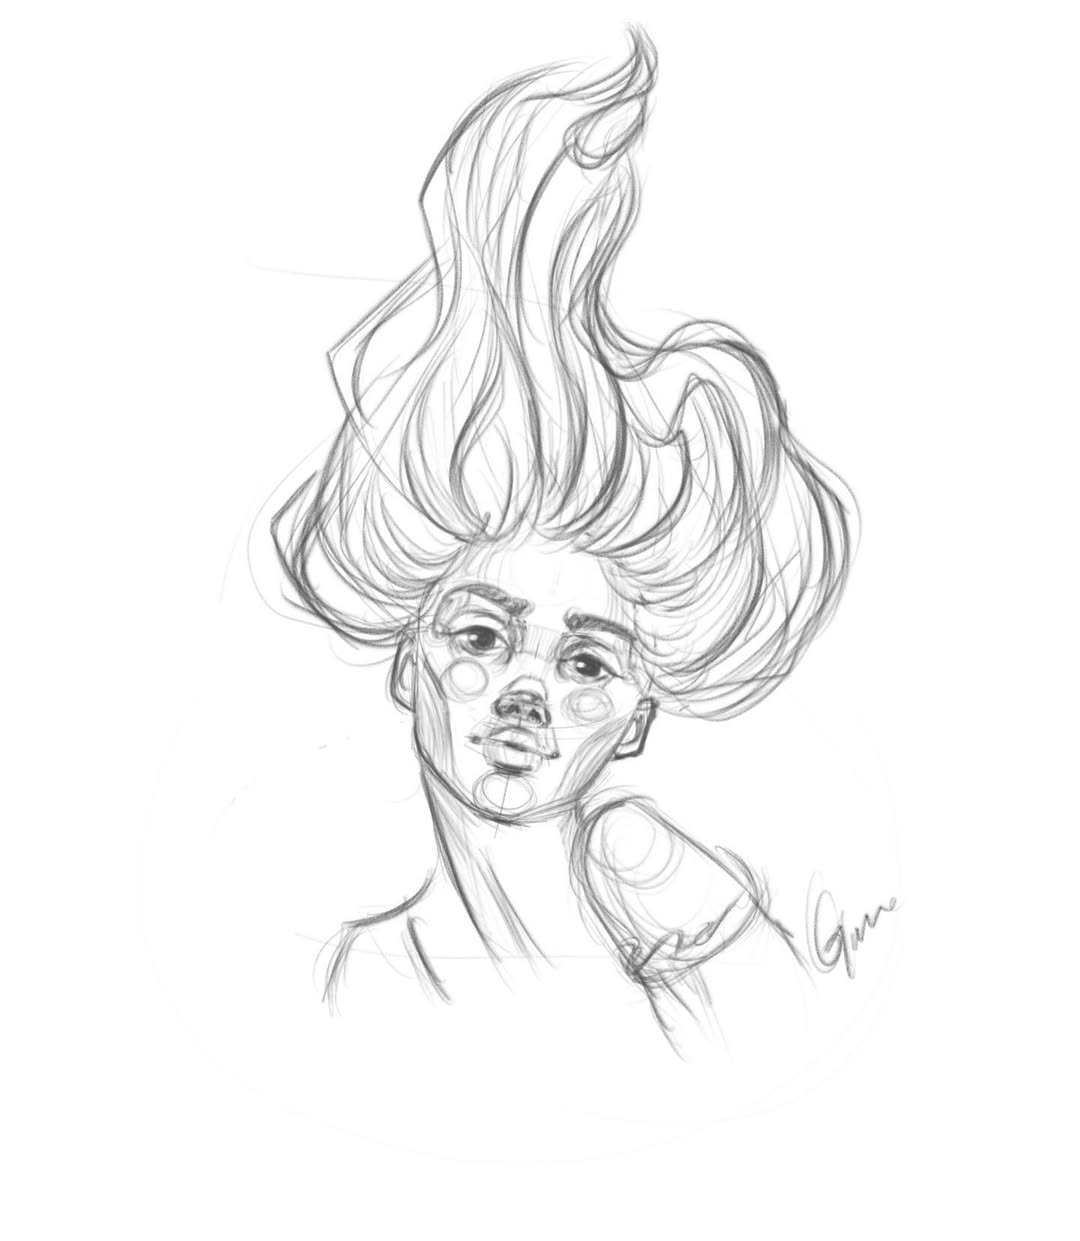
source @yingyingarts
Before you even start sketching, take time to observe how hair naturally falls and moves. Hair does not exist as individual strands but as sections that follow a flow dictated by gravity, hairstyle, and movement. When drawing, avoid making hair look stiff or uniform by following the direction of its natural curves and waves. Studying real-life references, such as portraits, fashion photography, or even your own hair in a mirror, will help you develop a better sense of its movement. By understanding that hair moves in clusters, you’ll be able to create drawings that appear more fluid and lifelike.
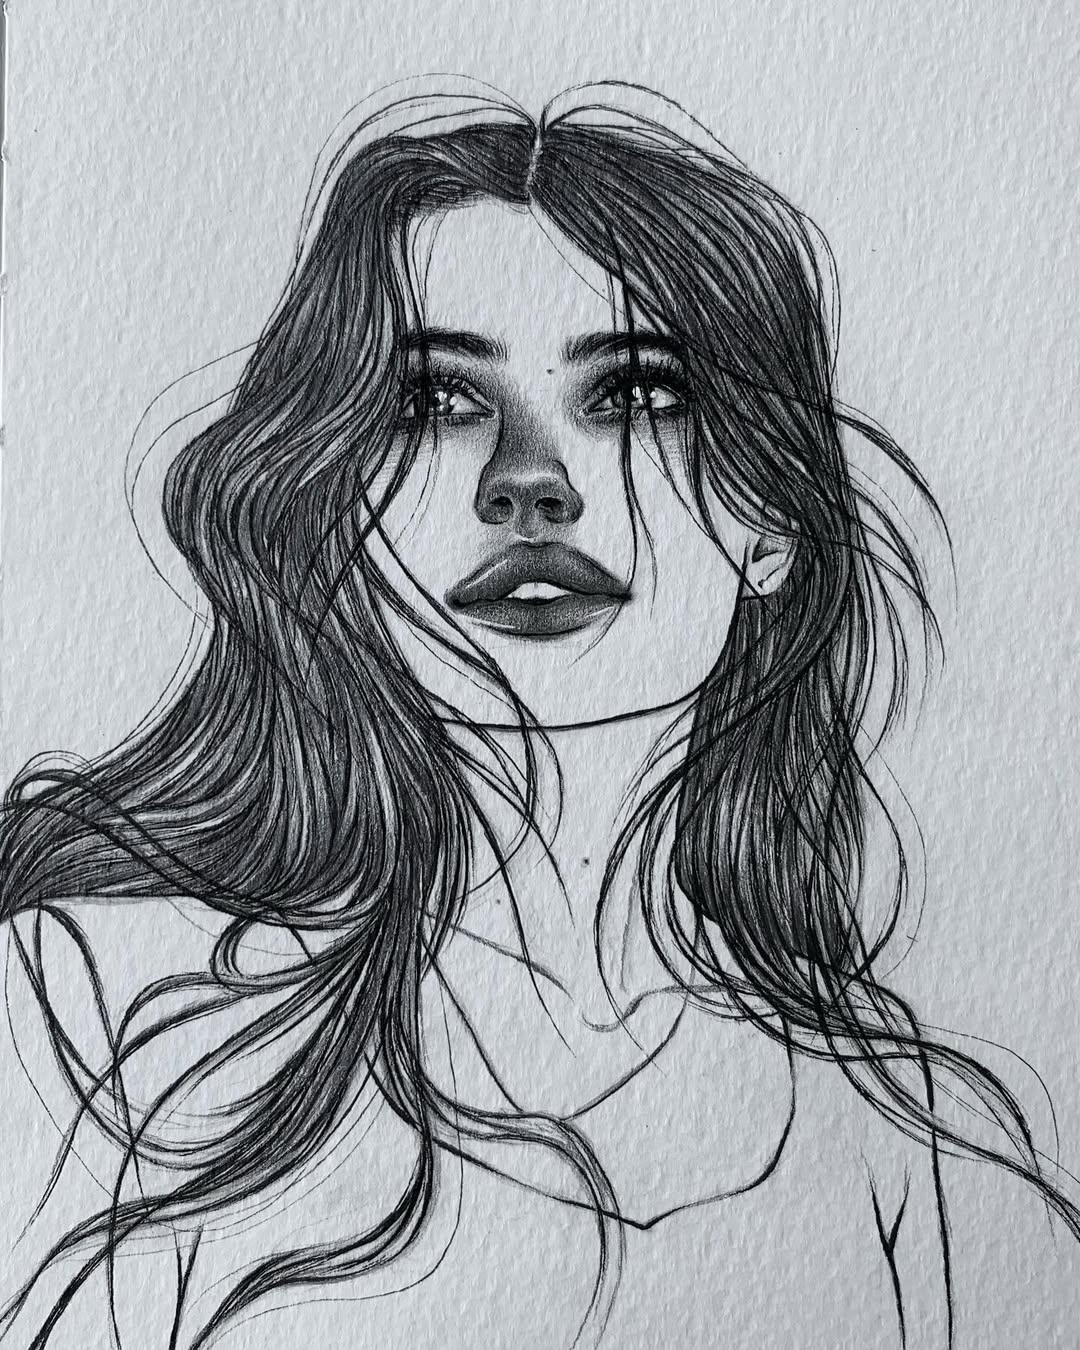
2. Use the Right Drawing Pencils
source @dev_art14
The type of pencil you use makes a huge difference in the realism of your hair drawings. A combination of hard (H) and soft (B) pencils will give you the right balance of precision and depth. Harder pencils (H, 2H) are great for light sketching, while softer pencils (B, 2B, 4B, and beyond) help add darker tones and contrast. Investing in a professional graphite pencil set will allow you to experiment with different grades and achieve the perfect balance of light and shadow. One excellent option is the Professional Graphite Pencil Set, which includes a variety of grades perfect for detailed hair rendering.
3. Sketch the Hair in Large Sections First
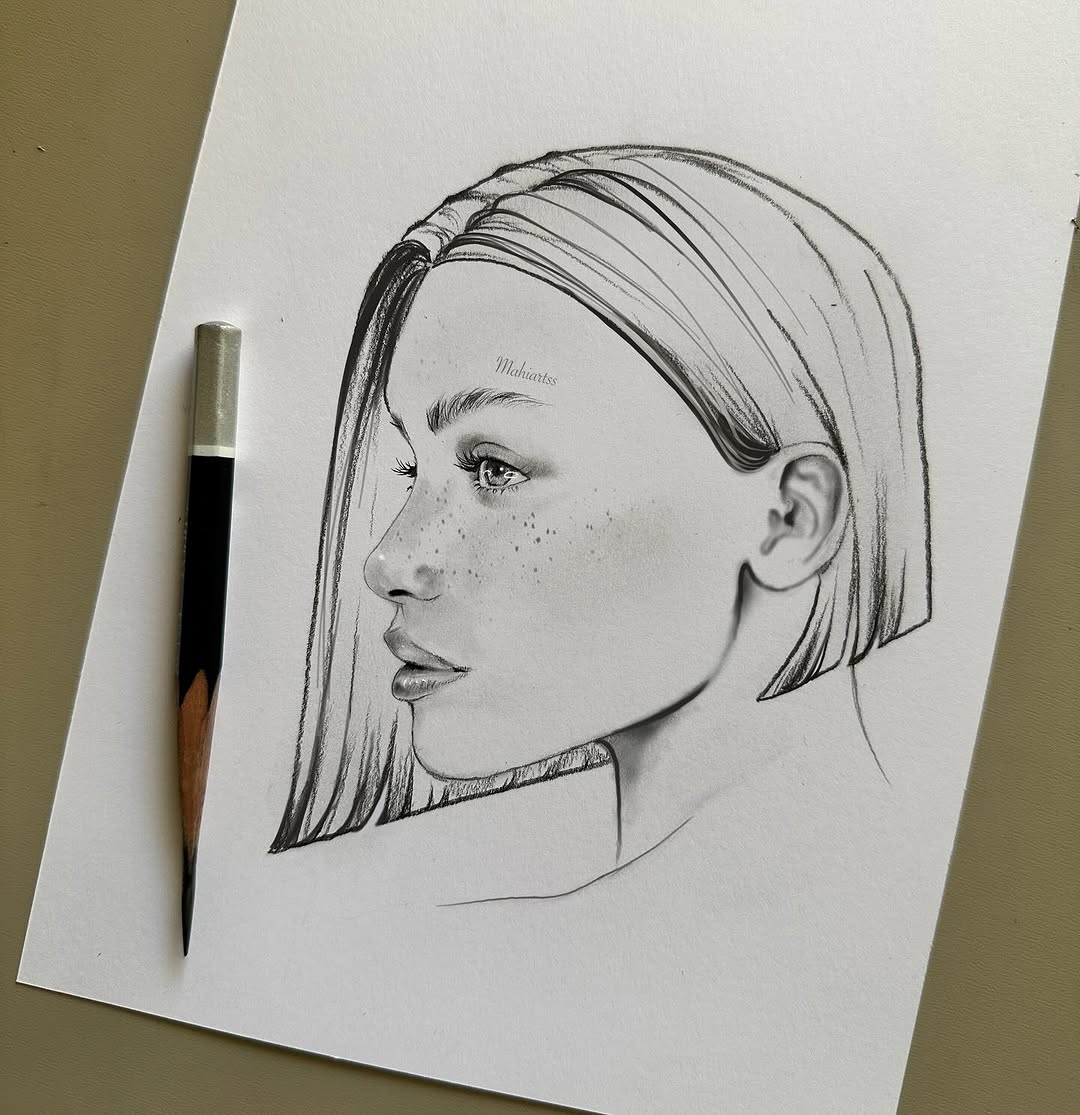
source @mahiartss
One of the most common mistakes beginners make is attempting to draw every single strand from the beginning. Instead, start by blocking out the hair in larger sections. This technique helps you establish the overall volume and shape before getting into finer details. Think of hair as having different layers, with some sections overlapping others. By focusing on the big picture first, you’ll avoid the common pitfall of making hair look too chaotic or disconnected.
4. Avoid Harsh Outlines
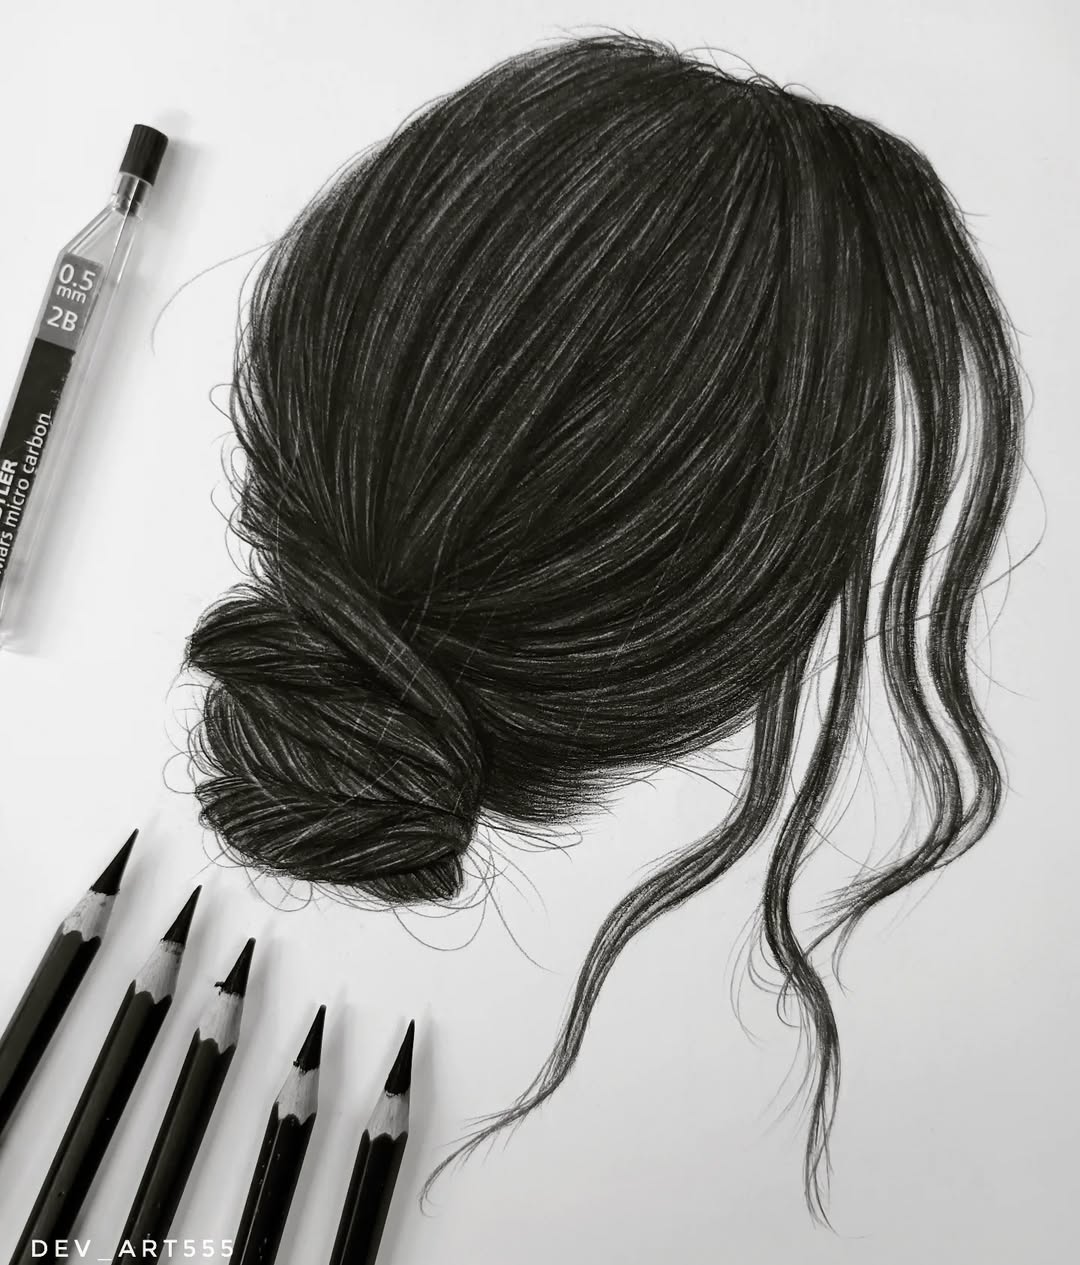
source @dev_art555
Hair doesn’t have a clear-cut outline like other parts of a drawing. Instead of drawing a solid outline, use soft, feathery strokes to create the illusion of hair fading into the background. This will prevent your artwork from looking cartoonish or artificial. If you’re working with graphite, blending stumps or tissues can help smooth out the transition between hair and skin, making it look more natural.
5. Layer Your Strokes for Depth
source @sinarty77
Creating realistic hair isn’t about drawing individual strands but layering strokes to achieve depth and volume. Think of hair as being built up in layers, just like in real life. Start with a light sketch to establish the overall shape, then gradually darken the areas where shadows naturally fall. Use short, light strokes rather than harsh lines, allowing layers to blend smoothly. The more layers you add, the richer and more natural the hair will appear. This technique works well for all hair types, from straight to curly. A high-quality graphite pencil set can help you create the perfect balance between light and dark layers.
6. Work from Dark to Light
source @lights_artt
One of the most effective ways to create depth is by working from dark to light rather than the other way around. Start with the darkest sections, such as the roots, underlayers, and areas where hair overlaps. Once you establish the dark regions, gradually work toward the highlights using lighter strokes. This method ensures a natural transition between shadows and highlights, making the hair look more voluminous. When using this technique, avoid pressing too hard at first—you can always darken areas later, but it’s difficult to erase deep pencil marks without smudging.
7. Use an Eraser for Highlights
source @brittanyclareart
Many artists mistakenly believe that highlights must be drawn, but in reality, erasers are just as important as pencils in hair drawing. A kneaded eraser is especially useful for lifting out highlights to create shine and contrast. For precise highlights, such as individual illuminated strands, try using an electric eraser, which allows for more controlled removal of graphite. If you’re working with charcoal or colored pencils, using a sharp eraser can help add realism by emphasizing light reflections.
8. Study Different Hair Textures
source @chatthair
Not all hair looks the same—wavy, curly, straight, thick, and fine hair each have their own unique patterns. To draw hair accurately, study different textures and understand how they behave. Straight hair tends to have smoother, flowing strokes, while curly hair requires circular, overlapping lines. For coarse or frizzy hair, use short, choppy strokes to mimic texture. A great way to practice is by referencing real-life photos or even running your fingers through different hair textures to understand how they move.
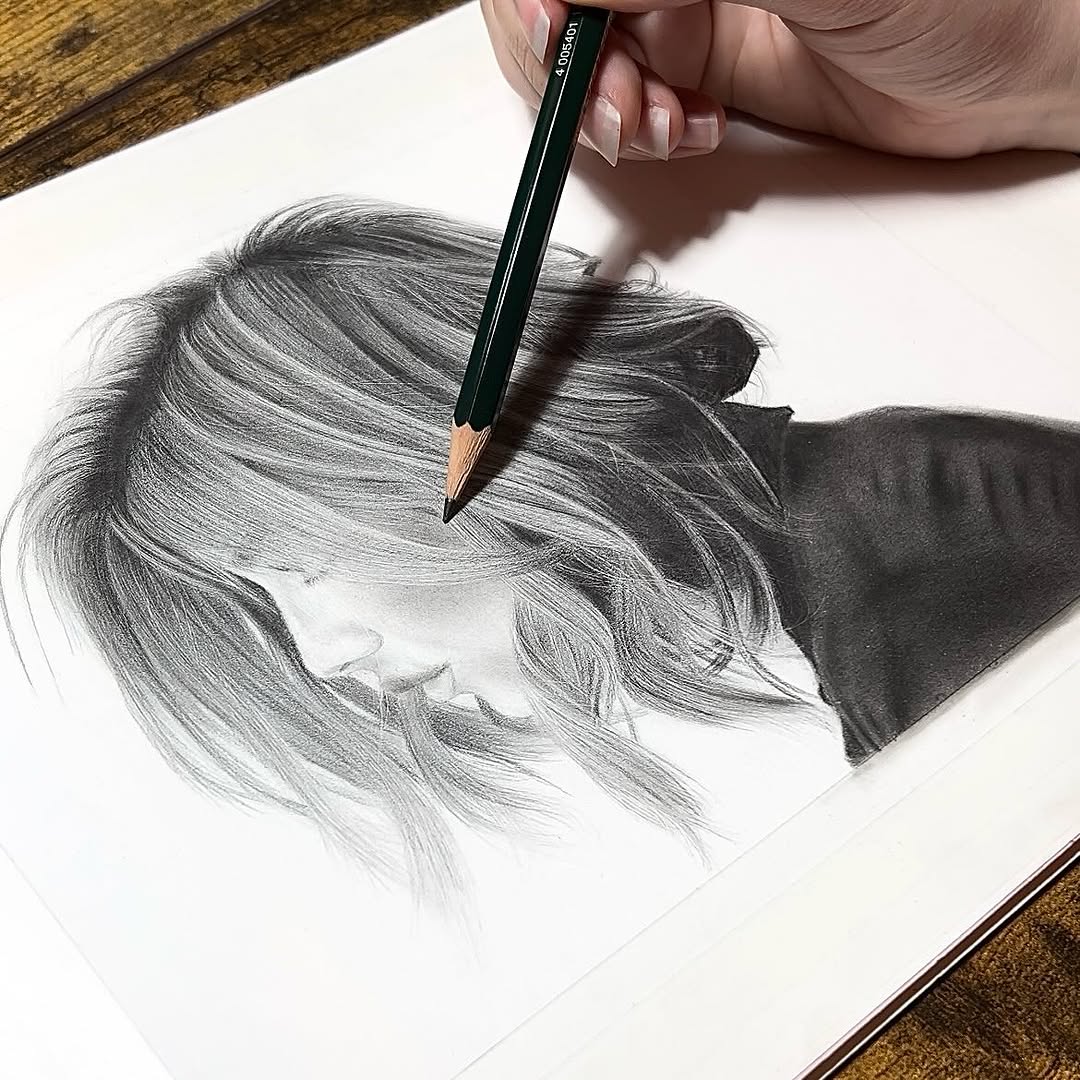
9. Blend with a Tissue or Blending Stump
source @staticmedium
Blending is a powerful technique that can make hair look softer and more natural. Instead of leaving harsh pencil lines, use a tissue, blending stump, or soft brush to smooth out transitions between dark and light areas. This technique is particularly effective for long, flowing hair where smooth shading enhances realism. Blending stumps and tortillons are perfect tools for achieving seamless gradients in hair drawings. However, avoid over-blending, as too much can remove necessary texture and detail.
10. Use Directional Strokes
source @hare_seaserpent
Hair follows a natural direction based on growth patterns and hairstyle. Pay close attention to the way hair falls from the scalp and ensure your pencil strokes follow the correct direction. For example, hair around the crown tends to radiate outward, while bangs may have a gentle curve. If you draw strokes randomly, the hair will appear unnatural. When working with short hair, use quick, short strokes, while long hair requires longer, flowing strokes to capture its movement.
11. Experiment with Different Mediums
source @lorigilbertart
Pencils aren’t the only medium for drawing hair. Charcoal, colored pencils, and ink each offer unique benefits for hair illustration. Charcoal is great for achieving deep blacks and soft shading, while colored pencils allow for layering of multiple tones to create realistic hues. If you work digitally, brushes in software like Procreate or Photoshop can simulate real-life hair textures. Experimenting with different tools will help you find a style that works best for you. Consider investing in a professional colored pencil set to practice various textures and colors.
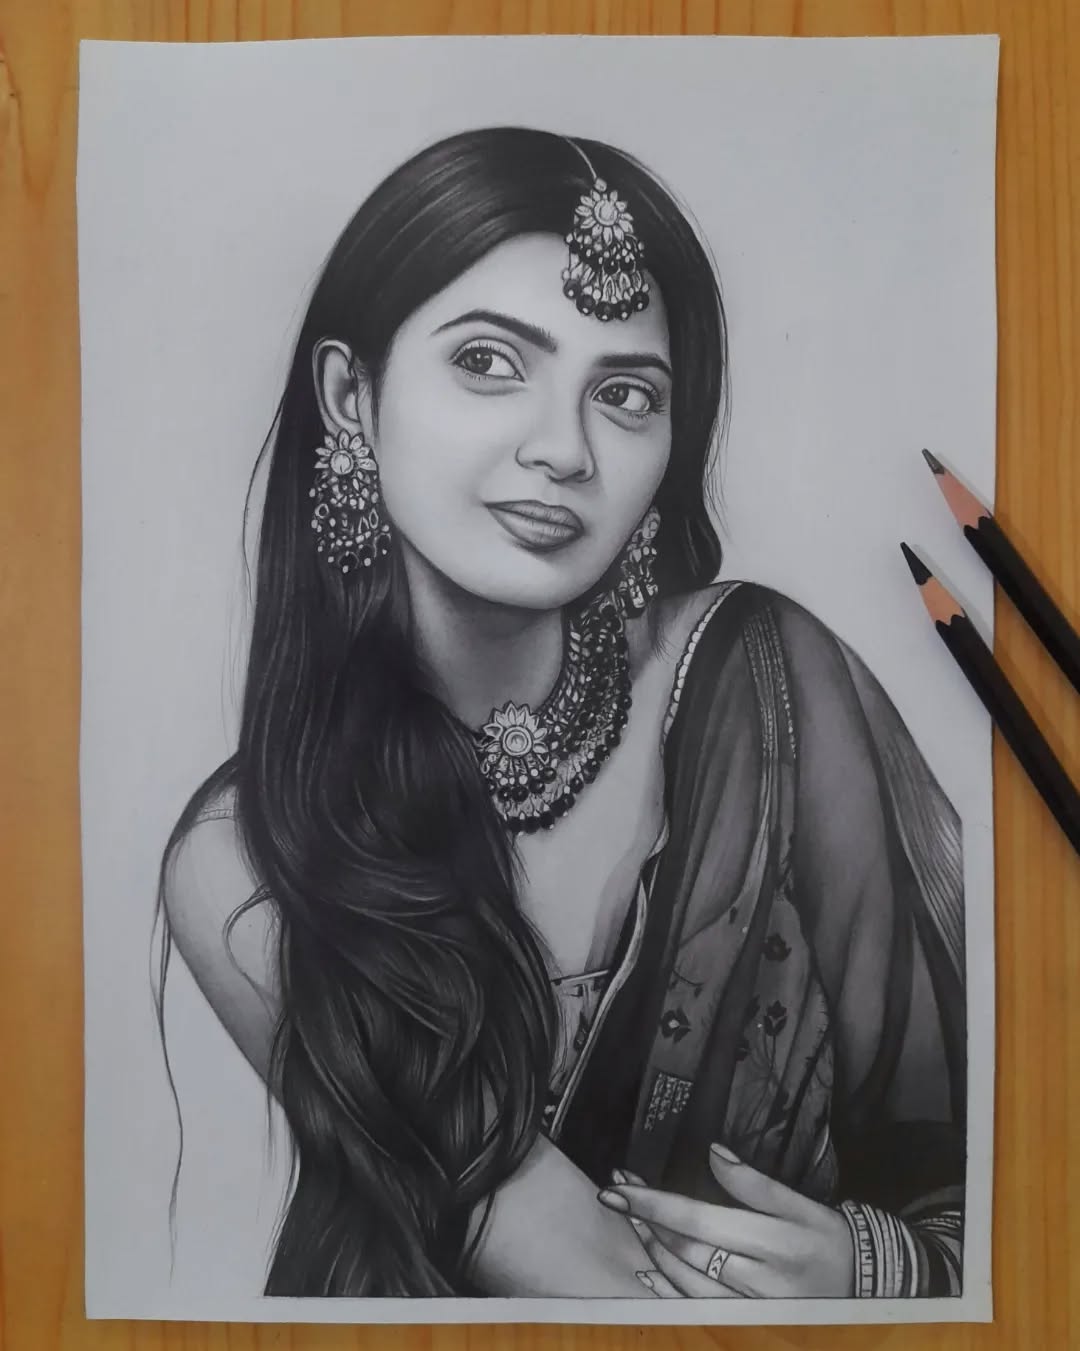
12. Pay Attention to the Hairline
A well-drawn hairline can make a portrait look incredibly lifelike. Avoid drawing a solid, straight line, as real hairlines are irregular with baby hairs and natural variations. Instead, use soft, light strokes to create a gradual transition from the forehead to the scalp. The hairline should blend naturally with the skin rather than looking like a separate section. This is especially important when drawing portraits with pulled-back hairstyles or short cuts.
13. Add Flyaway Strands for Realism

source @aadil_arts_
Perfectly smooth hair rarely exists in real life. Stray hairs, baby hairs, and loose strands make a drawing look more natural. Adding flyaway hairs around the edges of the hairline or outer sections of the hairstyle can break up stiffness and enhance realism. However, be careful not to overdo it—too many stray hairs can make the drawing look messy rather than natural. Light, wispy strokes work best for this technique.
14. Create Volume with Contrast
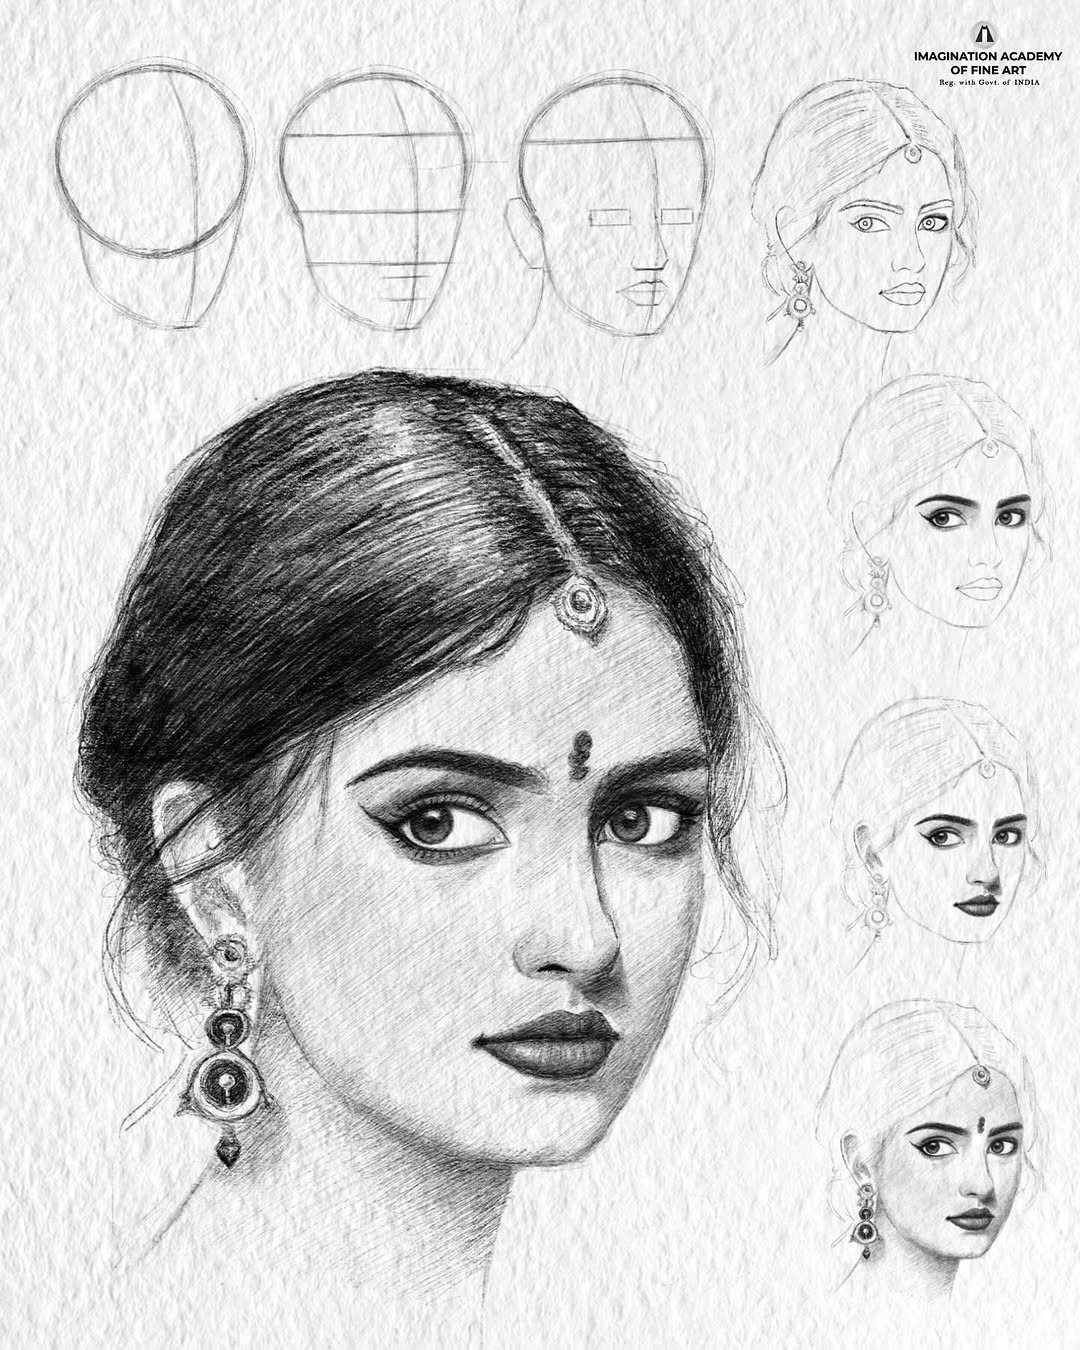
source @imaginationacademyoffineart
Flat hair often results from a lack of contrast. Deepening the shadows and lightening the highlights will instantly make the hair appear fuller and more dimensional. When drawing dark hair, don’t be afraid to go deep with shadows, but always leave highlights where light naturally hits the strands. Conversely, for light hair, use soft shading to define shape while keeping highlights bright. Using a white gel pen can help add final highlights for extra shine on glossy hair.
15. Reference Photos Are Key
source @rochewoodworthillustration
Even experienced artists rely on reference images to capture realistic hair. Looking at photos can help you understand lighting, movement, and texture variations. Study how light interacts with hair, especially in different environments—sunlight creates harsher highlights, while indoor lighting is softer. If you’re struggling with a particular hairstyle, use multiple references to understand its structure better. A great artist’s reference book can provide endless inspiration and guidance.
16. Be Patient with Braids and Curls
source @kiya_art20
Braids and curls require a structured approach to look natural. Instead of drawing every strand separately, break the braid or curl into basic shapes first, then gradually refine details. Braids follow an interwoven pattern, while curls spiral with different tightness depending on hair type. Take your time with these complex textures—rushing will make them look unnatural. Using a fine-tip mechanical pencil can help create the precise lines needed for intricate patterns.
17. Use Digital Tools for Practice
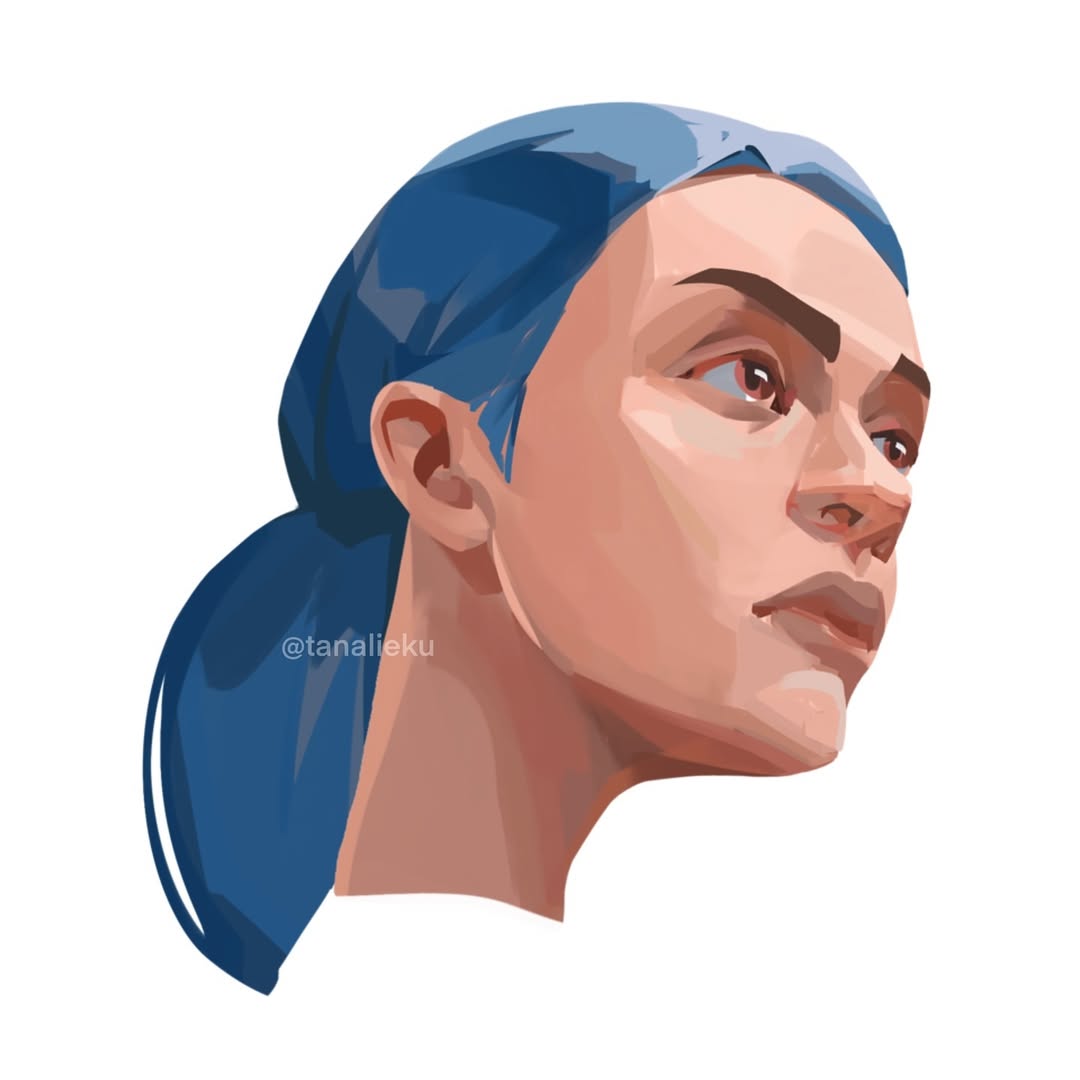
source @tanalieku
If you’re a digital artist, take advantage of drawing apps like Procreate, Photoshop, or Clip Studio Paint to practice hair techniques. Digital tools allow for easy undoing, experimenting with different brushes, and adjusting lighting effects. A tablet with a stylus can help refine your digital hair-drawing skills, making it easier to test different styles and textures without worrying about erasing mistakes. Many artists use a combination of digital and traditional methods to perfect their technique.
18. Keep Practicing Light and Shadow
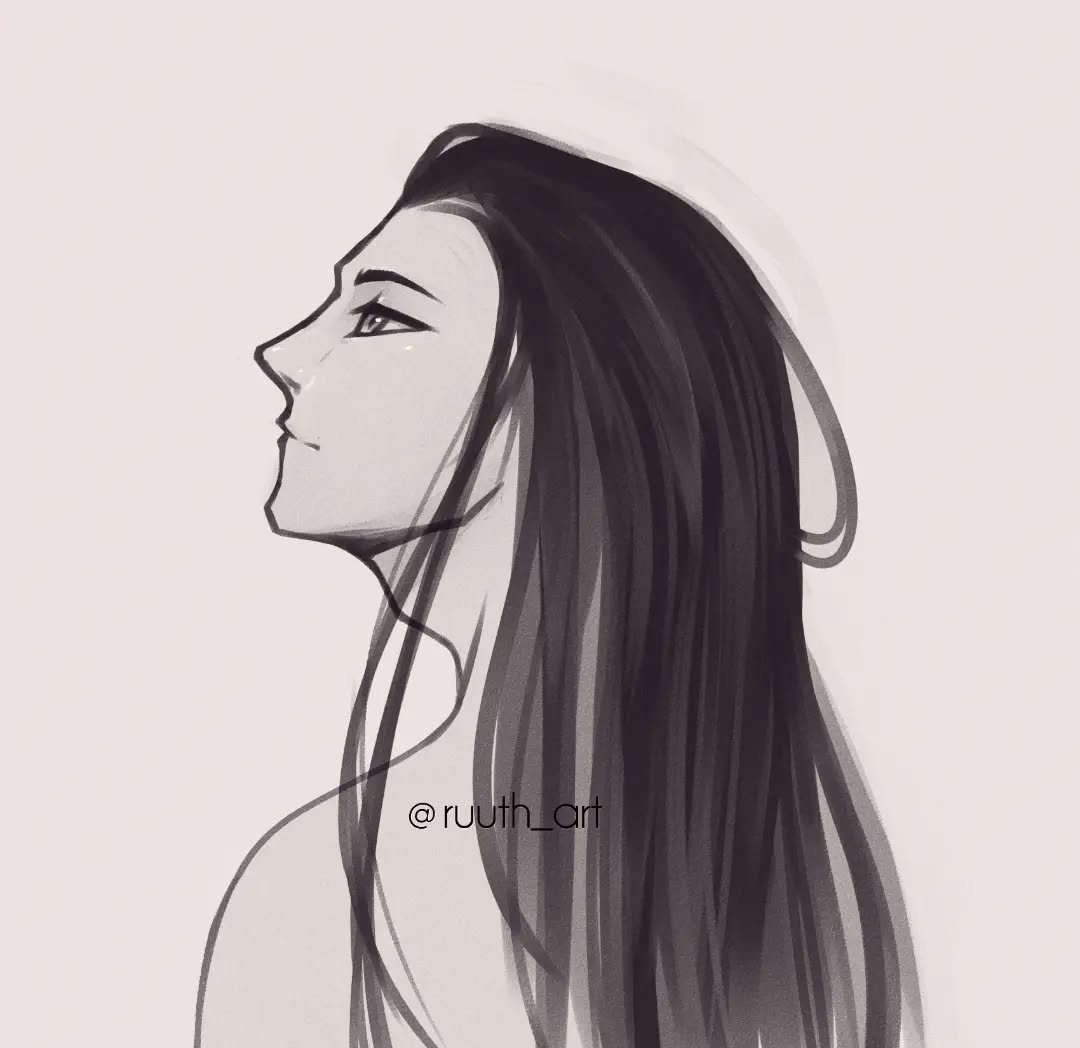
source @rvvth_art
Shading is one of the most crucial aspects of hair drawing. Without proper light and shadow placement, hair can look flat. To improve, study how real hair interacts with light. Practice drawing spheres and cylinders with different lighting conditions to better understand how shadows and highlights work. Applying these shading techniques to hair drawings will dramatically improve their realism.
19. Don’t Overwork Your Drawing
source @hassaneart
It’s easy to get carried away with details, but sometimes less is more. Overworking a drawing can make hair look too rigid or artificial. If you find yourself going over the same area too many times, step back and assess whether additional strokes are really necessary. If hair starts looking too uniform or unnatural, use an eraser to soften certain areas and bring back natural imperfections.
20. Have Fun with It
source @foxclover_art
At the end of the day, drawing hair is about creativity and self-expression. While technical skills are important, don’t stress about achieving perfection. Experiment with different techniques, have fun with new tools, and allow yourself to enjoy the learning process. The more you practice, the better you’ll become. Every artist has their own style, so embrace yours and let your artistic voice shine through your work!