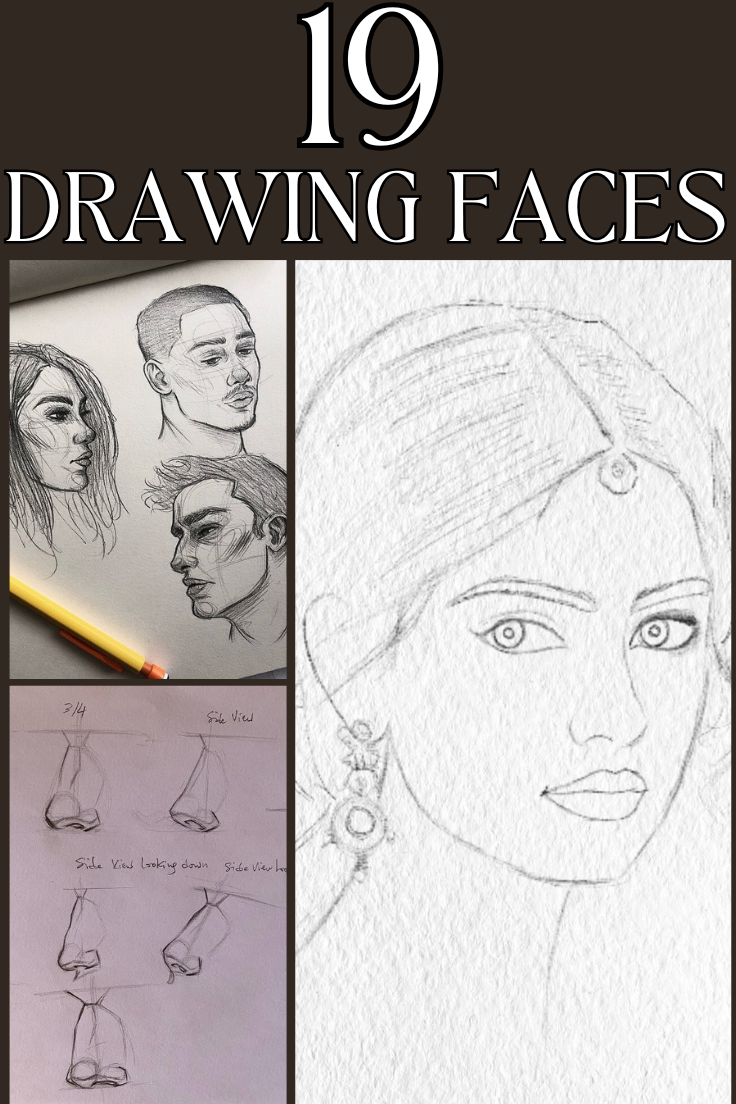
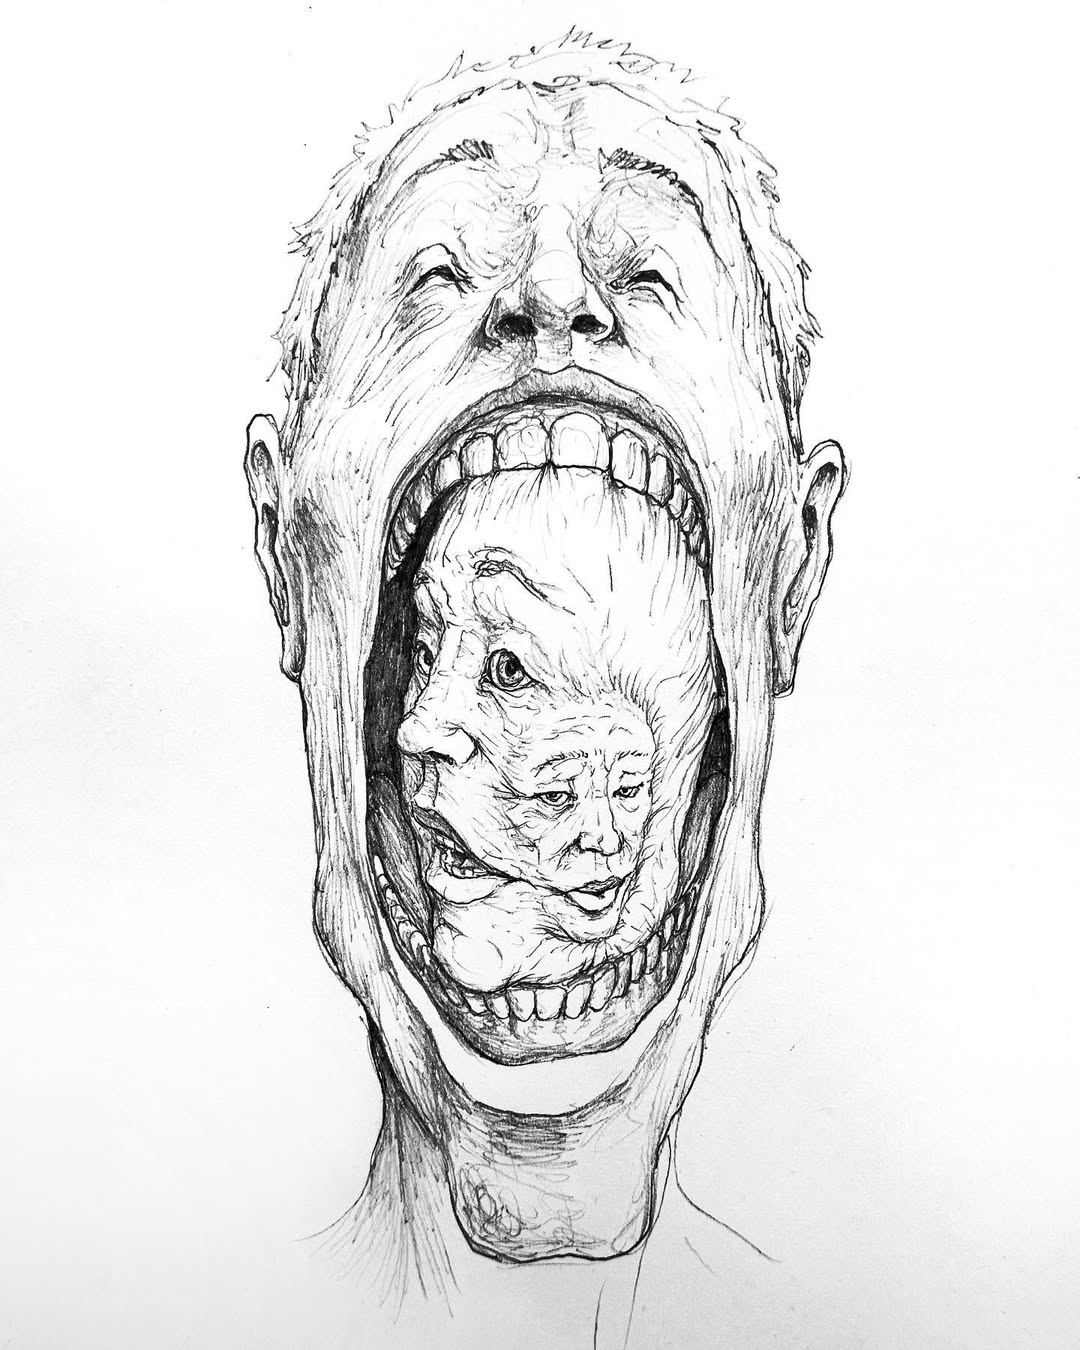
Drawing faces is one of the most fascinating yet challenging aspects of art. A well-drawn face captures personality, emotion, and likeness in a way that makes the artwork truly come alive. Whether you are a beginner struggling with proportions or an experienced artist looking to refine your portrait skills, mastering face drawing requires patience, practice, and the right techniques. Many artists find themselves stuck on common pitfalls like misplaced features, unrealistic expressions, or flat-looking drawings. The key to creating portraits that pop is understanding the fundamentals of facial anatomy, light, and shading while also incorporating small but powerful tricks that enhance realism and expression. This guide will introduce you to 19 essential techniques that will transform the way you approach drawing faces, helping you achieve depth, accuracy, and lifelike quality in your portraits. Whether you prefer working with graphite pencils, charcoal, or digital tools, these tips will take your artistry to the next level. Plus, we’ll recommend must-have art supplies that can make your creative process smoother and more enjoyable.
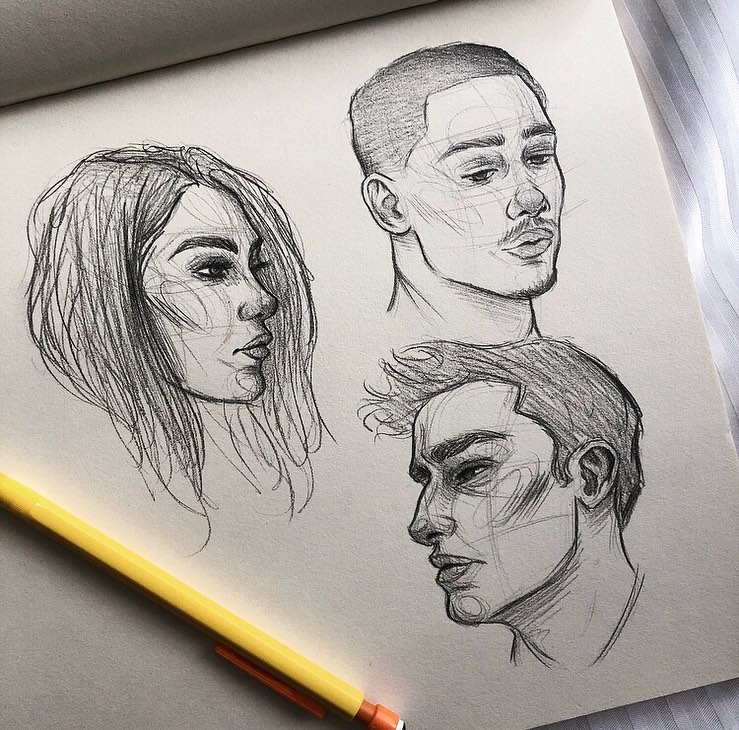
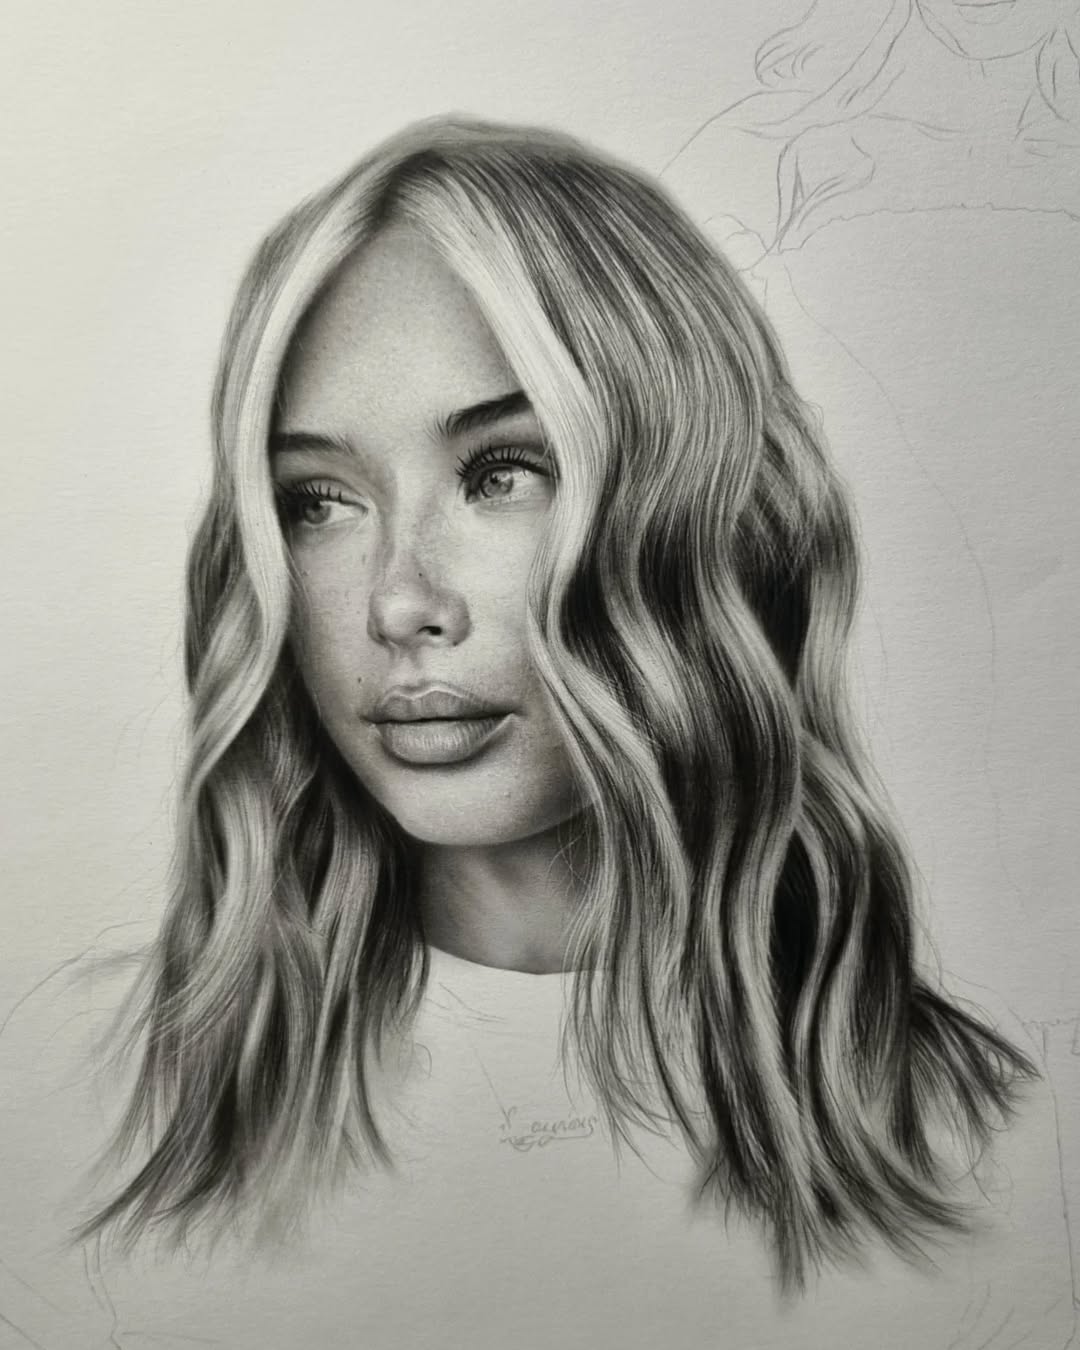
1. Master the Basic Face Proportions
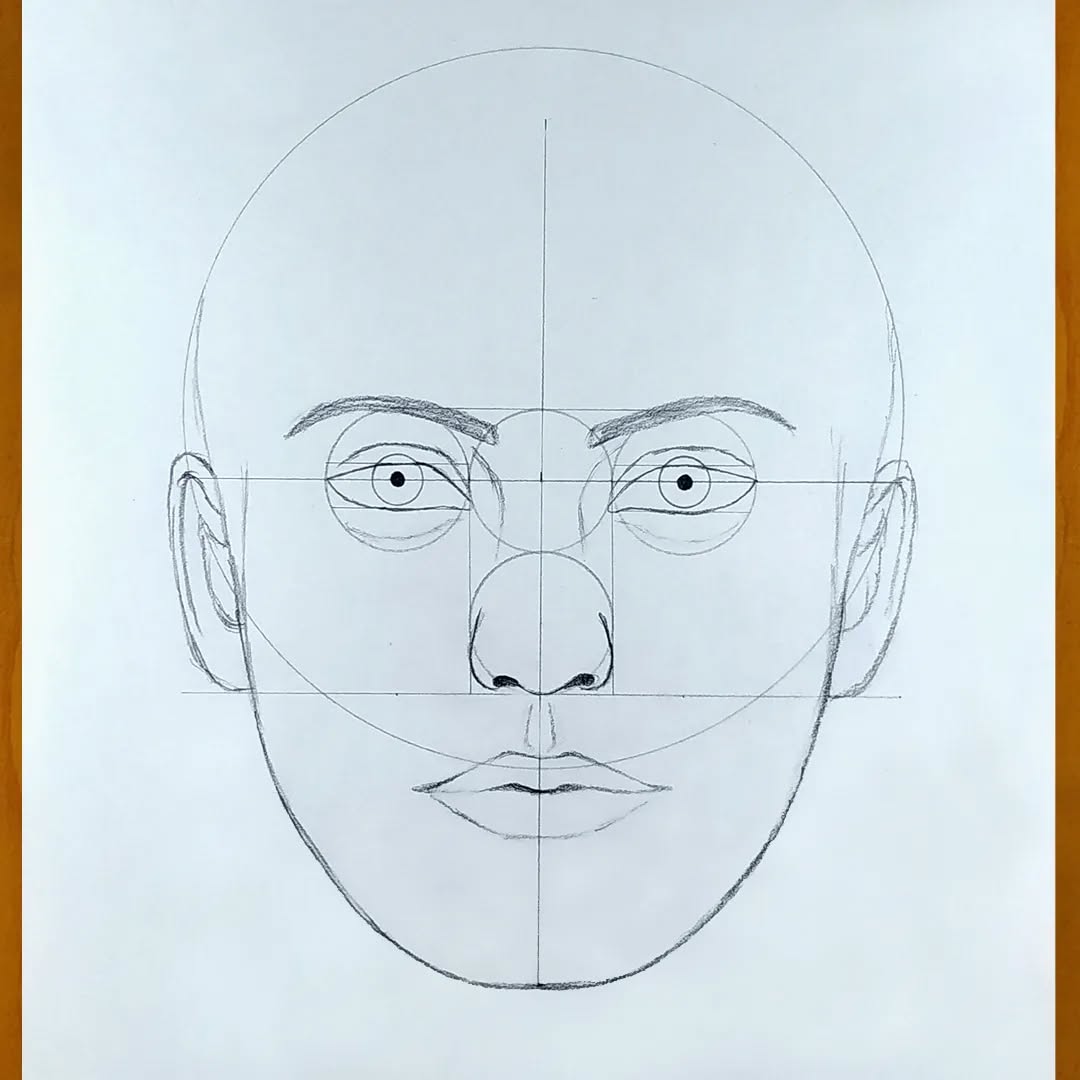
source @noroart.official
Before diving into the details, understanding the basic proportions of the face is crucial. The most common mistake beginners make is placing the features too high, too low, or unevenly. A simple way to get proportions right is by dividing the face into equal sections. Start by drawing an oval for the head, then sketch a vertical line down the center and a horizontal line across the middle—this will be where the eyes are placed. The nose typically falls halfway between the eyes and the chin, while the mouth sits slightly above the midpoint between the nose and chin. The ears align with the eyes at the top and the base of the nose at the bottom. Keeping these proportions in mind will help you create a balanced and realistic face every time. Using a ruler or a proportional divider can be helpful for ensuring accuracy.
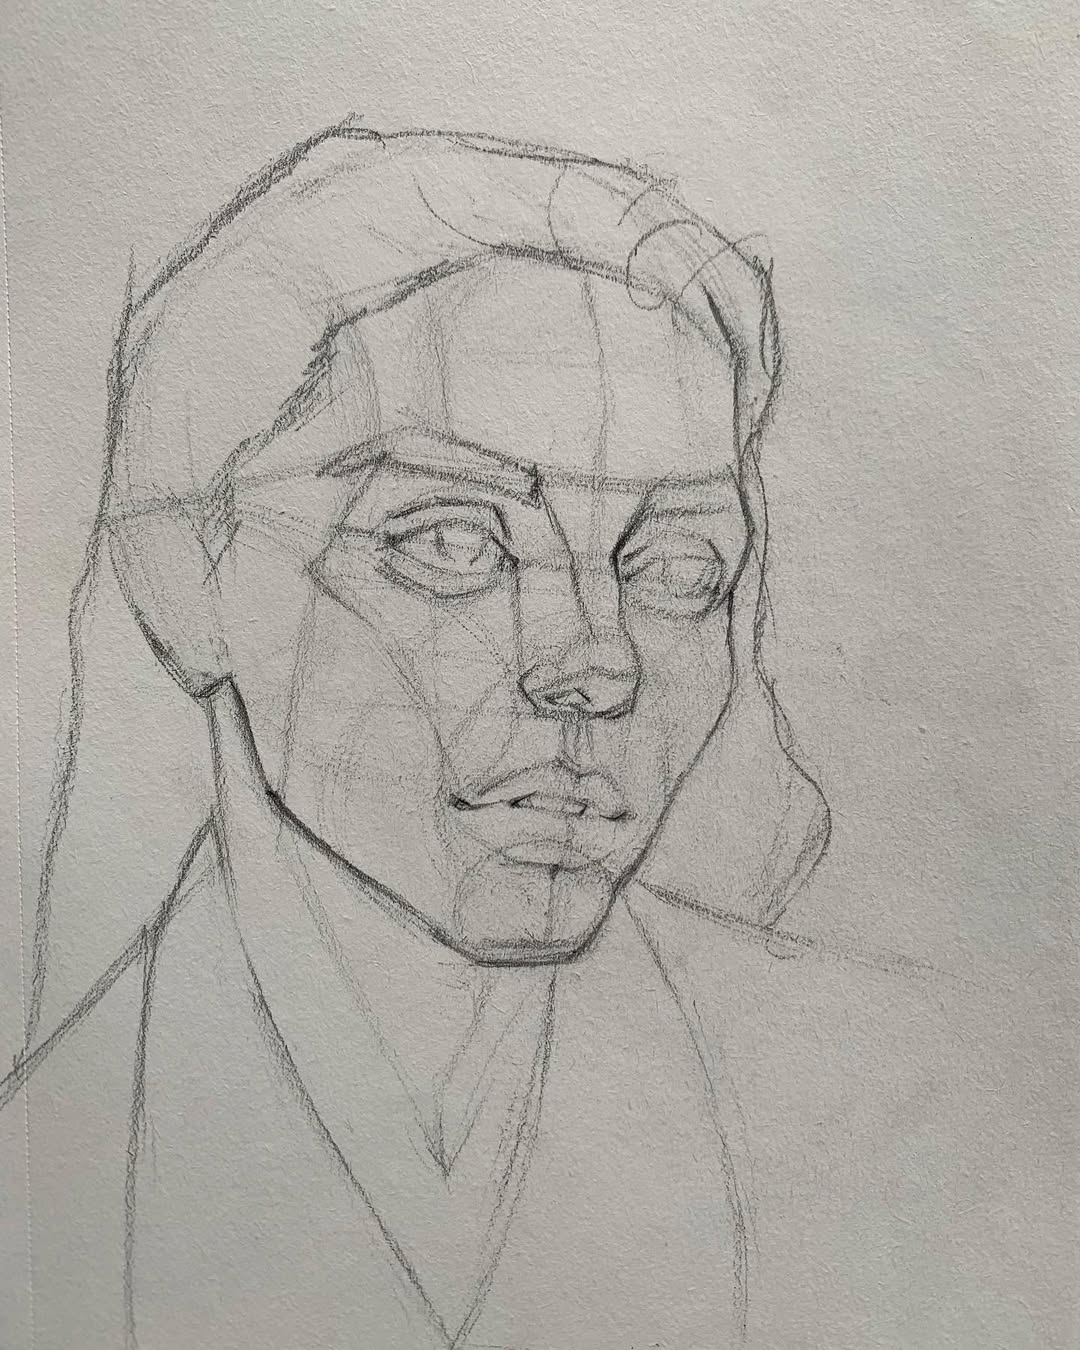
2. Use Guidelines to Sketch Accurately
source @hassaneart
Instead of immediately focusing on details, begin with a rough sketch that lays out the general structure of the face. Artists use construction lines to map out where facial features should go. Light, loose strokes make it easier to adjust proportions before committing to fine details. One effective method is the Loomis method, which breaks the head into simple shapes that serve as a guide for placement. Another useful approach is the grid method, where you divide your reference photo into squares and replicate them on your drawing surface. These techniques prevent common mistakes such as misaligned eyes or an uneven jawline. Investing in a mechanical pencil with soft lead makes it easy to erase and adjust your guidelines as you refine your sketch.
3. Draw Eyes with Depth and Realism
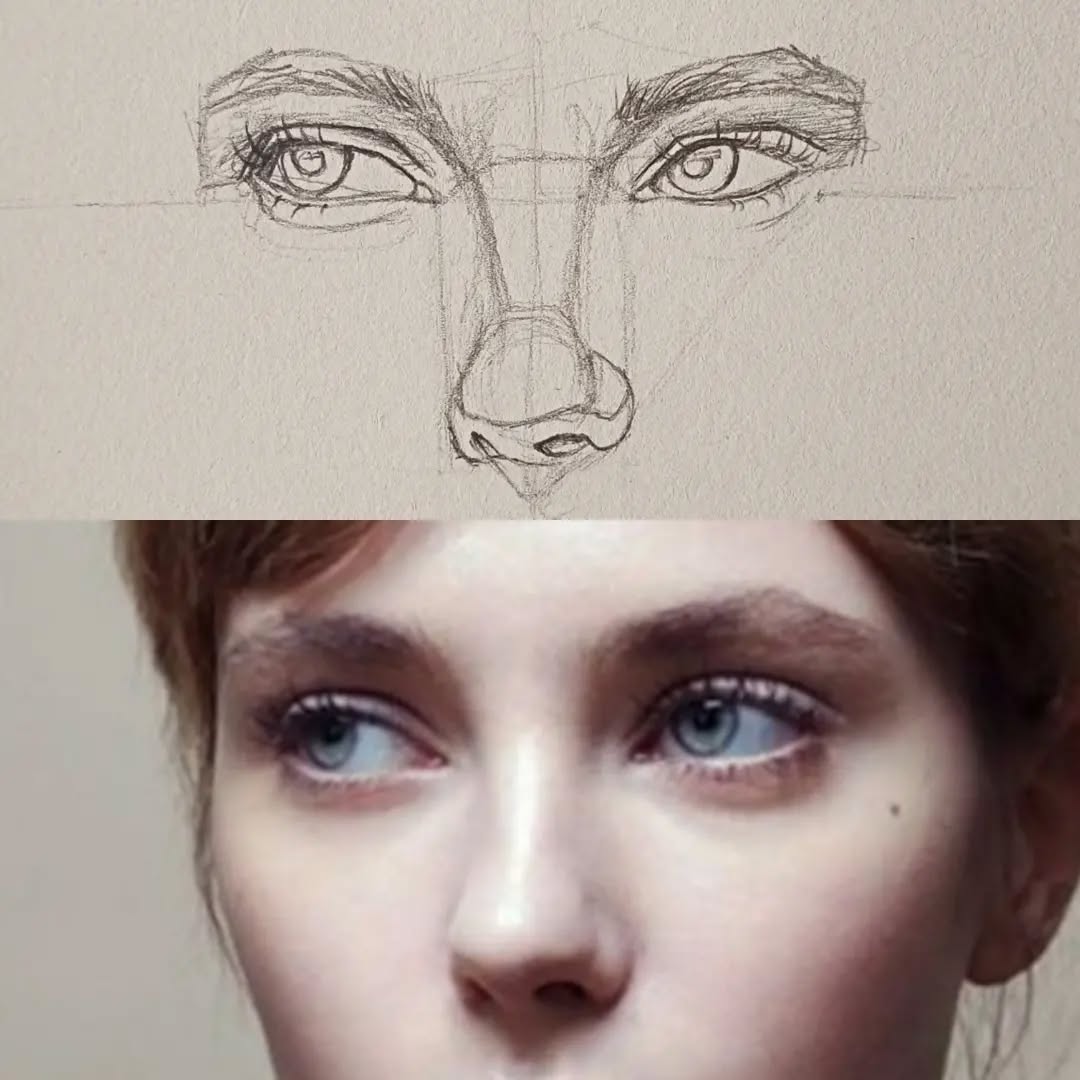
source @hamed.elshal
The eyes are often considered the most expressive part of a face, so capturing them accurately is essential. Instead of outlining them with harsh lines, build them up gradually with soft shading. Pay close attention to the reflections in the iris and the highlights in the sclera (the whites of the eyes). A common mistake is leaving the sclera completely white—it should have subtle shading to create a more natural look. The upper eyelid casts a shadow over the eyeball, adding depth, while the lower eyelid should be softly blended. Eyelashes should not be drawn as stiff, straight lines; instead, use light, curved strokes that follow the natural growth pattern. A fine-tipped mechanical pencil or a kneaded eraser can help achieve the delicate details needed for realistic eyes.
4. Perfect the Nose Structure with Simple Shapes
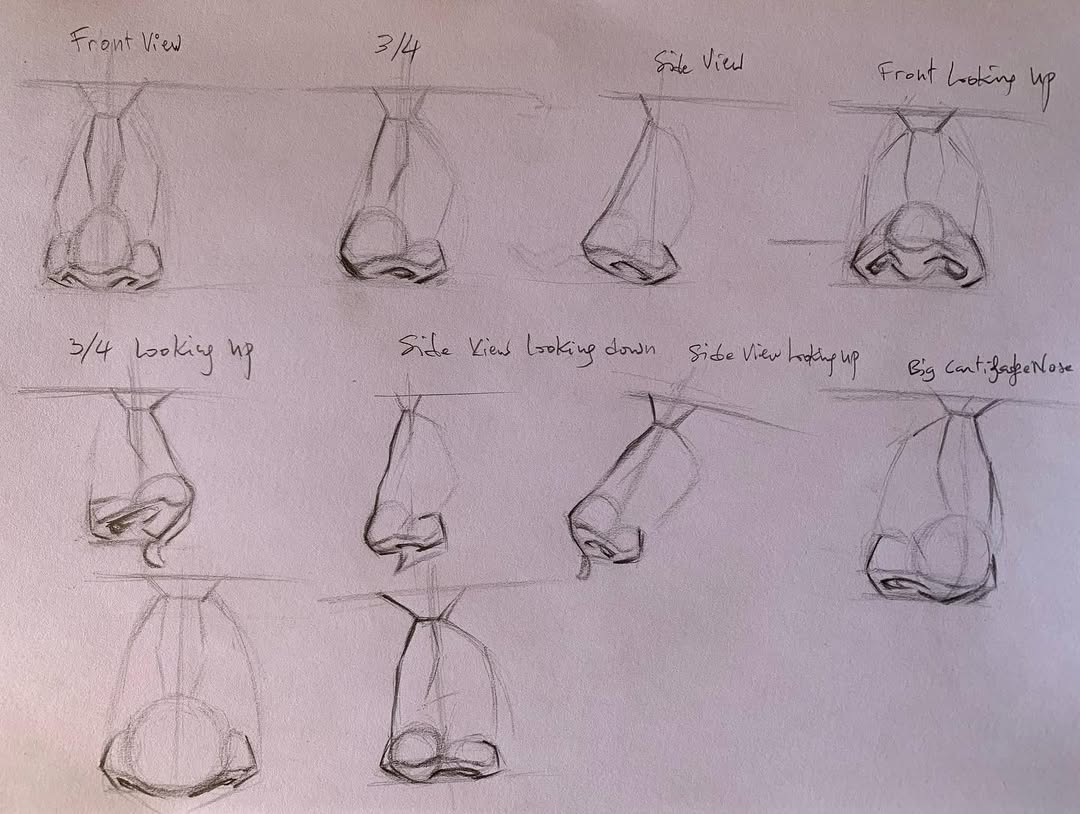
source @hassaneart
Many artists struggle with drawing noses because they lack strong outlines and are mostly defined by shading. A useful trick is to break the nose down into basic shapes, such as a triangular prism or a series of overlapping spheres. This method helps in understanding how light falls on different parts of the nose. The nostrils should not be outlined harshly; instead, they should blend naturally into the surrounding skin. Shadows and highlights play a crucial role in defining the nose’s structure—soft transitions create a more natural look. Studying different nose shapes and practicing them separately before incorporating them into full portraits can make this feature easier to master.
5. Create Natural Lips with Subtle Shading
source @imaginationacademyoffineart
Lips are another feature that requires careful shading rather than harsh outlining. The upper lip is usually darker due to the way light hits it, while the lower lip catches more light, creating a highlight in the center. Instead of outlining the lips rigidly, use gradual shading to define their shape. The corners of the mouth should be blended naturally into the surrounding skin, avoiding hard lines. Adding slight texture with small vertical lines can make the lips appear more realistic. Using a blending stump or soft tissue can help achieve smooth transitions.
6. Frame the Face with Realistic Eyebrows
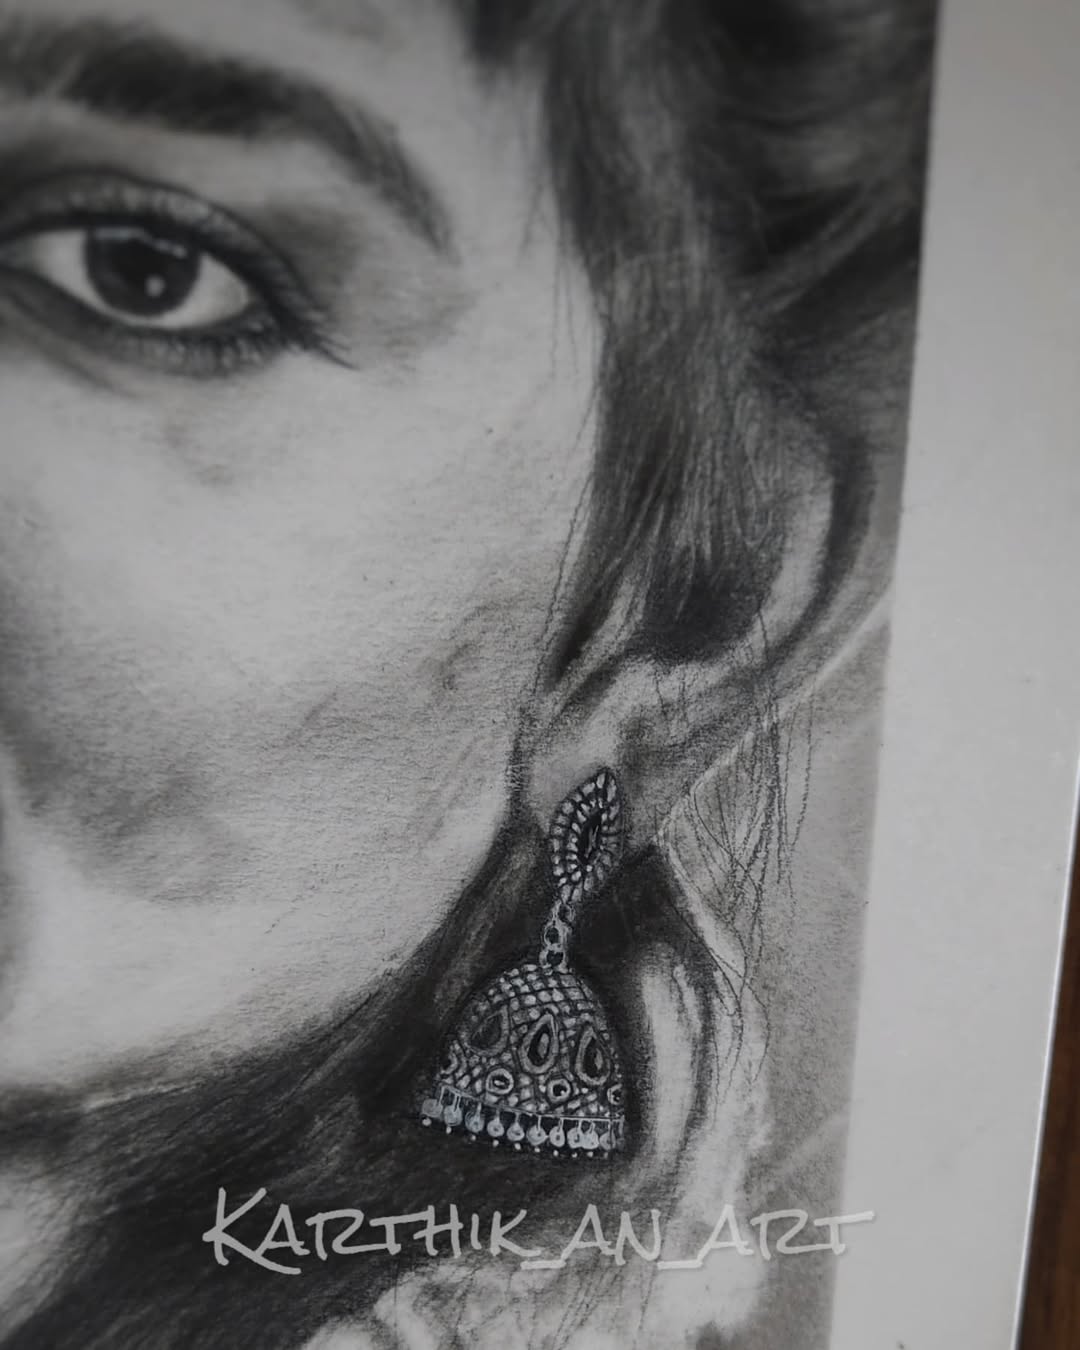
source @karthik_an_art
Eyebrows significantly affect a person’s expression and character, so drawing them accurately is important. Instead of drawing them as a single block, use fine, hair-like strokes that follow the natural growth direction. Eyebrows are usually denser at the inner corners and taper out towards the ends. For thicker eyebrows, layering multiple strokes adds depth, while for sparse brows, delicate shading can blend them smoothly. A well-sharpened graphite pencil or a fine-tipped mechanical pencil is ideal for achieving realistic eyebrow hairs.
7. Get the Jawline and Chin Right
source @beautybrainsneedles
Different face shapes have distinct jawlines, and understanding these differences will improve your portraits. Avoid using straight, hard lines to define the jaw—soft, blended shading creates a more natural look. A strong jawline can be emphasized with shadows along the sides of the face, while a rounder chin requires smooth transitions. Observing how light falls on different facial structures will make your drawings more three-dimensional.
8. Sketch Ears with Proper Proportions
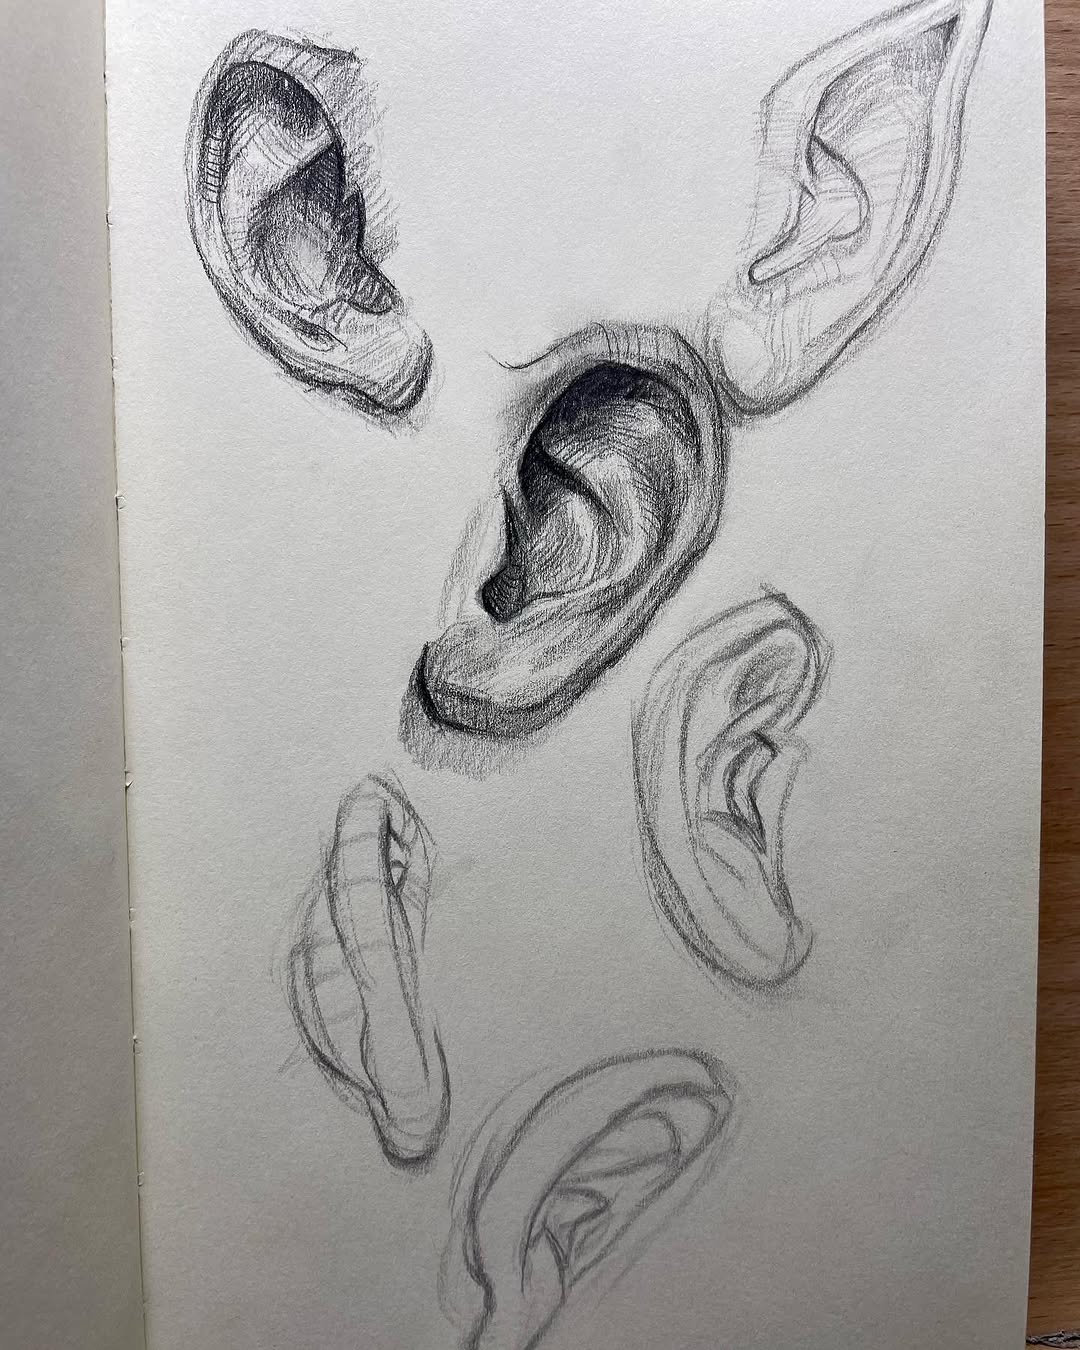
source @hassaneart
Ears often get overlooked, but they play a crucial role in balancing a face. Many beginners place them too high or too low. A good rule of thumb is that the top of the ears align with the eyebrows, while the bottom aligns with the base of the nose. Ears contain intricate folds and shadows, which should be shaded lightly rather than harshly outlined.
9. Understand the Planes of the Face
source @forza43
The face is not a flat surface; it consists of multiple planes that define its structure. Learning to see the face as a collection of planes will help you shade more effectively and add depth. The forehead, cheekbones, and jaw are prominent planes that catch light differently. Practicing with geometric representations, like drawing a face as a series of cubes and spheres, can strengthen your understanding of this concept.
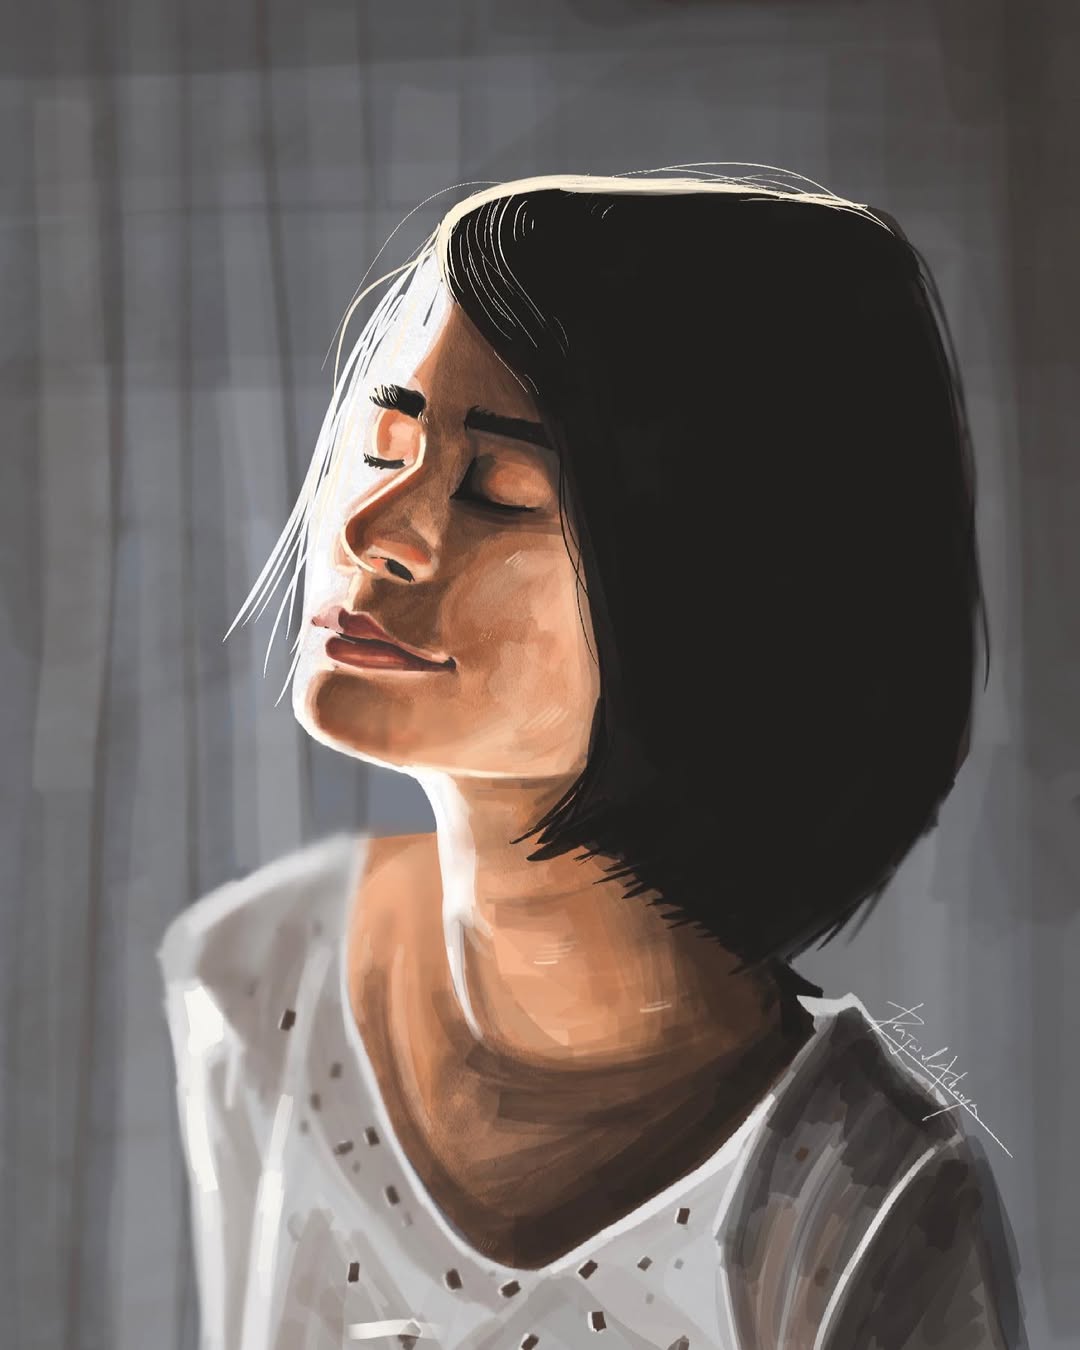
10. Capture Lifelike Expressions
source @j.a.d.o.k.a.r
Expressions add personality and emotion to portraits. Instead of drawing a neutral face every time, observe how different expressions affect facial muscles. A smile involves subtle crinkles around the eyes, while a frown changes the shape of the forehead and mouth. Practicing expressions separately will make it easier to incorporate them into portraits.
11. Choose the Right Pencils for Shading
source @karencampbellartist
Shading is essential for bringing a face to life, and using the right pencils makes all the difference. Graphite pencils come in different grades, from hard (H) to soft (B), with softer pencils (like 4B-8B) being ideal for deep shadows and blending. A good technique is to start with an HB pencil for the initial sketch, then gradually build up depth using softer pencils. For smooth shading transitions, mechanical pencils work great for fine details, while a high-quality set of graphite or charcoal pencils can help you achieve richer contrast. If you’re using colored pencils for portraits, brands like Prismacolor or Faber-Castell offer excellent blending capabilities.
12. Blend for Smooth Skin Tones
source @jesselaneart
A common mistake in portrait drawing is leaving harsh lines when shading, which makes the skin look unnatural. Blending is the key to achieving smooth skin tones. Instead of pressing hard with your pencil, use light, layered strokes and blend gradually. Tools like blending stumps, soft tissues, or even a cotton swab can help create seamless transitions. Avoid using your fingers to blend, as the oils from your skin can smudge or alter the pencil’s texture. If you’re working digitally, use a soft airbrush or smudge tool to create smooth gradients.
13. Use an Eraser to Create Highlights
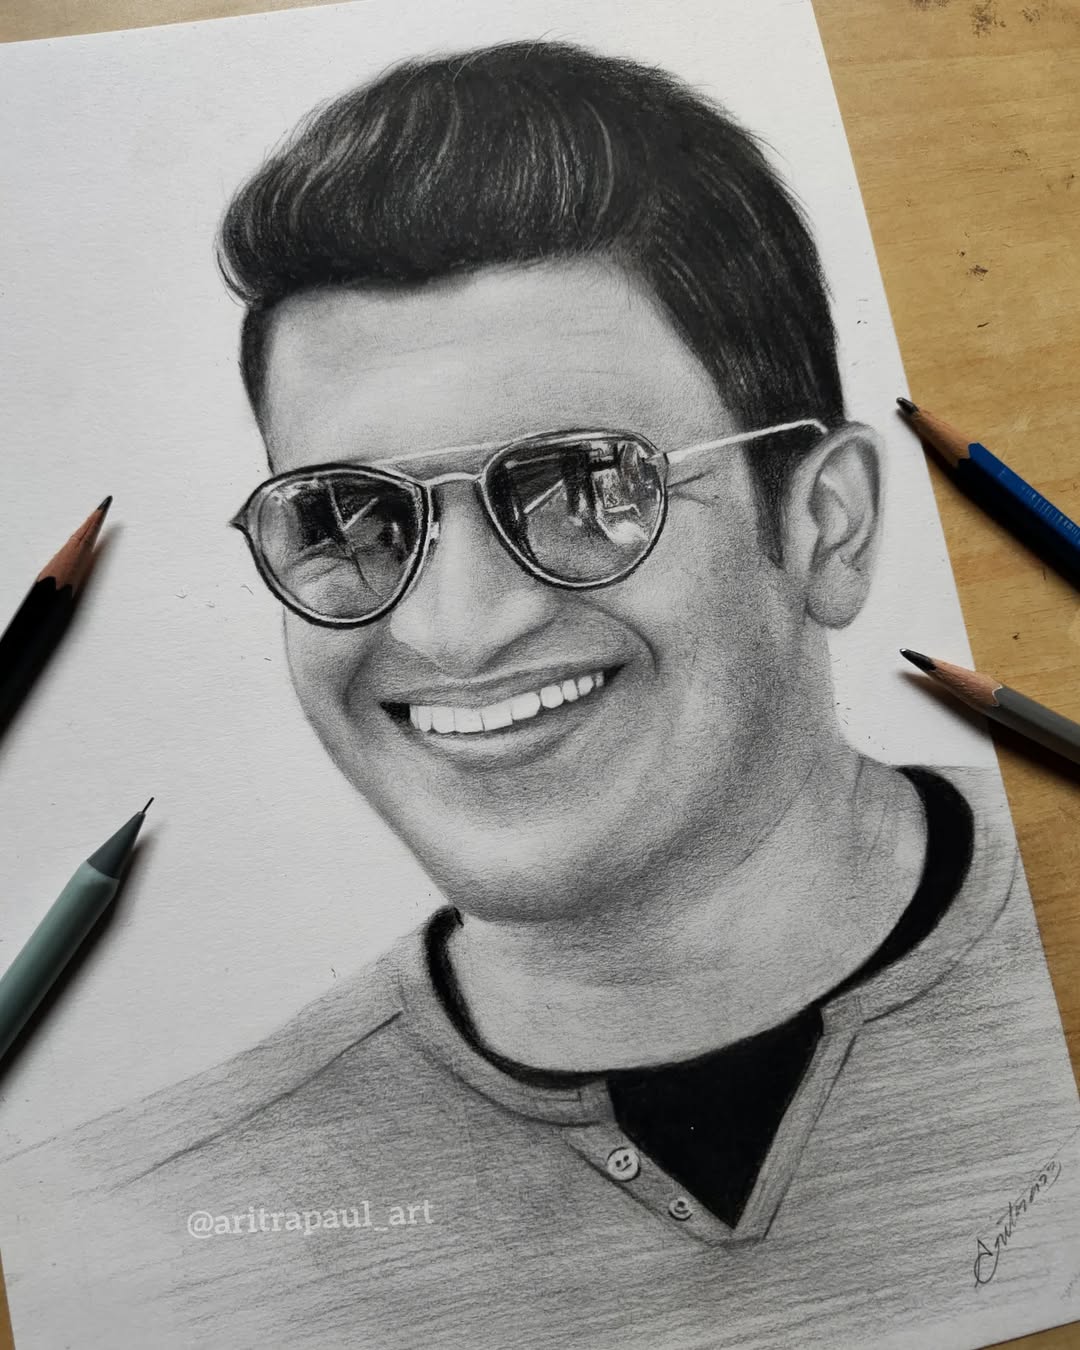
source @aritrapaul_art
Erasers are not just for fixing mistakes—they’re also powerful tools for adding highlights and depth. A kneaded eraser works well for lifting graphite gently to create subtle highlights on areas like the bridge of the nose, cheekbones, or forehead. Precision erasers, such as the Tombow Mono Zero, are perfect for defining small highlights in the eyes, lips, and hair strands. For dramatic highlights, you can use a white gel pen or white charcoal on toned paper to make certain areas stand out.
14. Capture Hair Flow with Soft Strokes
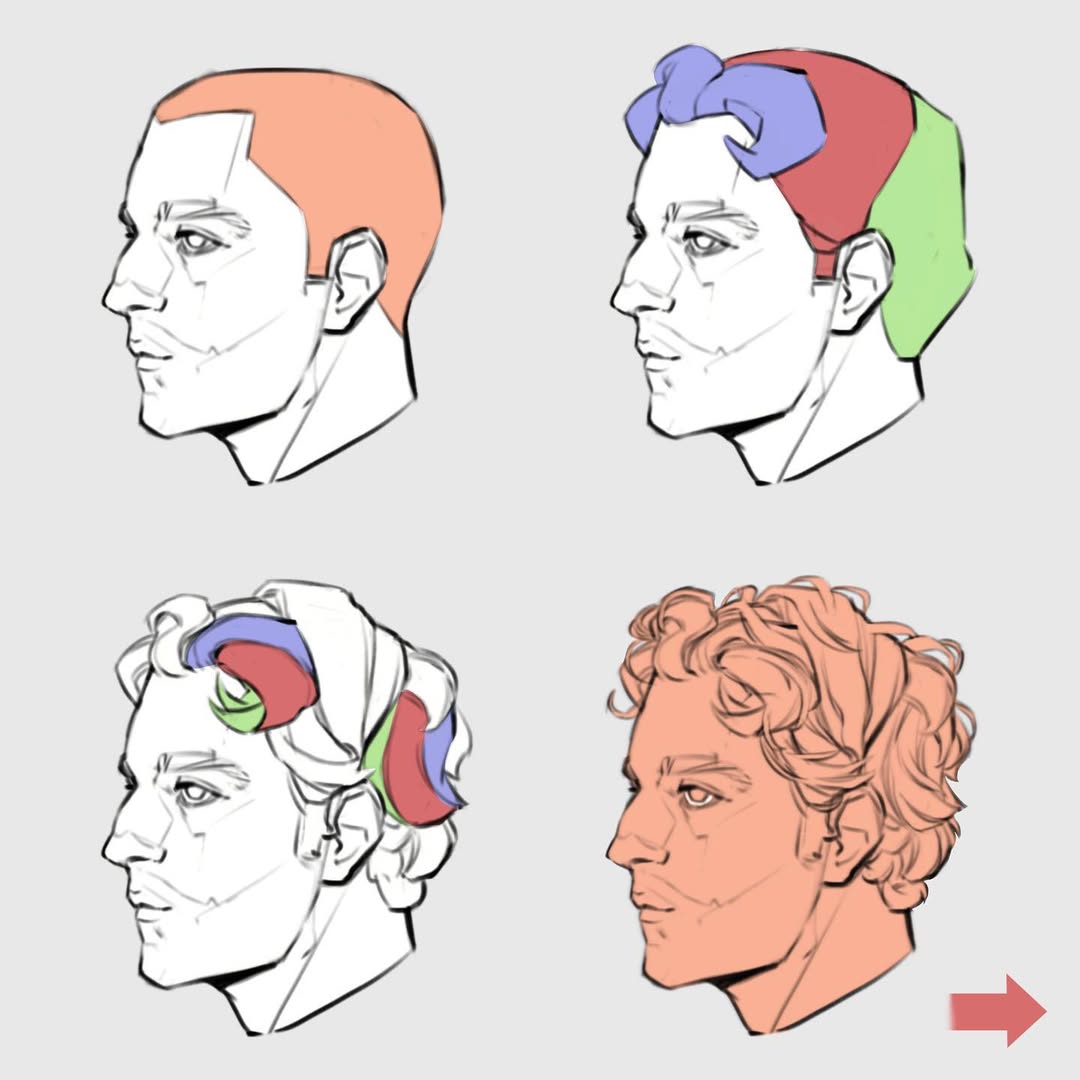
source @kaycem__
Many beginners draw hair as a solid mass or with stiff lines, making it look unnatural. The key to realistic hair is understanding its flow and texture. Instead of drawing every strand individually, start with general shading to define volume and direction. Use light, overlapping strokes to mimic natural hair strands, and vary your pressure to create depth. Highlights should follow the direction of hair growth, and using a kneaded eraser to lift highlights can add a glossy effect. A high-quality mechanical pencil or a fine-tipped brush pen can help refine detailed strands for a more polished look.
15. Experiment with Different Paper Textures
source @pencilperceptions1
The type of paper you use can greatly impact the outcome of your portrait. Smooth paper, like Bristol board, is excellent for detailed pencil work, while textured paper, such as cold-pressed watercolor paper, adds depth and character, especially when working with charcoal or pastels. If you’re using colored pencils, a medium-tooth paper allows for better layering and blending. Trying different papers will help you discover what works best for your artistic style.
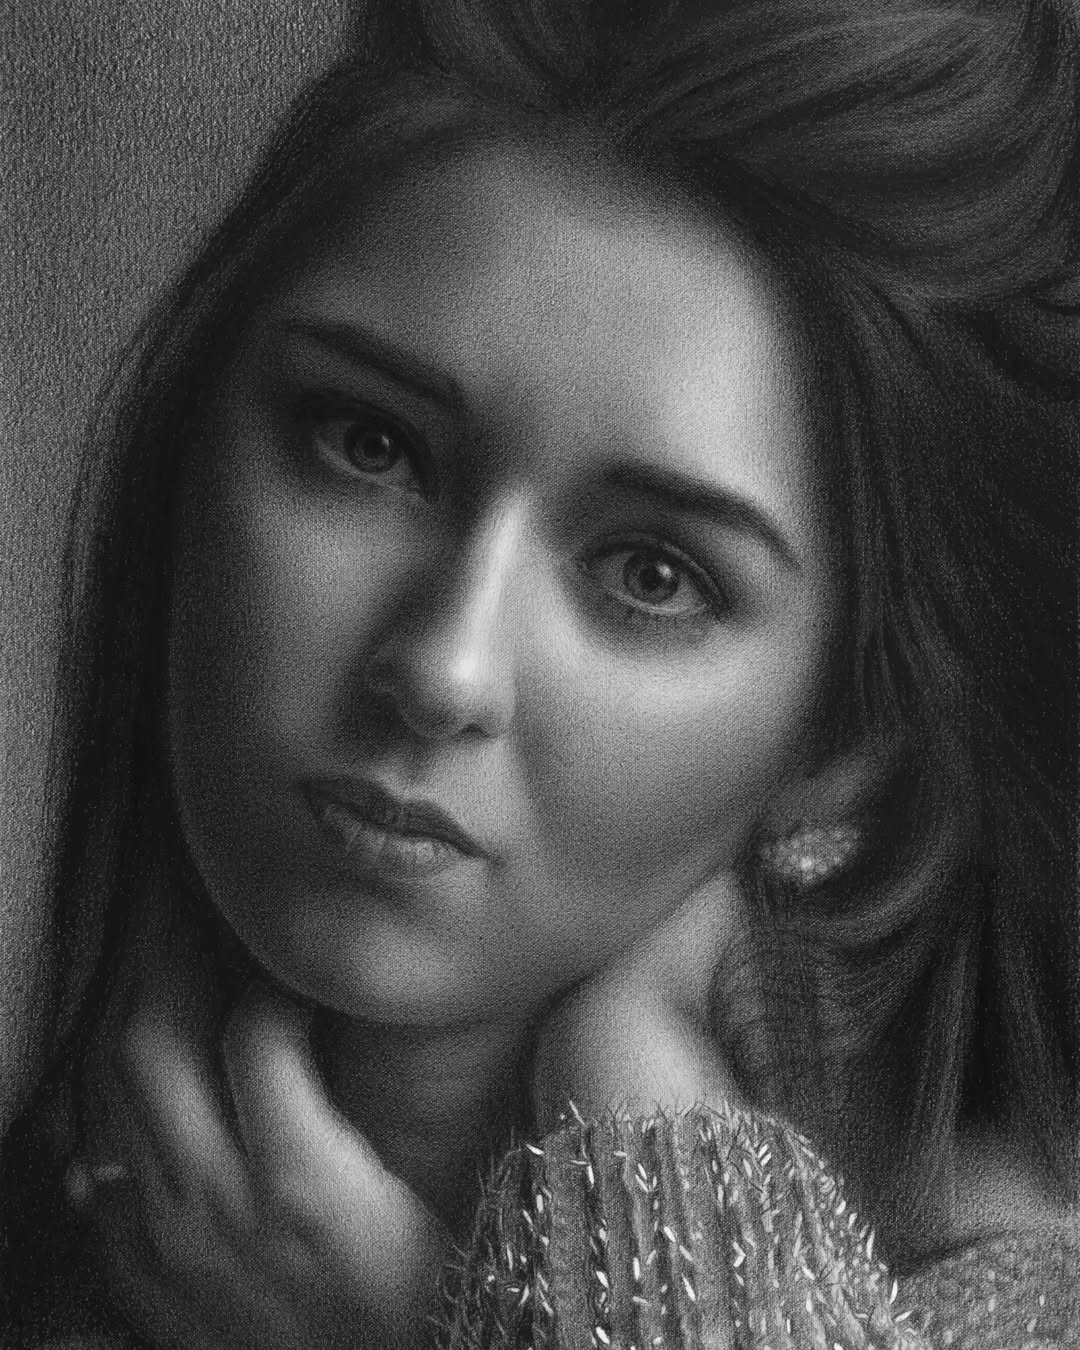
16. Study Light Sources and Shadows
source @artofprajwalacharya
Shading isn’t just about making an image look three-dimensional—it also sets the mood of a portrait. Understanding light sources is crucial to achieving realistic depth. Whether using natural light, a lamp, or dramatic side lighting, study how shadows form on the face. A strong light source will create bold shadows and highlights, while diffused lighting results in softer transitions. To improve your understanding, practice drawing from life with a single light source, paying attention to how shadows wrap around facial features.
17. Use Reference Photos Wisely
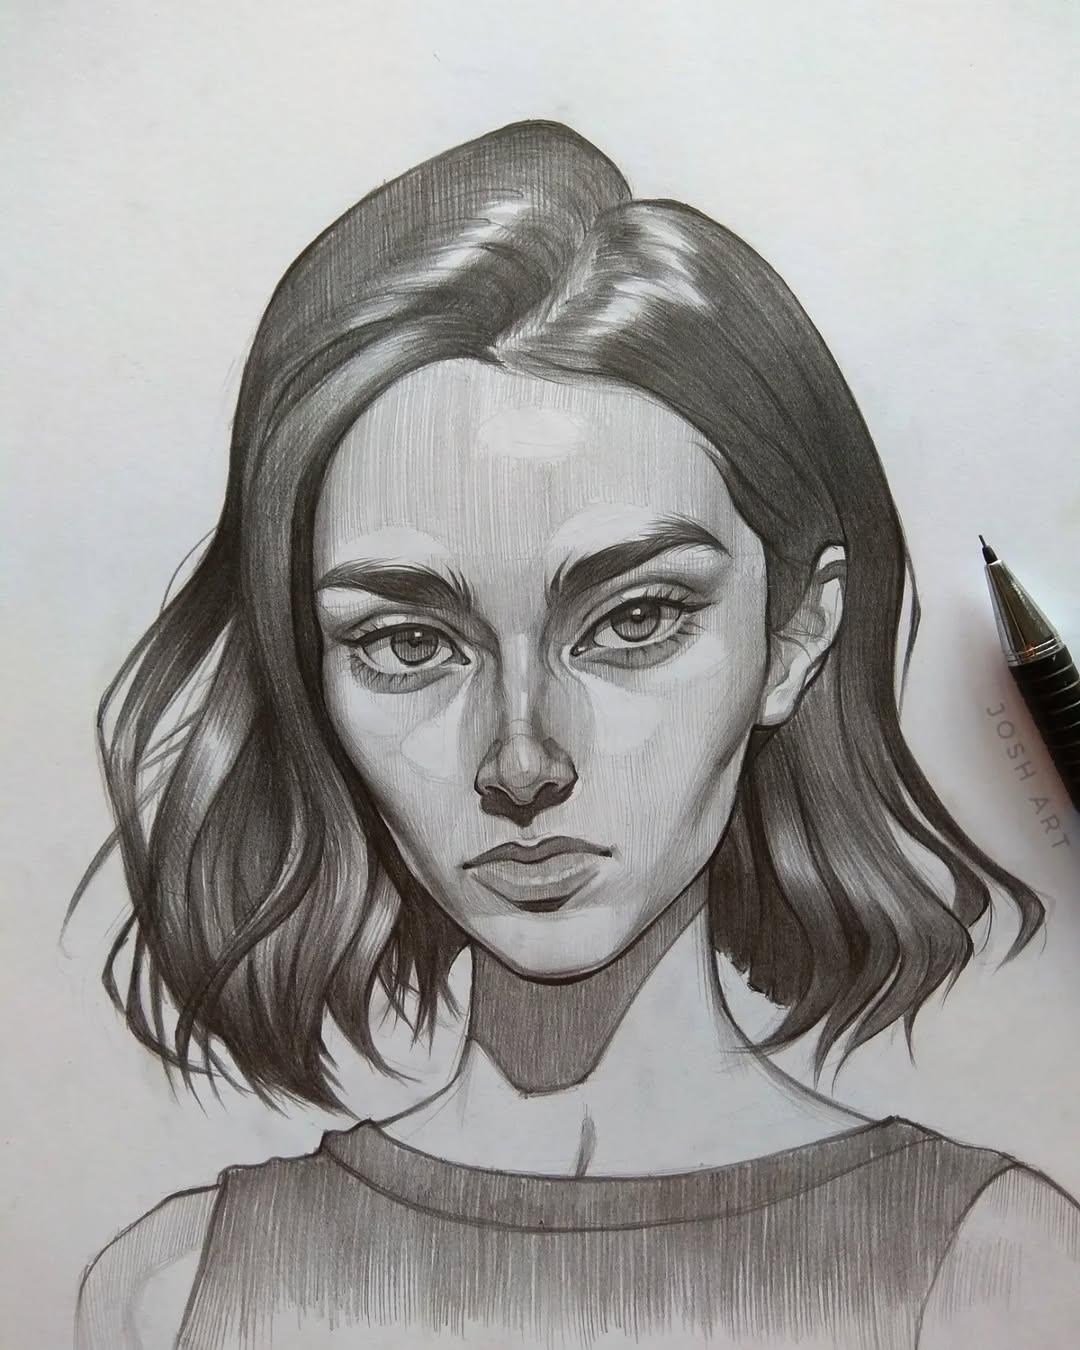
source @joshart_02
Reference photos are invaluable for learning facial proportions, expressions, and lighting. However, it’s important not to rely solely on tracing or copying every detail. Instead, analyze your reference and break it down into simple shapes before refining your drawing. If you’re practicing realism, high-resolution images will help you capture intricate details. Websites like Unsplash and Pexels offer free high-quality portraits, or you can take your own reference photos for a more personal touch. Digital artists can also benefit from using 3D face models to practice different angles and perspectives.
18. Layer Shading for Realism
source @draw_with_amir
Instead of trying to achieve depth in a single pass, build up shading in multiple layers. Start with light, even strokes and gradually darken areas where shadows fall. Pay attention to subtle transitions between light and shadow—avoiding abrupt shifts will make your portrait look more natural. Cross-hatching and circular shading techniques can help create soft gradients. If using colored pencils, layering multiple colors can add warmth and dimension to skin tones. Patience is key—rushing shading can lead to a flat or overworked appearance.
19. Practice Consistently to Improve
source @hassaneart
No trick or technique will replace the power of practice. The more faces you draw, the better you’ll understand their structure, proportions, and unique characteristics. Try sketching quick portraits daily, experimenting with different expressions, angles, and lighting conditions. Challenge yourself by drawing people of different ages, ethnicities, and emotions to expand your skills. Keep a sketchbook dedicated to face studies, and over time, you’ll notice a dramatic improvement in your ability to capture lifelike portraits.