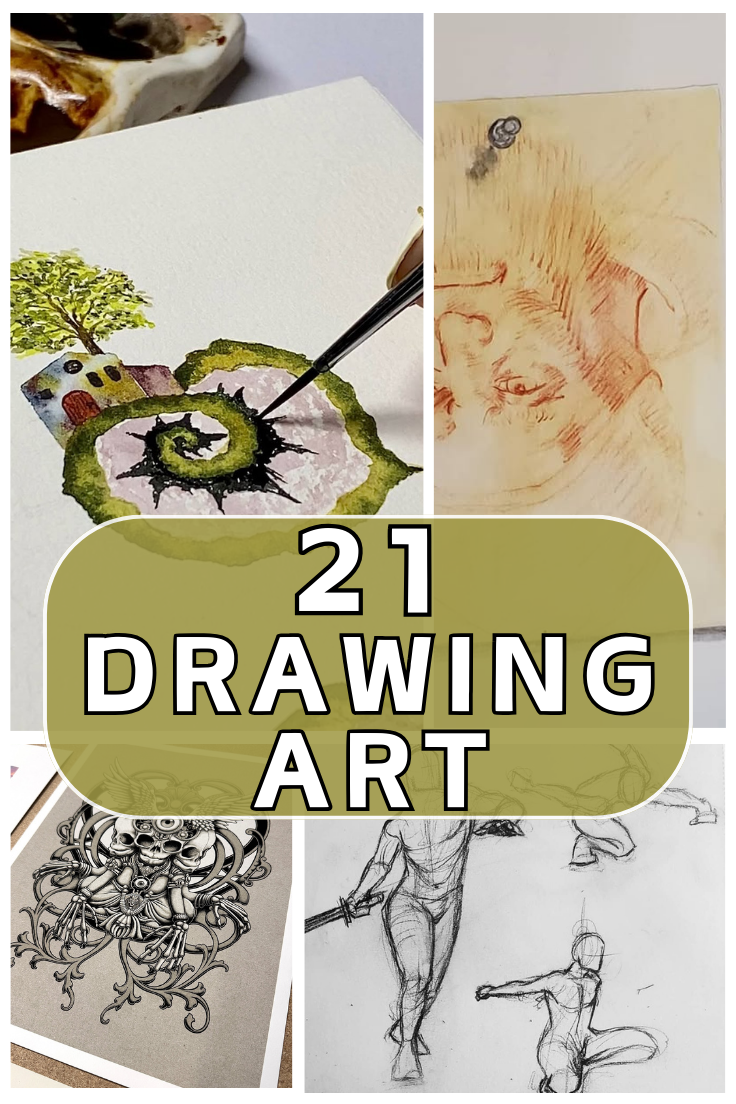
s more than just a skill—it’s a form of self-expression, relaxation, and creativity. Whether you’re a beginner just picking up a pencil or an experienced artist looking for ways to refine your technique, there are always new tricks to discover that can elevate your art. Many artists spend years perfecting their craft, but what if you could skip some of the trial and error? These 21 drawing hacks will help you improve your sketches, make the process easier, and save you from common mistakes. From shading techniques to composition tricks and must-have tools, these tips will transform how you approach drawing. We’ve also included some Amazon product recommendations to help you build the ultimate drawing toolkit. Get ready to take your art to the next level!
1. Use a Kneaded Eraser for Perfect Highlights
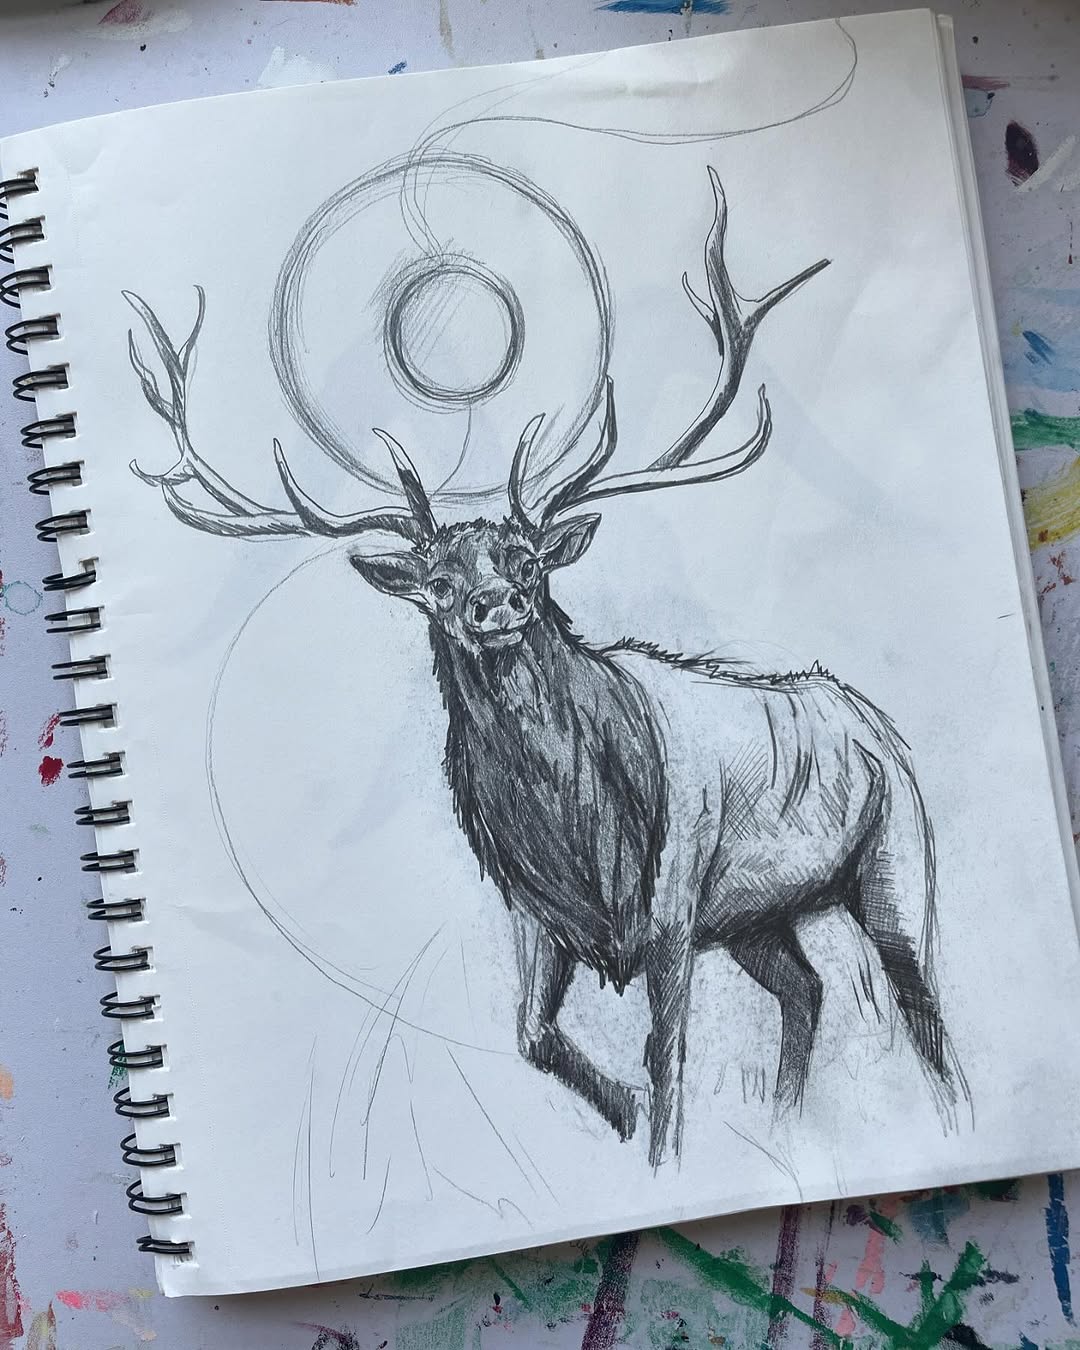
source @taniamiller.art
A kneaded eraser is an essential tool for every artist. Unlike a regular eraser, which can leave behind smudges and residue, a kneaded eraser can be shaped to erase tiny details without disturbing the rest of your work. It’s perfect for lifting graphite to create highlights, refining shading, and fixing small mistakes without damaging the paper. You can also use it to lighten areas instead of erasing completely, giving your drawings a more natural look. This flexible tool is a game-changer for those who love realism and smooth transitions. If you haven’t used one yet, this is the perfect time to add it to your art supplies.
2. Try the Upside-Down Drawing Technique
source @jeremyhara_art
One of the biggest challenges in drawing is training your brain to see objects as they are rather than how you think they should look. The upside-down drawing technique forces you to focus on shapes, lines, and proportions instead of your preconceived notions of what something should look like. Simply take a reference image, flip it upside down, and try to replicate it in the same position. This trick helps your brain break away from symbolic drawing (where you automatically draw eyes, hands, or faces in a way you think they should appear) and improves accuracy. It’s especially useful for beginners struggling with proportions and those wanting to improve their observational skills.
3. Master Shading with a Blending Stump
source @staticmedium
Shading is what brings a drawing to life, but using your fingers to smudge graphite can leave unwanted oils on the paper and create uneven shading. Instead, use a blending stump—a tightly rolled paper tool designed for smoothing out pencil marks without losing control over the shading. This tool allows you to create soft transitions between light and dark areas, making your drawings look more realistic. For even better results, lightly layer your pencil strokes in the direction of the form before blending, and always clean your blending stump to avoid smearing unwanted graphite onto your paper.
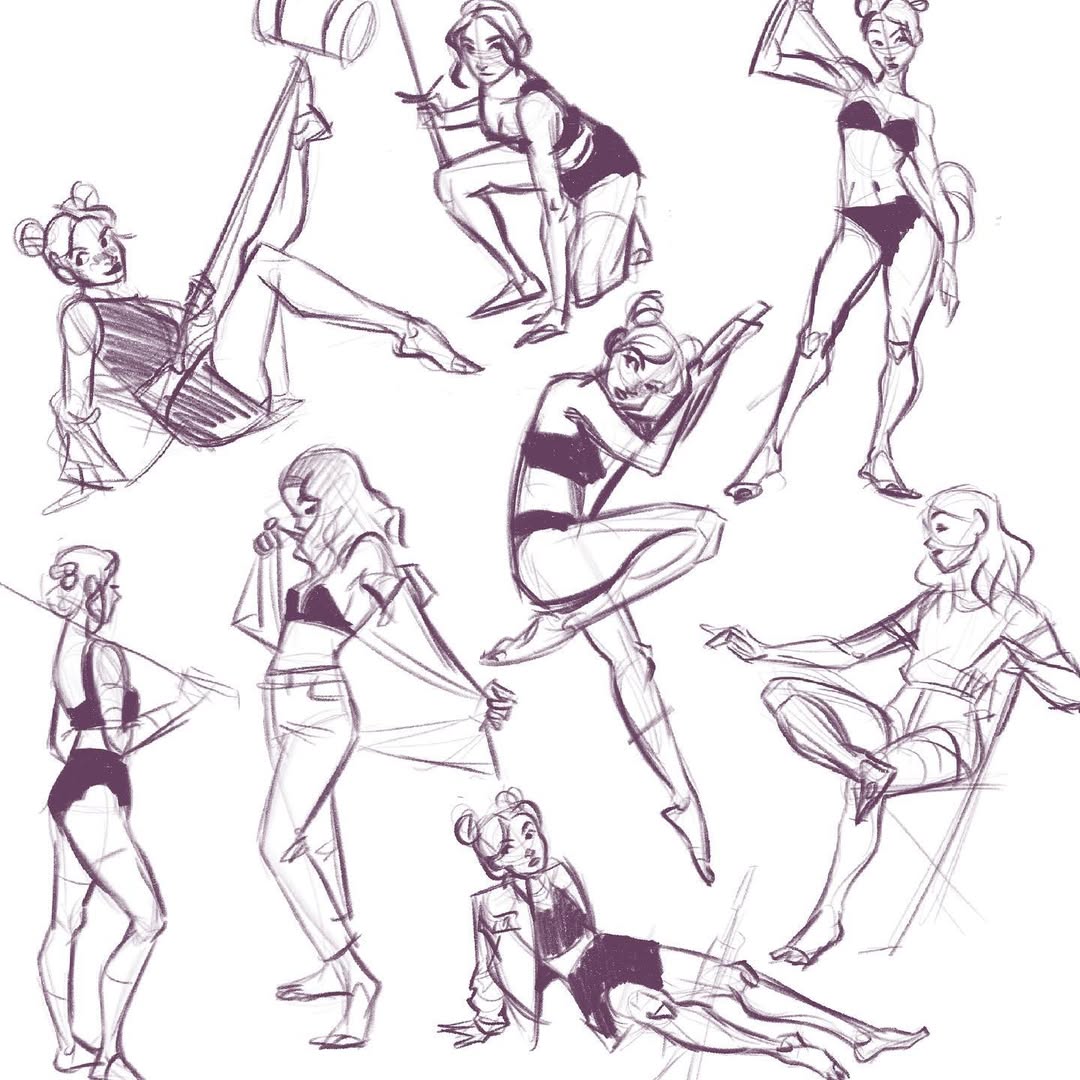
4. The Power of Gesture Drawing
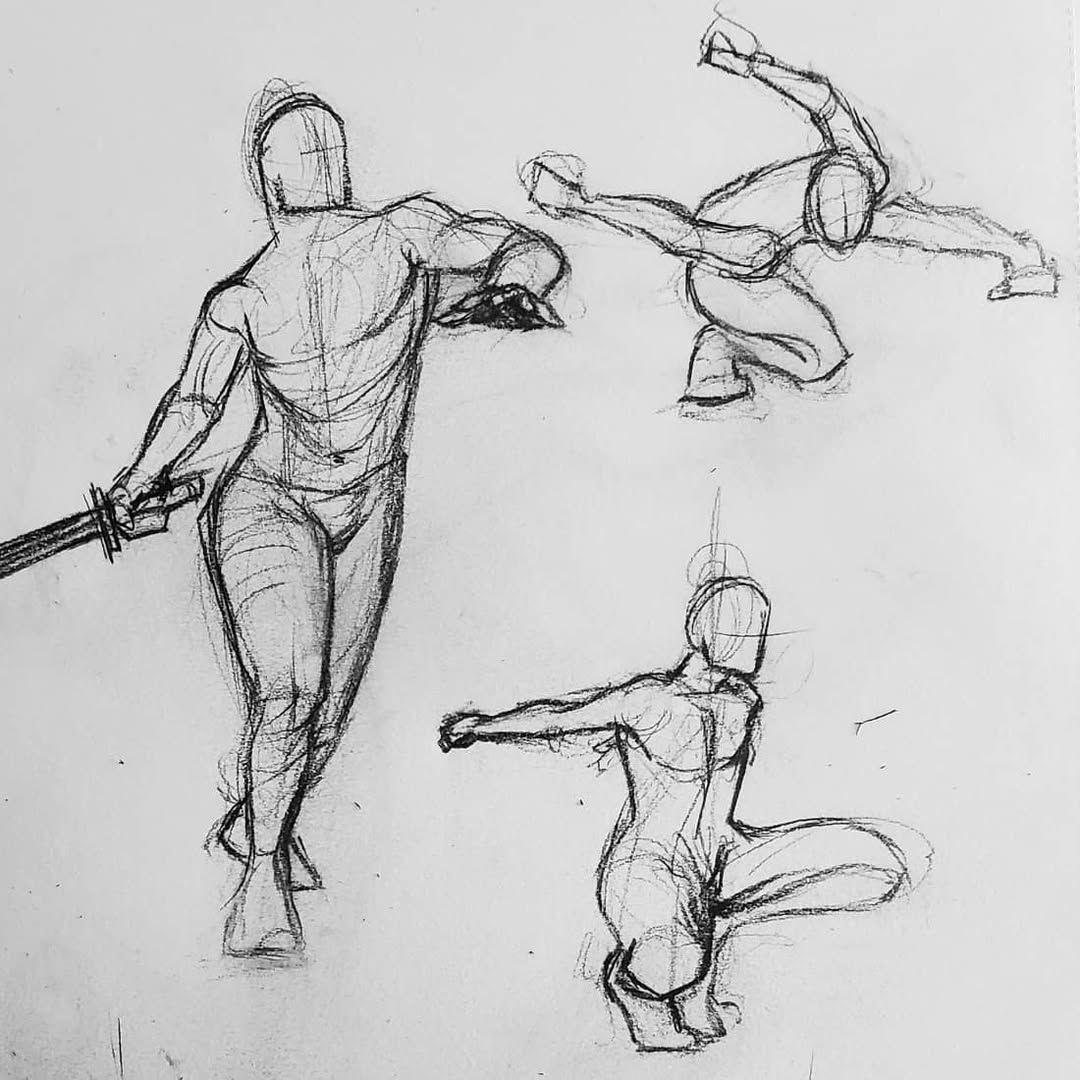
source @noor_al_rassam
Gesture drawing is a fantastic way to capture movement and fluidity in your sketches. Instead of focusing on details, this technique involves drawing quick, loose lines to convey the overall action of a subject. It’s commonly used for figure drawing but can be applied to animals, objects, and even abstract concepts. By practicing gesture drawing regularly, you’ll develop a better understanding of body mechanics and dynamic poses. This exercise is especially useful if you find your drawings looking stiff or unnatural. Set a timer for 30 seconds to a minute and sketch subjects in motion to build confidence and improve your ability to capture energy in your artwork.
5. Grid Method for Perfect Proportions
source @dnka.studio
If you struggle with proportions or want to create an accurate replica of a reference image, the grid method is a reliable tool. By dividing your reference and drawing surface into equal sections, you can focus on drawing one square at a time instead of the entire subject. This technique is especially useful for portraits, architecture, and detailed compositions. It’s a helpful way to train your eye to measure distances accurately and can be used as a stepping stone until you develop a strong sense of proportions freehand. There are even pre-made grid tools available to make the process easier, ensuring every element of your drawing is well-balanced.
6. Smudge with Tissue Instead of Fingers
source @artbyshamya
While blending can create beautiful gradients, using your fingers can introduce oils and smudges that ruin your work. Instead, use a tissue or cotton pad to blend pencil strokes smoothly. This method gives you better control over the shading without affecting the texture of the paper. For more precise shading, wrap the tissue around a pencil or blending stump to target specific areas. If you prefer a softer effect, try using a makeup sponge, which provides a controlled blend without making your drawing look messy.
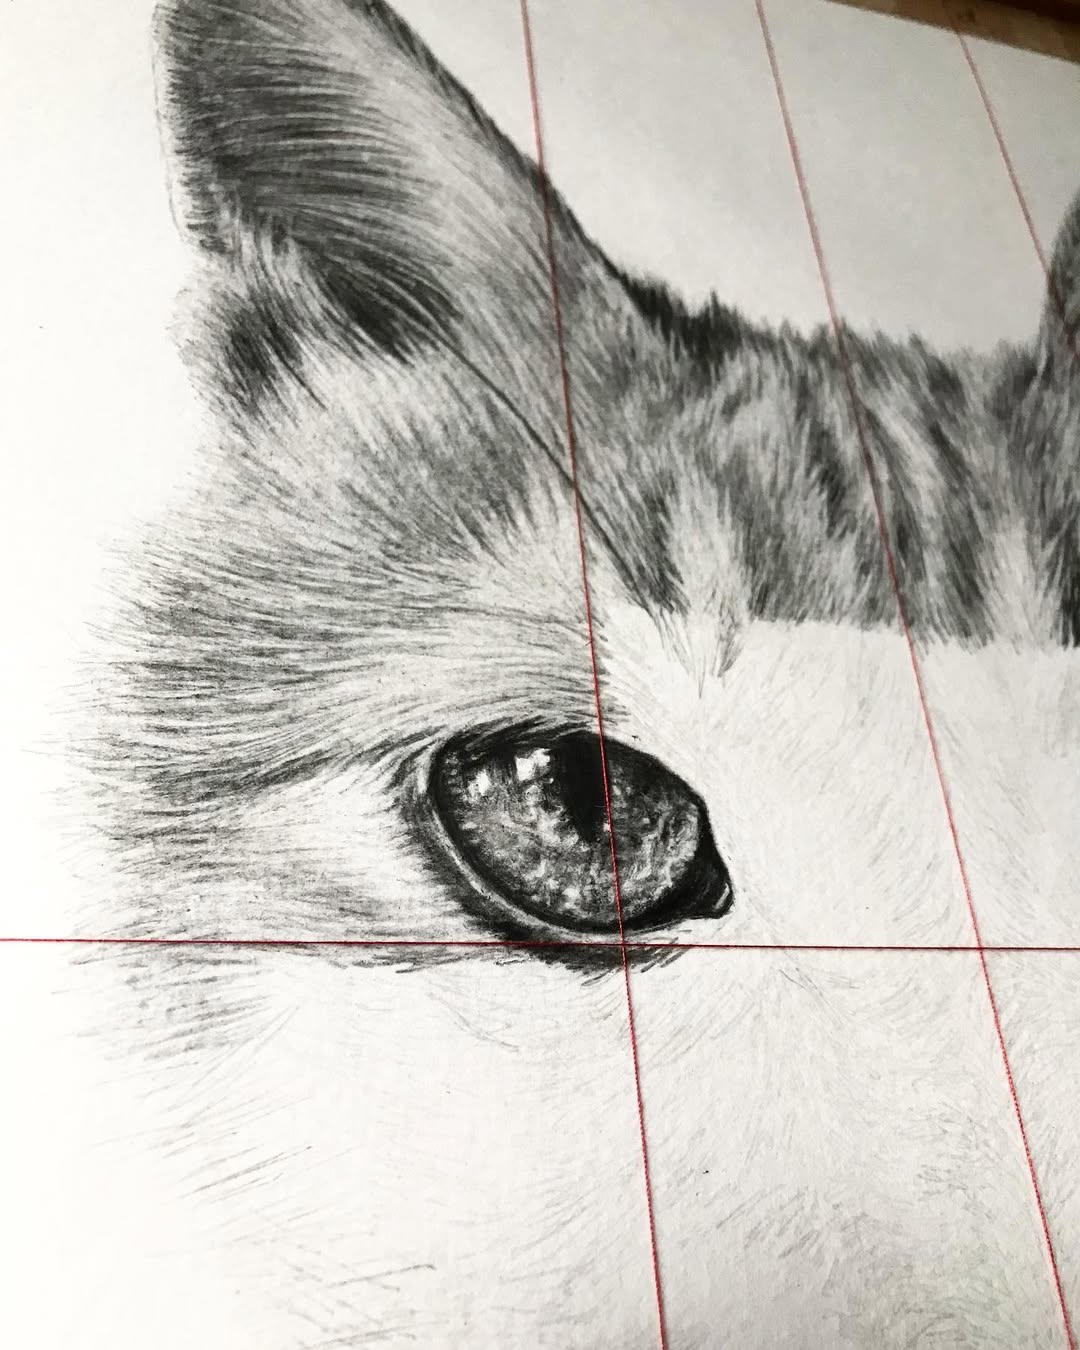
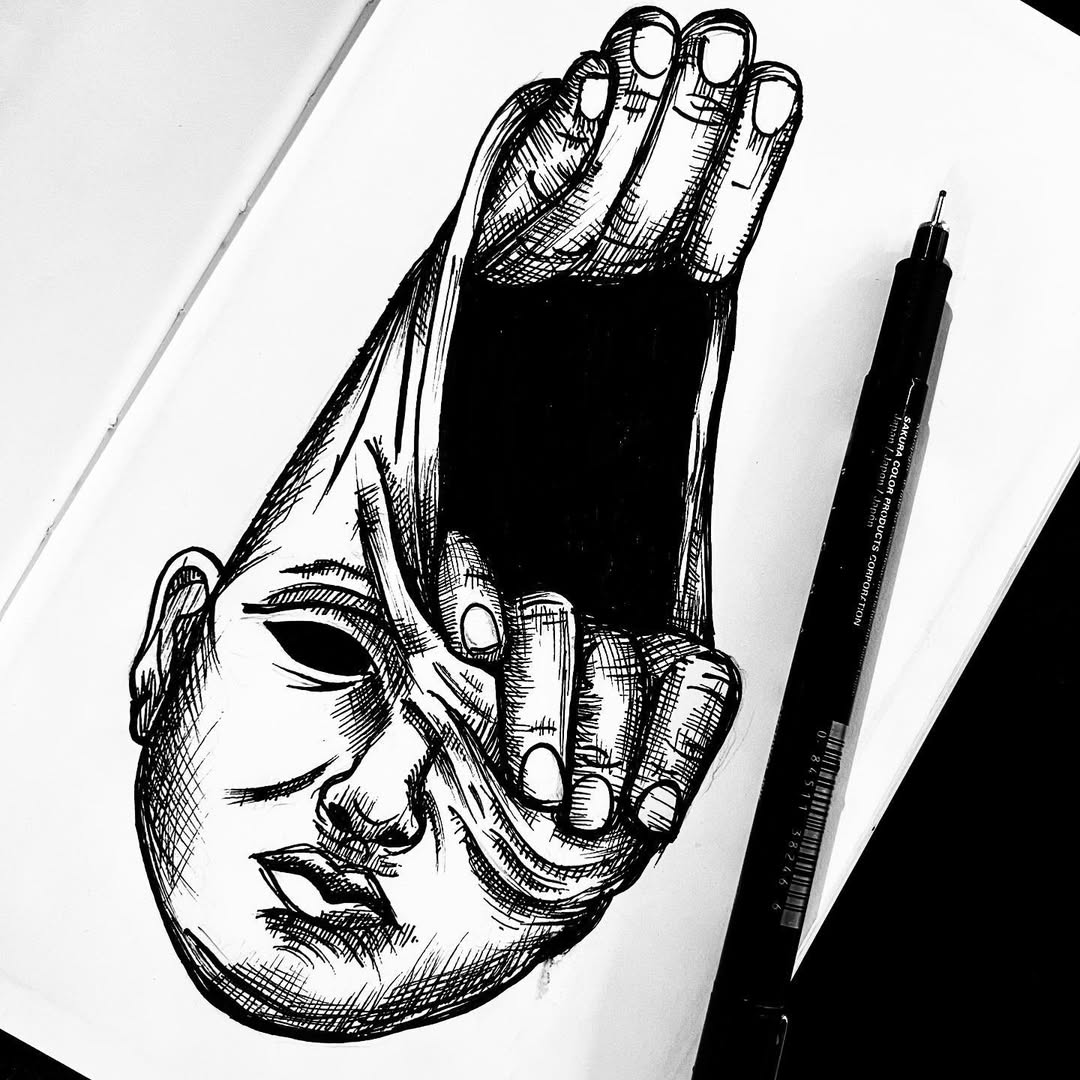
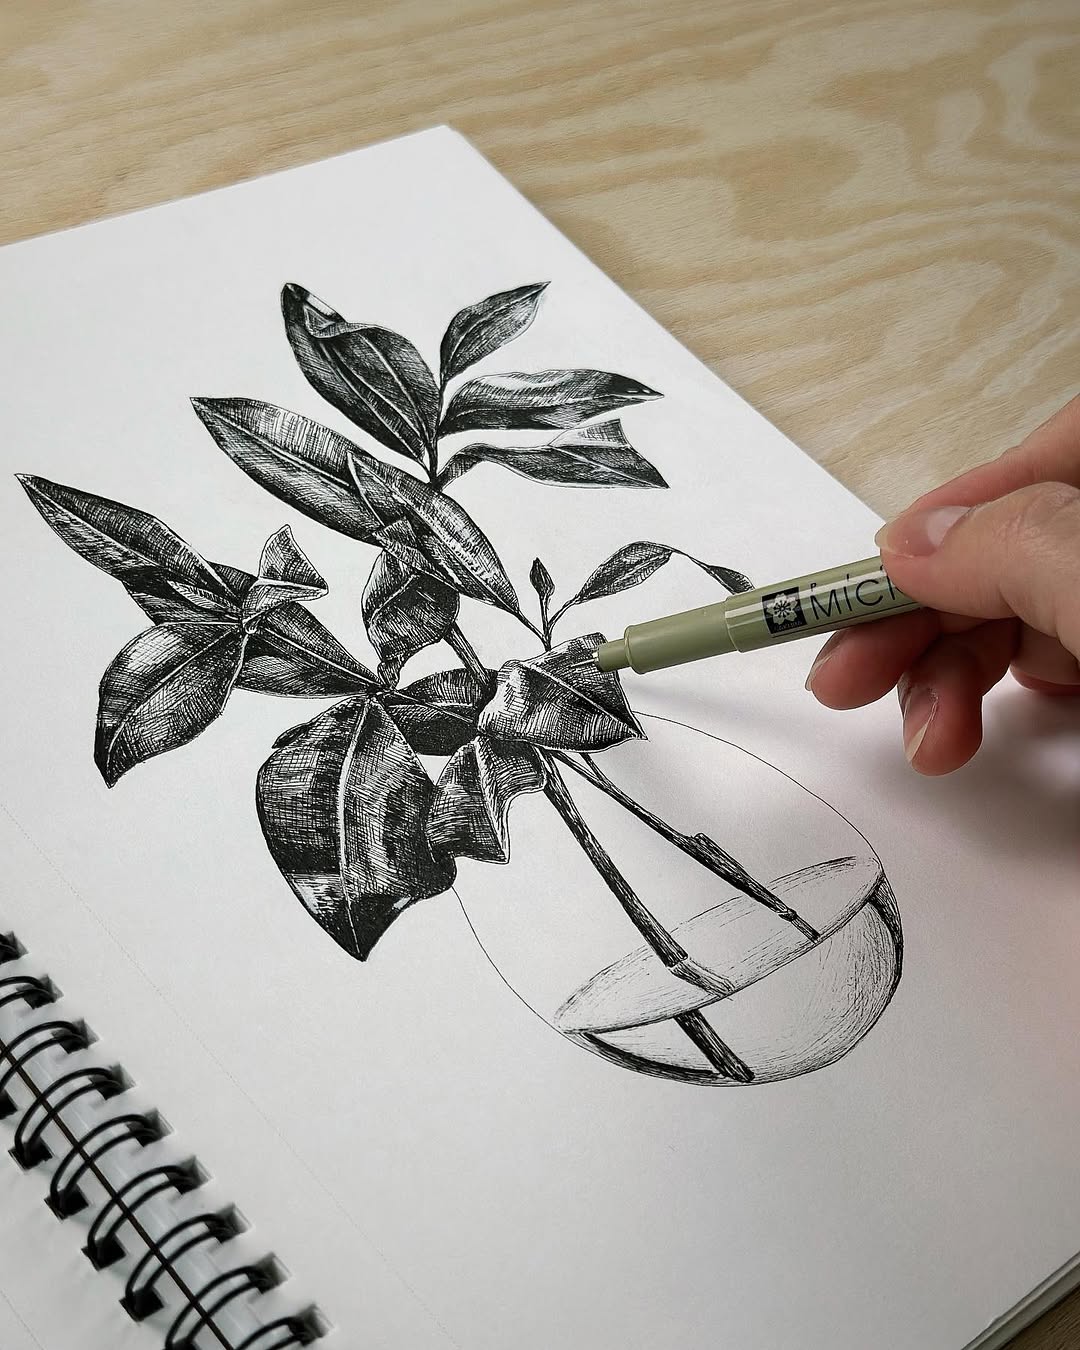
7. Use Hatching and Cross-Hatching for Depth
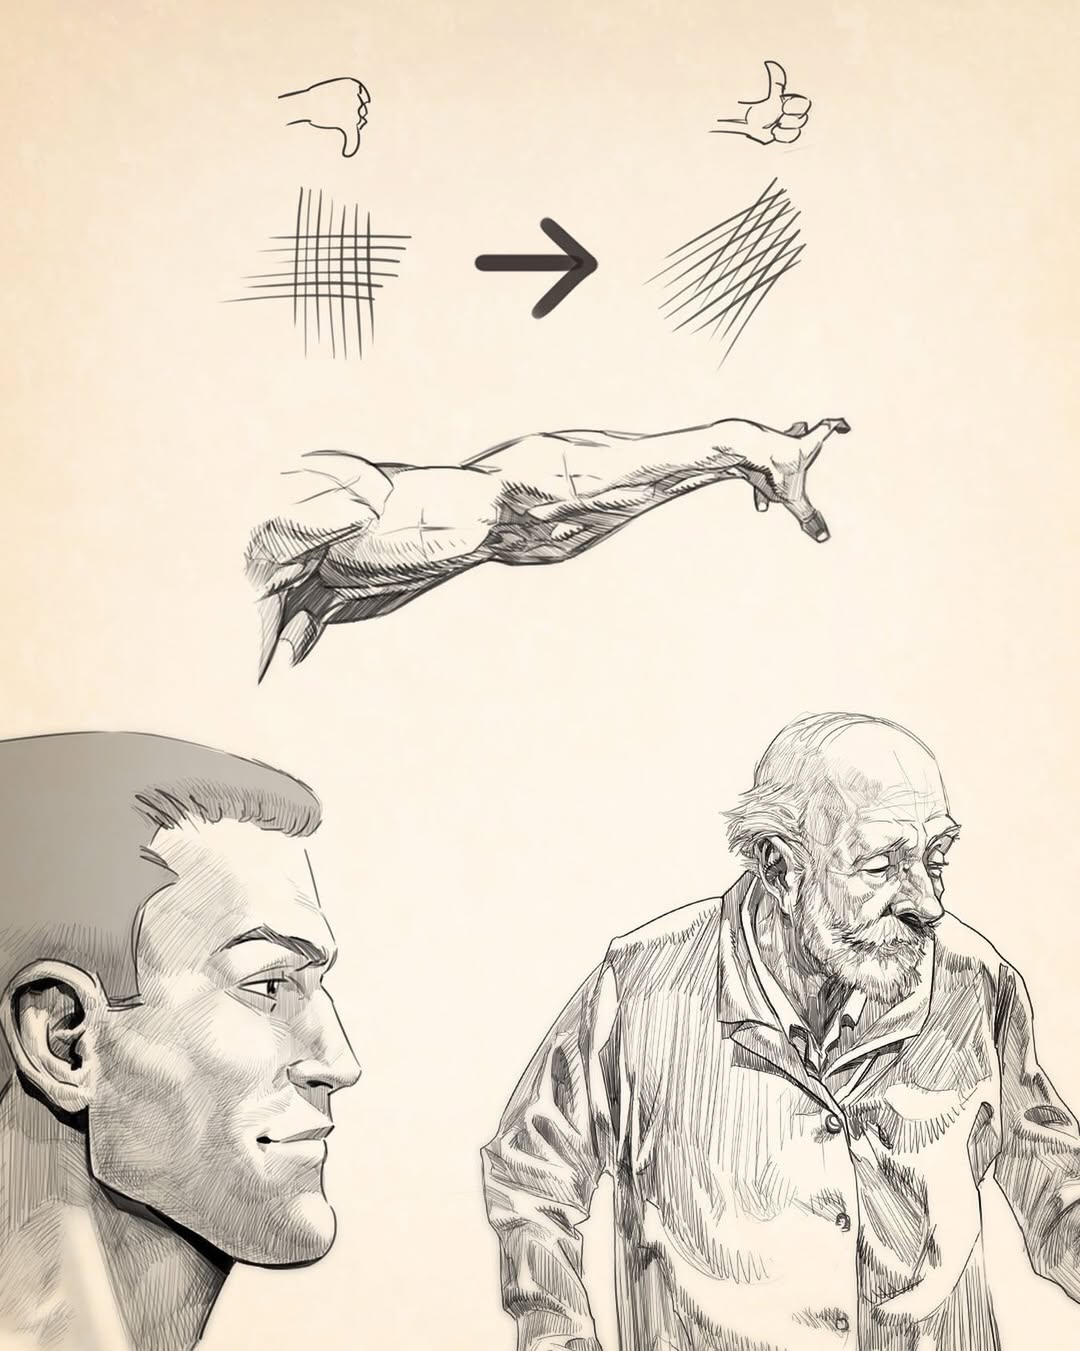
source @carloscabralart
Hatching and cross-hatching are essential techniques for creating depth and texture in your drawings. Instead of relying solely on smudging, use a series of parallel or intersecting lines to build shadows and form. The closer the lines, the darker the shading will appear. This method not only adds dimension but also enhances the overall structure of your artwork. It’s particularly effective in pen and ink drawings but can also be used with graphite for a more controlled approach to shading.
8. White Gel Pen for Sharp Highlights
source @gio_vescovi
Adding highlights can make your drawings pop, and one of the best ways to achieve this is by using a white gel pen. Whether you’re sketching eyes, metallic objects, or reflective surfaces, a white gel pen can add those final bright details that make your artwork stand out. This technique works especially well when layered over colored pencils or ink drawings, creating a realistic shine that brings elements to life. Just be sure to apply the highlights sparingly, as too many can make the drawing look unnatural.
9. Layering Colors for Realistic Tones
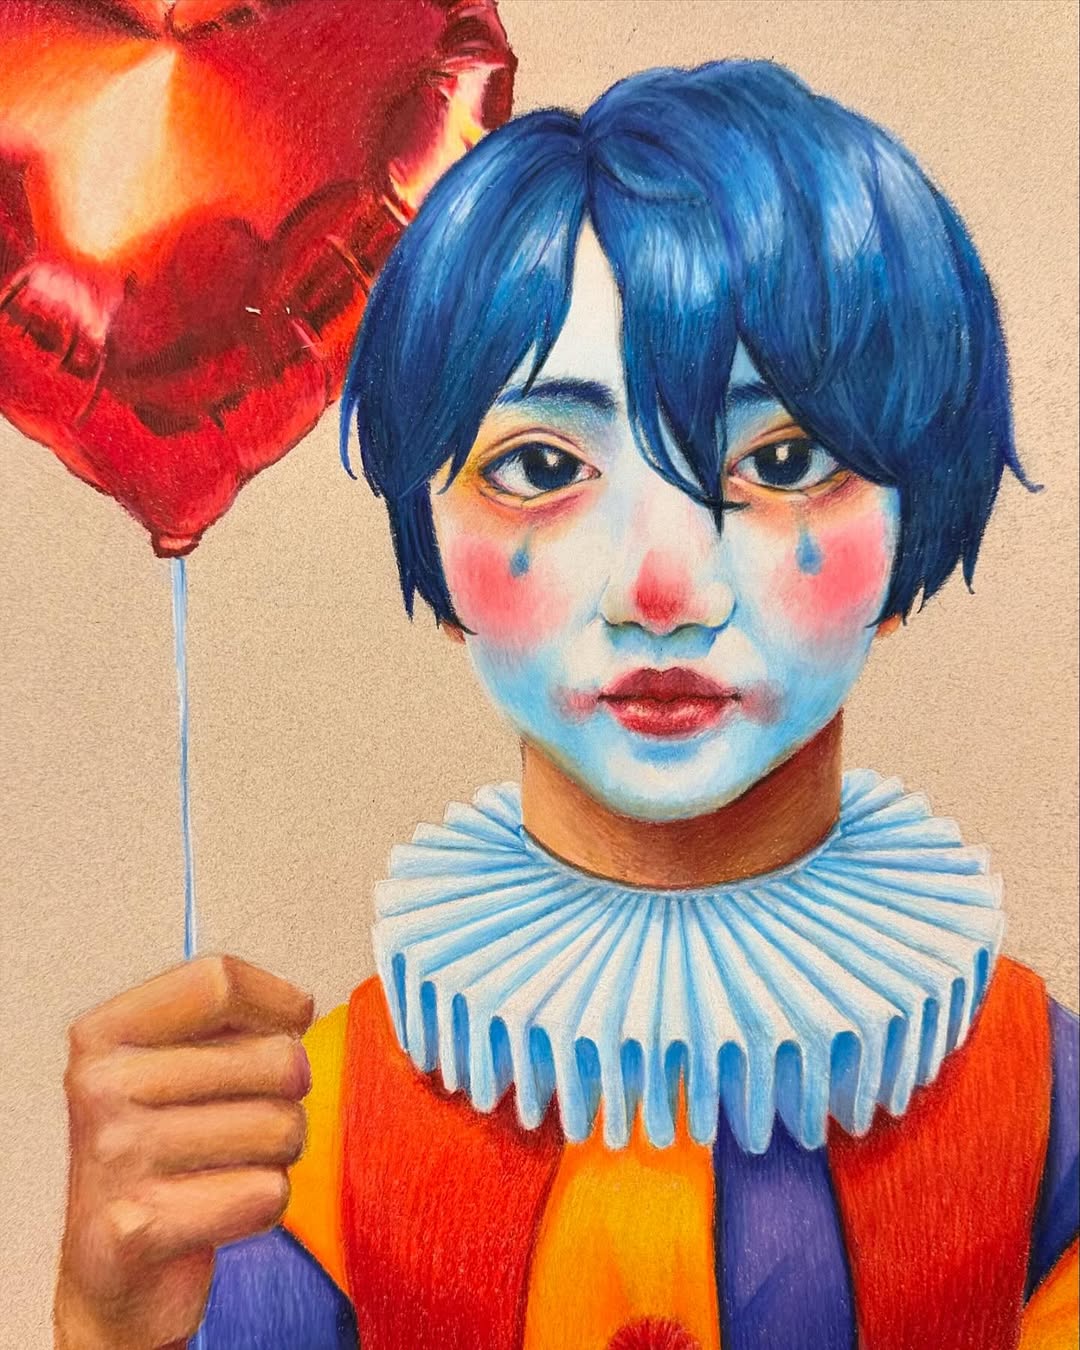
source @art_teacher_chronicles
Colored pencils work best when applied in layers rather than pressing too hard at once. Start with light strokes and build up the intensity gradually. Mixing multiple shades instead of relying on a single color will give your drawing a more realistic and vibrant appearance. Blending tools like colorless blender pencils or soft tissue can help smooth out transitions without muddying the colors.
10. Pencil Extender to Make the Most of Short Pencils
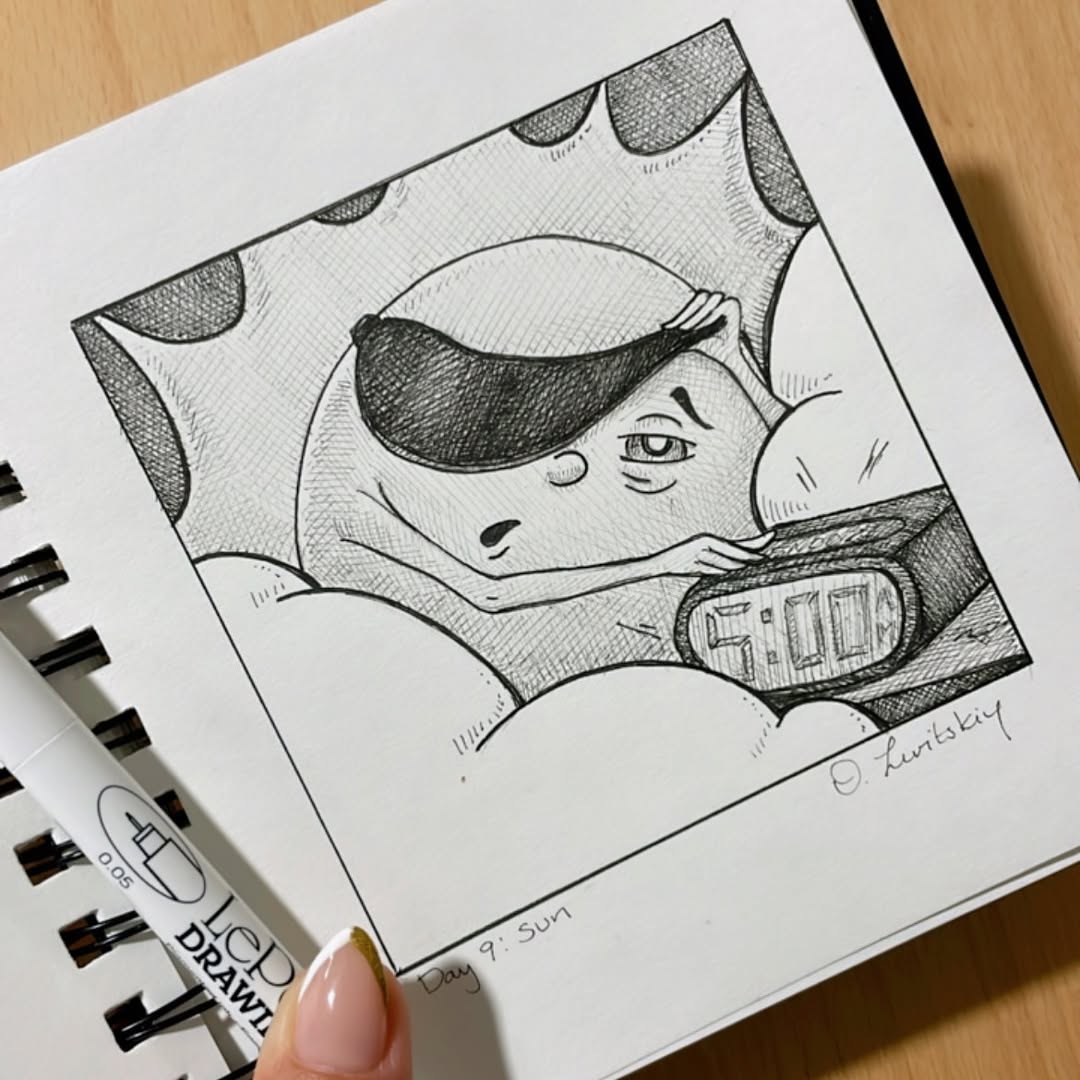
source @olgalevitskiyart
Ever had a favorite pencil get too short to hold comfortably? A pencil extender is the perfect solution, allowing you to use every bit of your drawing pencils without wasting them. This small tool fits around the end of your pencil, giving you the same grip and control as a full-length one. It’s a great way to get the most out of high-quality art supplies while keeping your drawing process smooth and comfortable.
11. Use Different Pencil Grades for Depth and Dimension
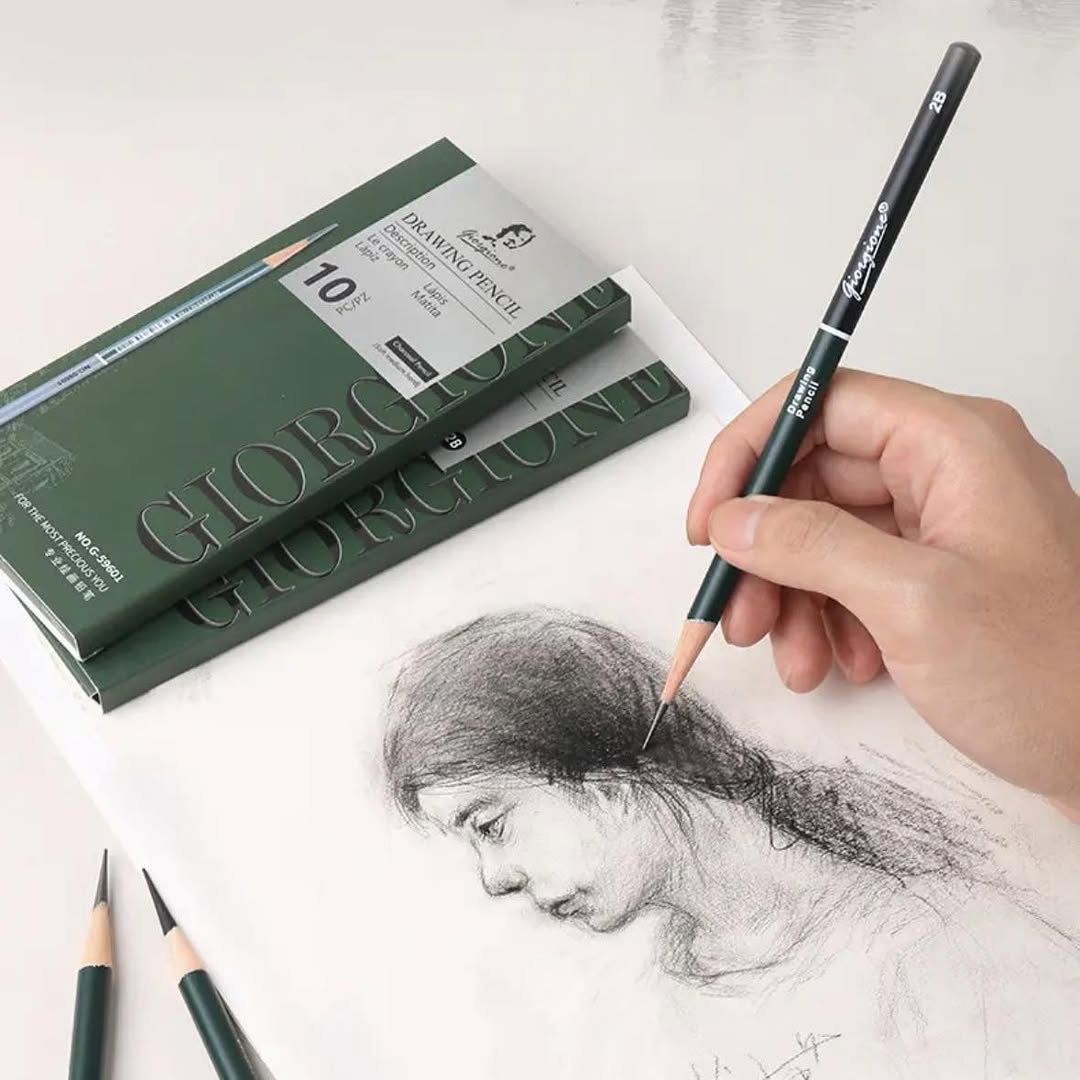
source @artlab.bangladesh
Many beginners make the mistake of using only one type of pencil for their entire drawing, but professional artists know that different graphite grades create varying effects. Hard pencils (H-grade) produce light, fine lines, perfect for outlines and precision work, while soft pencils (B-grade) give rich, dark shading for depth. A full set of drawing pencils ranging from 2H to 8B allows you to create smooth gradients and contrast. Try using a 4H for light sketching, a 2B for general drawing, and a 6B or 8B for deep shadows to give your artwork more dimension. Investing in a quality pencil set can make a significant difference in your drawing quality.
12. Use a Lightbox for Tracing and Refining Sketches
source @sensusdesignstudio
If you struggle with getting proportions right or want to clean up a rough sketch without redrawing it from scratch, a lightbox is a fantastic tool. It helps you transfer your sketches onto a fresh sheet without the mess of eraser marks. Simply place your rough sketch on the lightbox, overlay a new sheet, and refine the drawing with precise lines. This is especially useful for calligraphy, comic art, or detailed compositions where accuracy is crucial. Many professional artists use this technique to speed up their workflow while keeping their final drawings clean and polished.
13. Break Complex Subjects Into Basic Shapes
source @harrisonberger
Drawing something intricate, like a human face or an animal, can feel overwhelming, but breaking it down into simple geometric shapes makes it much easier. Start by sketching circles, ovals, rectangles, and triangles to outline the basic structure of your subject. Once the foundation is in place, gradually refine the shapes into more organic forms. This technique helps improve accuracy and ensures that proportions are correct before adding details. It’s a fundamental trick used by illustrators and animators to create well-balanced compositions.
14. Use a Fixative Spray to Preserve Your Work
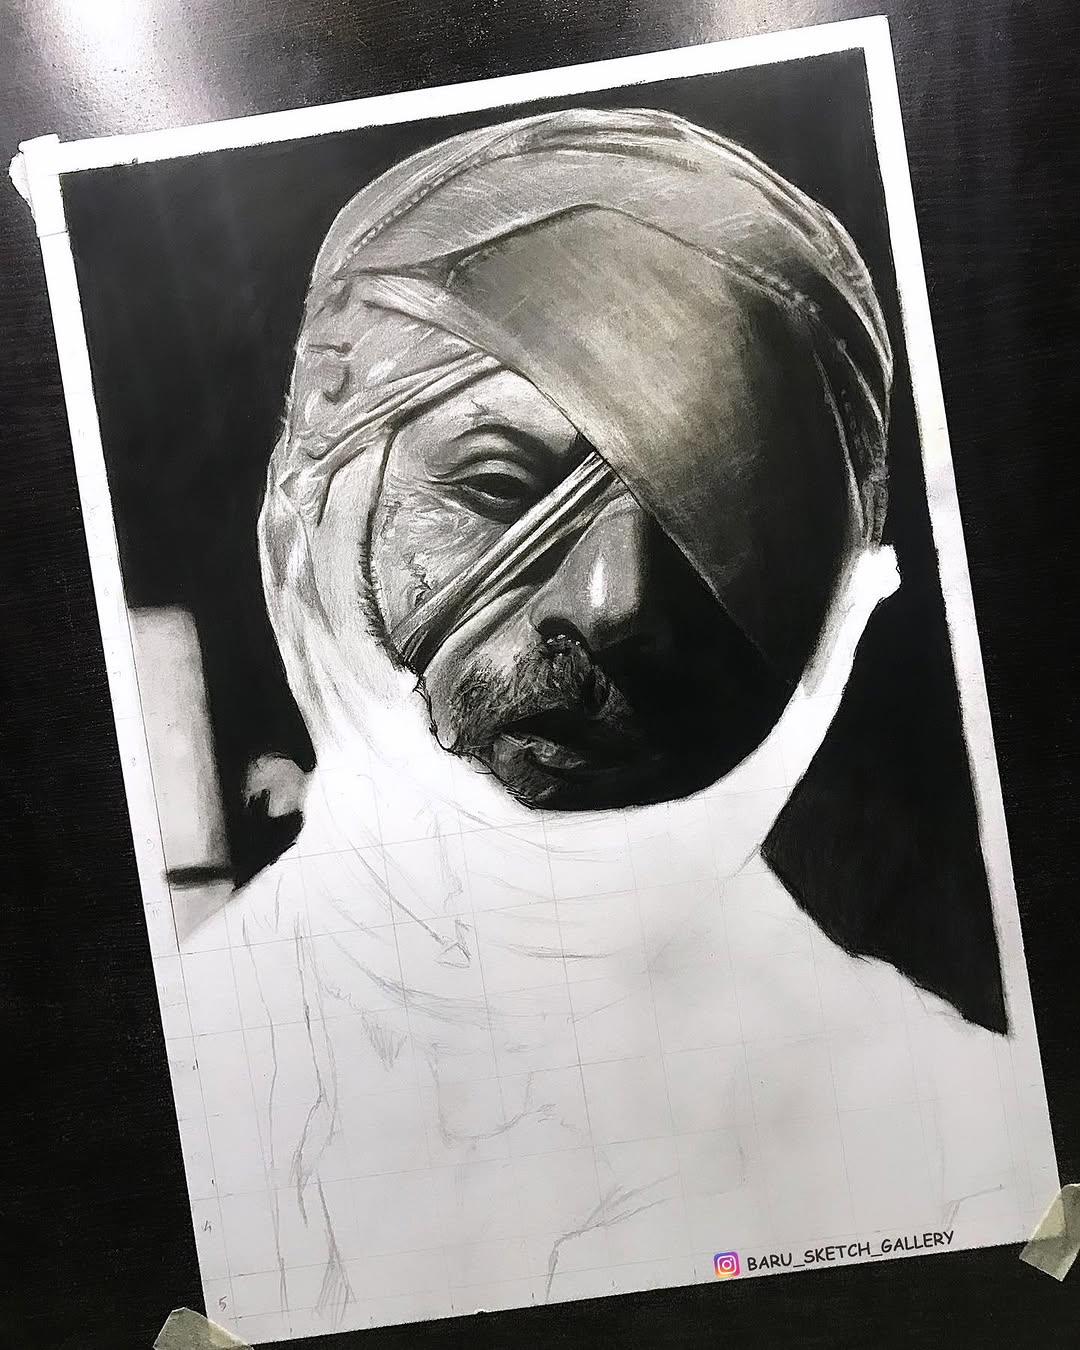
source @baru_sketch_gallery
One of the biggest frustrations for pencil artists is accidental smudging. Even the lightest touch can smear graphite and ruin hours of work. A fixative spray creates a protective layer over your artwork, preventing smudging and keeping it intact for years. Simply spray a light coat from a distance to set your drawing in place. If you use charcoal or pastels, a fixative is essential for preserving details. Look for acid-free, non-yellowing options to keep your artwork looking fresh over time.
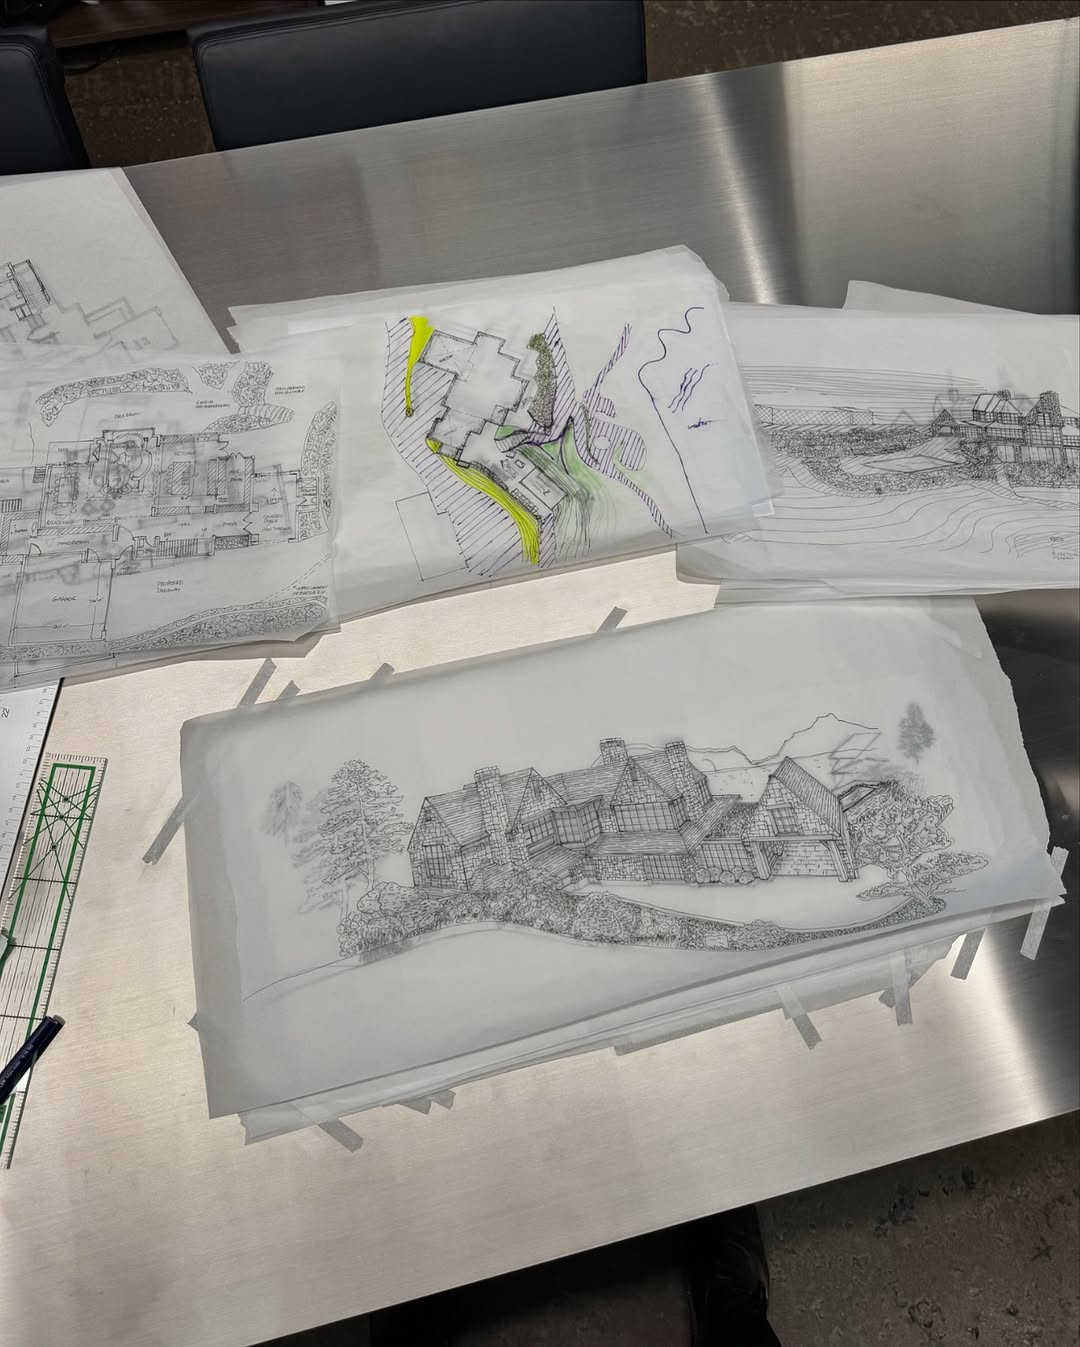
15. Master Perspective Drawing for Realistic Depth
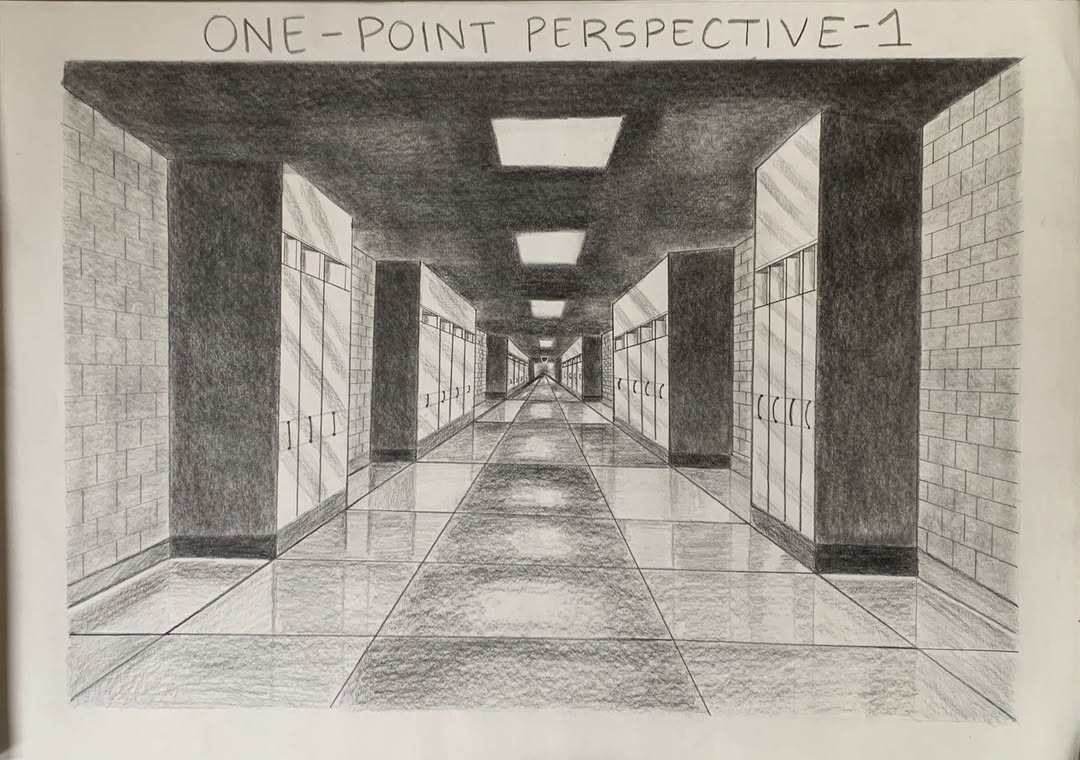
Perspective is the key to making drawings look three-dimensional and believable. Understanding one-point, two-point, and three-point perspective will help you create realistic buildings, landscapes, and even figure drawings. A simple trick is to draw guidelines that lead toward a vanishing point, ensuring that objects recede into the distance naturally. If you’re struggling with perspective, using a perspective grid ruler can help you stay consistent with angles and proportions.
16. Experiment with Different Paper Textures
source @allydelucaa
Not all drawing paper is the same! The texture, or tooth, of the paper affects how graphite, charcoal, or ink interacts with it. Smooth paper (hot press) is great for detailed work, while textured paper (cold press) is perfect for soft shading and depth. Try experimenting with different paper types to see how they impact your artwork. If you work with colored pencils, a slightly textured surface can help the pigment stick better, creating more vibrant results.
17. Use Reference Images to Improve Accuracy
source @cyanali520
Even the most skilled artists rely on reference images to ensure correct proportions and realistic details. Using references helps train your eye to observe shapes, lighting, and textures more accurately. Websites like Unsplash, Pexels, and Pinterest offer free high-quality reference images. If you prefer a physical reference, try using a photo printout or a tablet placed beside your drawing area for easy access.
18. Try the Negative Space Drawing Technique
source @greymonkeymonk
Instead of focusing on the object itself, try drawing the negative space around it. This means sketching the empty areas between and around your subject rather than the subject itself. This technique helps improve your ability to see and capture shapes more accurately. It’s particularly useful for drawing complicated objects like hands, chairs, or tree branches, where proportions can be tricky. By training your brain to focus on negative space, your drawings will become more precise and well-balanced.
19. Use a Ruler and Compass for Precision
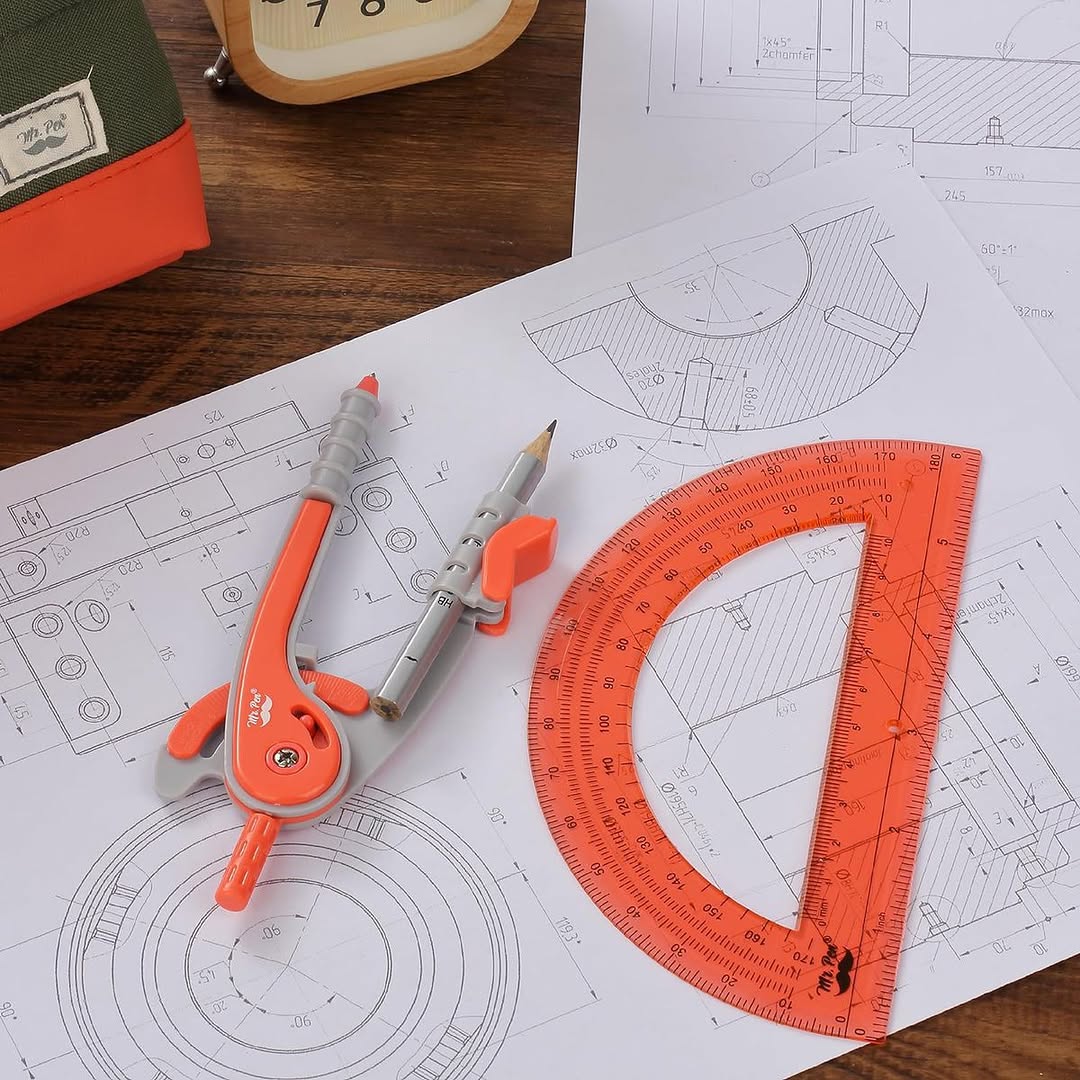
source @gomr.pen
For drawings that require straight lines or perfect curves—such as architectural sketches, mandalas, or geometric designs—a ruler and compass are must-have tools. While freehand drawing improves fluidity, sometimes precision is necessary for certain styles of art. A flexible curve ruler can also be helpful for creating organic shapes while maintaining accuracy. These tools help maintain symmetry and ensure your drawings look polished and professional.
20. Try Layering Techniques for Realistic Textures
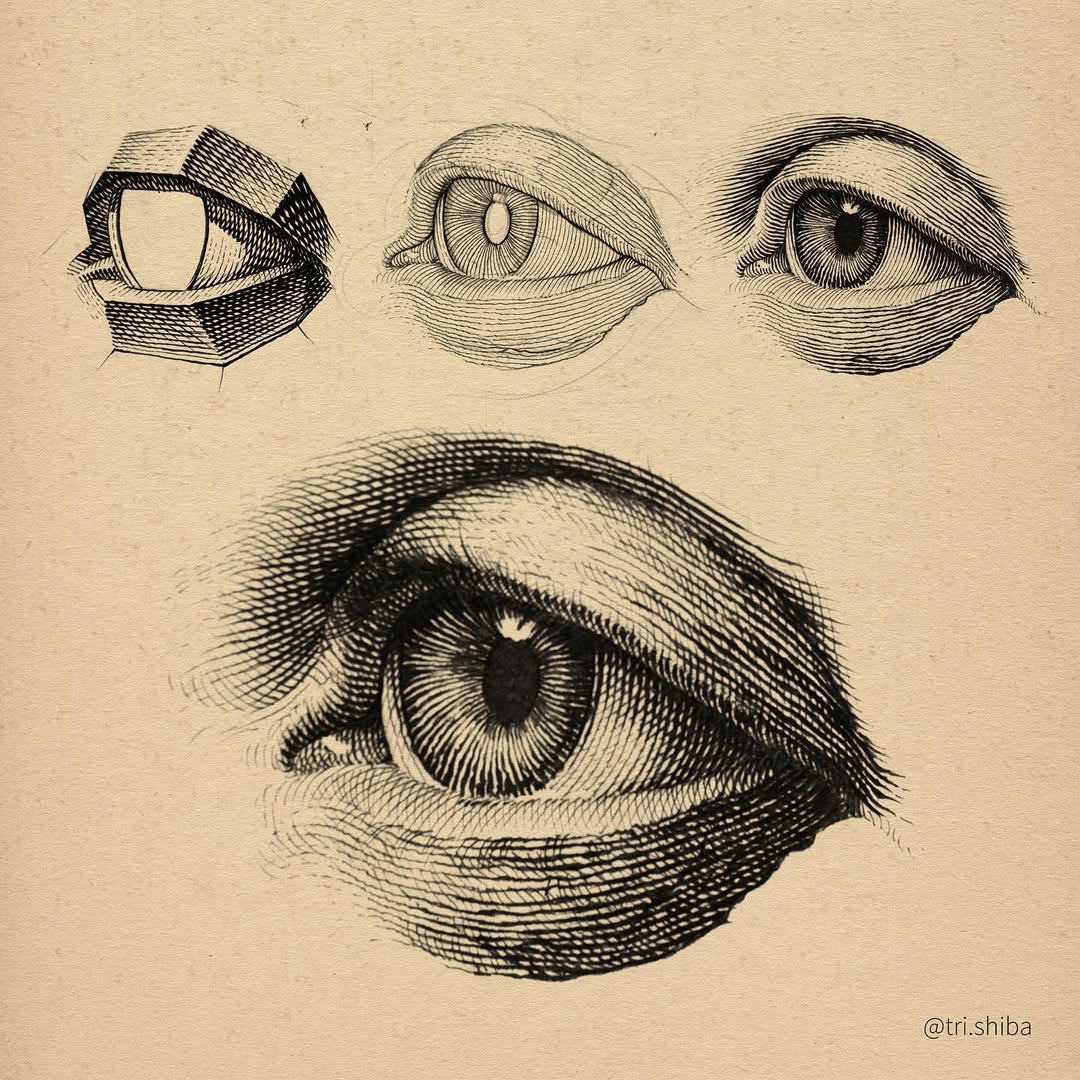
source @tri.shiba
Instead of pressing hard on your pencil to create dark areas, build up layers gradually. Layering different pencil strokes in a slow and controlled manner prevents unwanted smudging and creates realistic textures. This technique is especially useful for drawing hair, fur, fabrics, and skin. Use a light touch for the first few layers, then gradually deepen the values with softer pencils. If you’re using colored pencils, blending with a colorless blender pencil or baby oil can create smooth, painterly effects.
21. Keep a Sketchbook for Daily Practice
source @moral.mutiny
The best way to improve as an artist is to draw consistently. Keeping a sketchbook allows you to experiment with ideas, practice techniques, and track your progress over time. Try setting a challenge for yourself, like sketching one drawing per day or exploring different themes each week. Don’t be afraid to make mistakes—your sketchbook is a place for learning, not perfection. Over time, you’ll see noticeable improvements in your skills and creative style