Flower drawing is one of the most delightful and rewarding artistic skills to develop, especially for beginners who want to add an elegant touch to their sketches. Whether you’re interested in creating stunning floral patterns for personal projects, designing greeting cards, or enhancing your artistic portfolio, mastering the fundamentals of flower drawing is essential. However, many beginners struggle with proportions, symmetry, and realistic detailing. The good news? With the right techniques, anyone can create breathtaking floral designs, even with little prior experience. In this guide, we’ll reveal 21 flower drawing design secrets that will help you refine your skills. From mastering petal shapes to adding realistic depth with shading, these tips will unlock the beauty of your artwork. Additionally, we’ll recommend a few must-have tools that can significantly enhance your drawing experience. Let’s dive into the world of floral art and discover the secrets that will transform your sketches into stunning masterpieces.
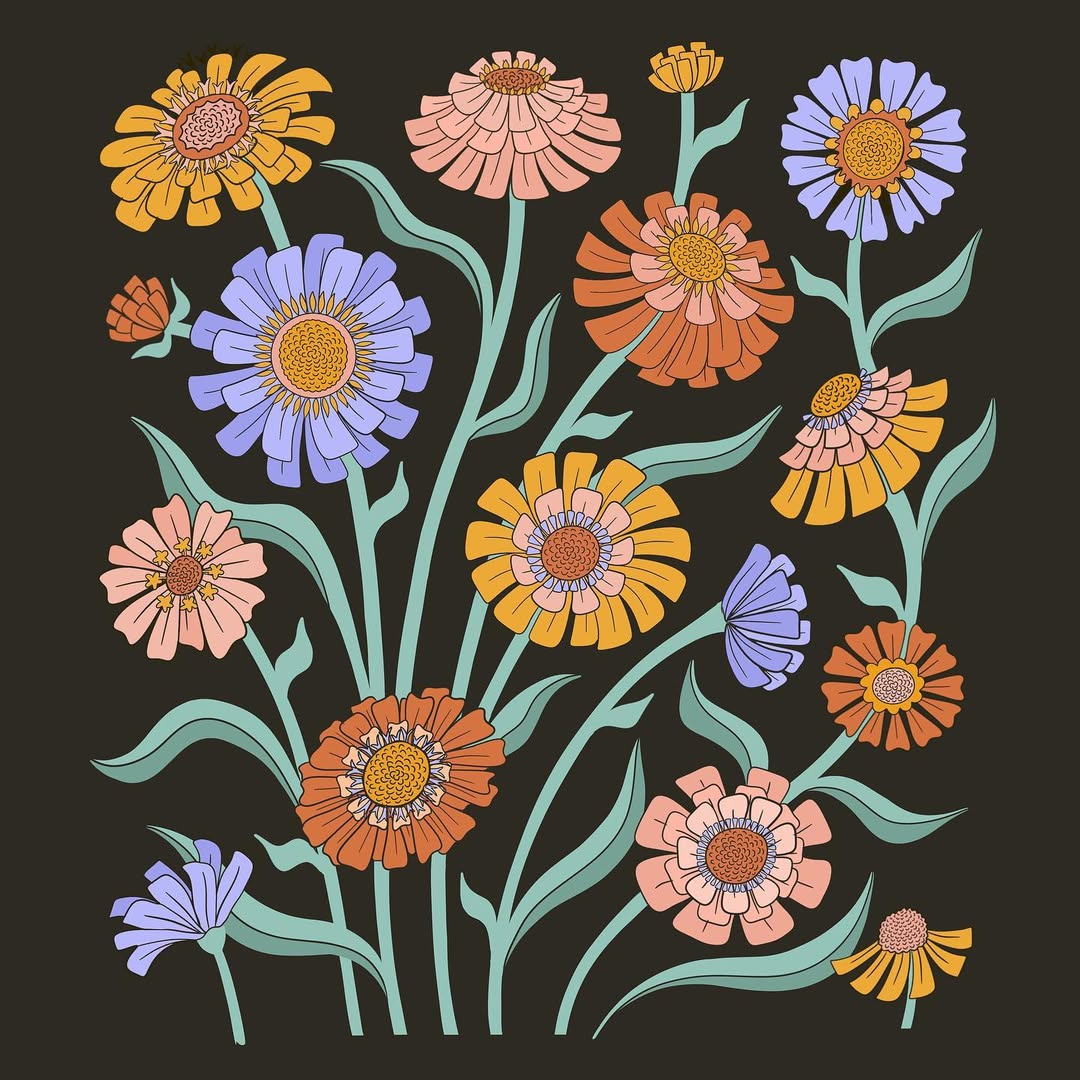
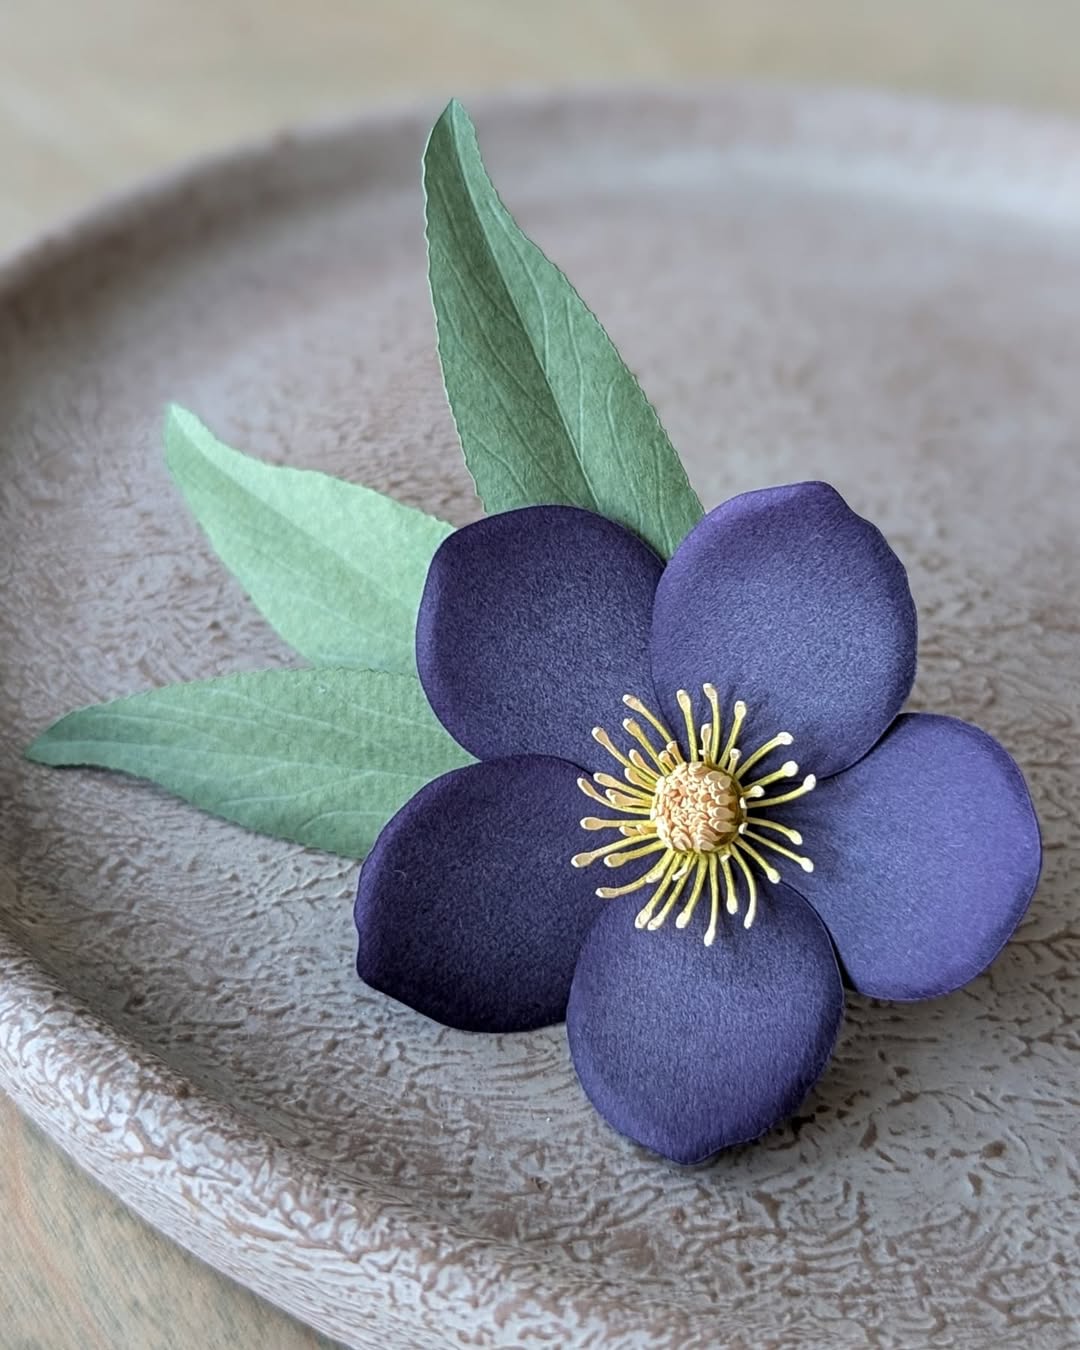
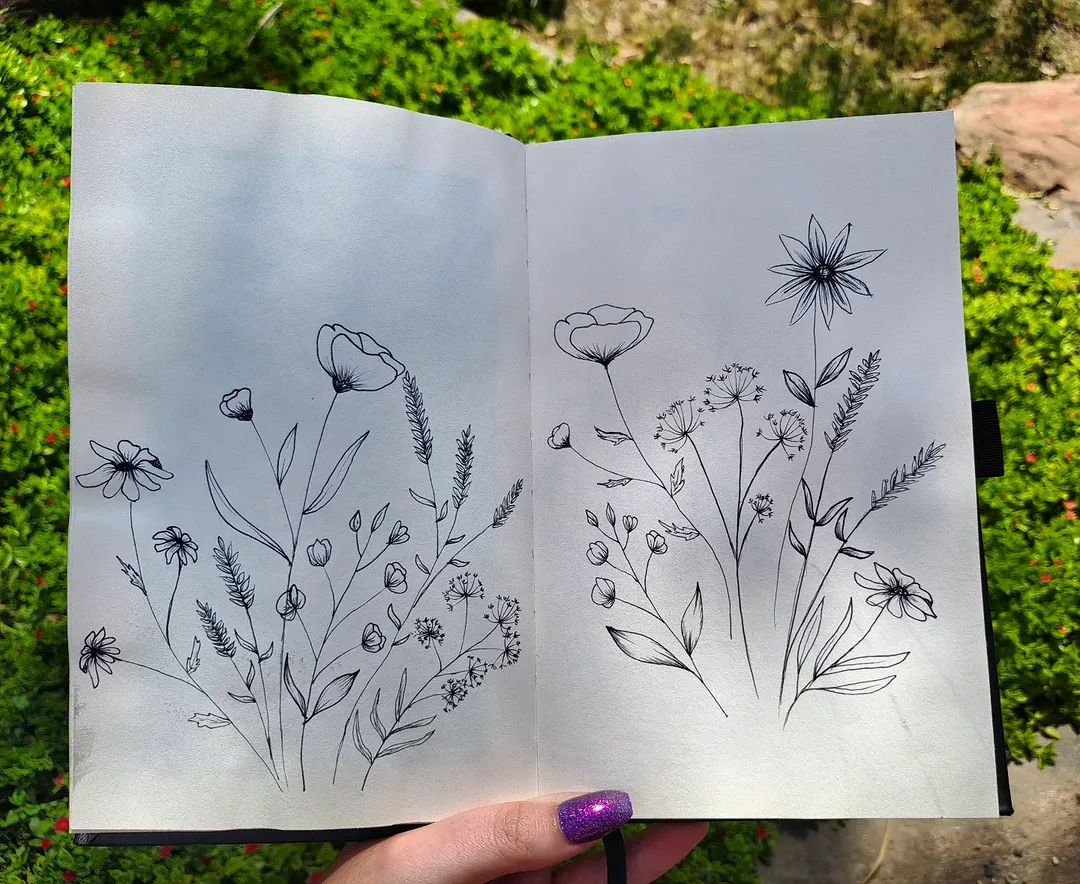
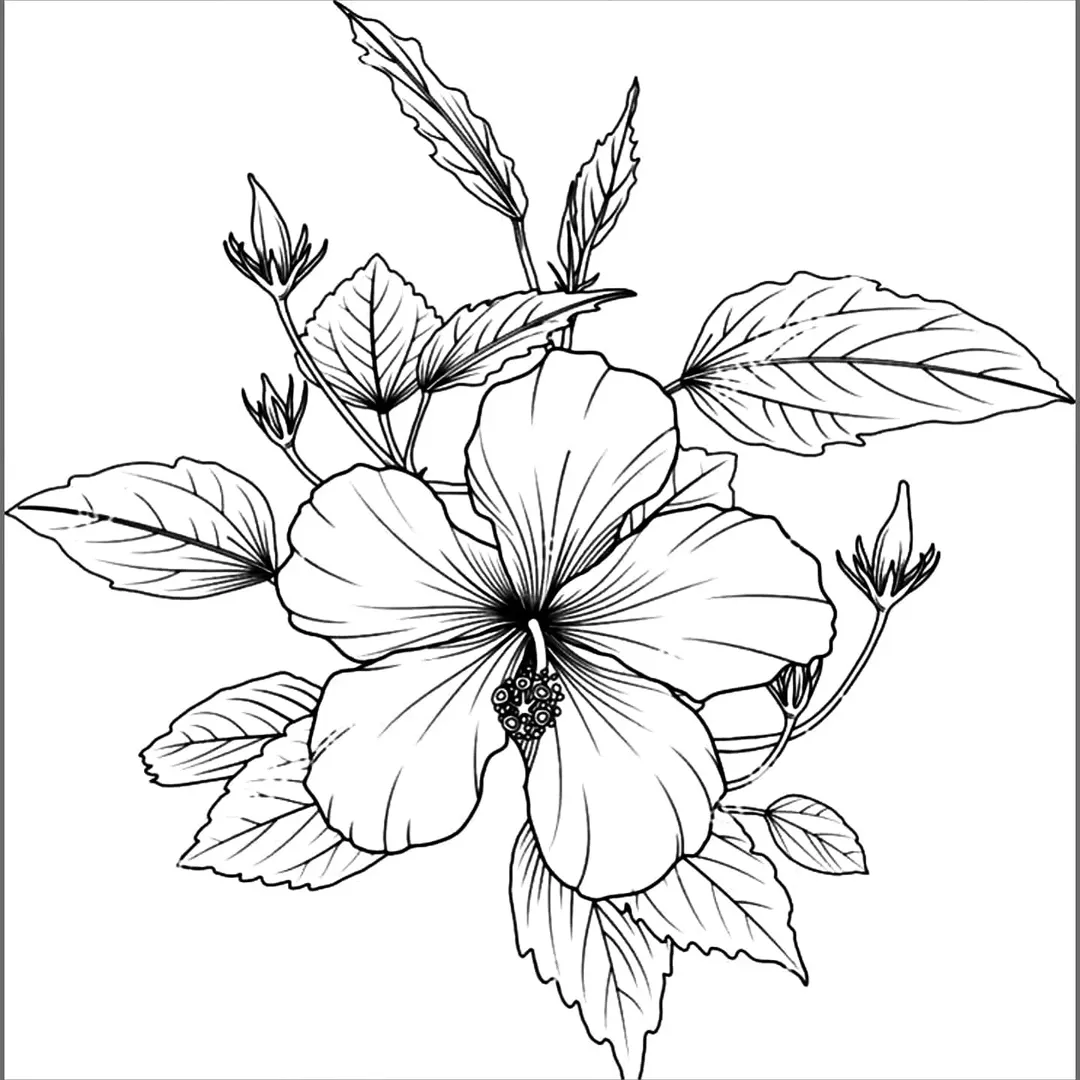
1. Start with Simple Shapes
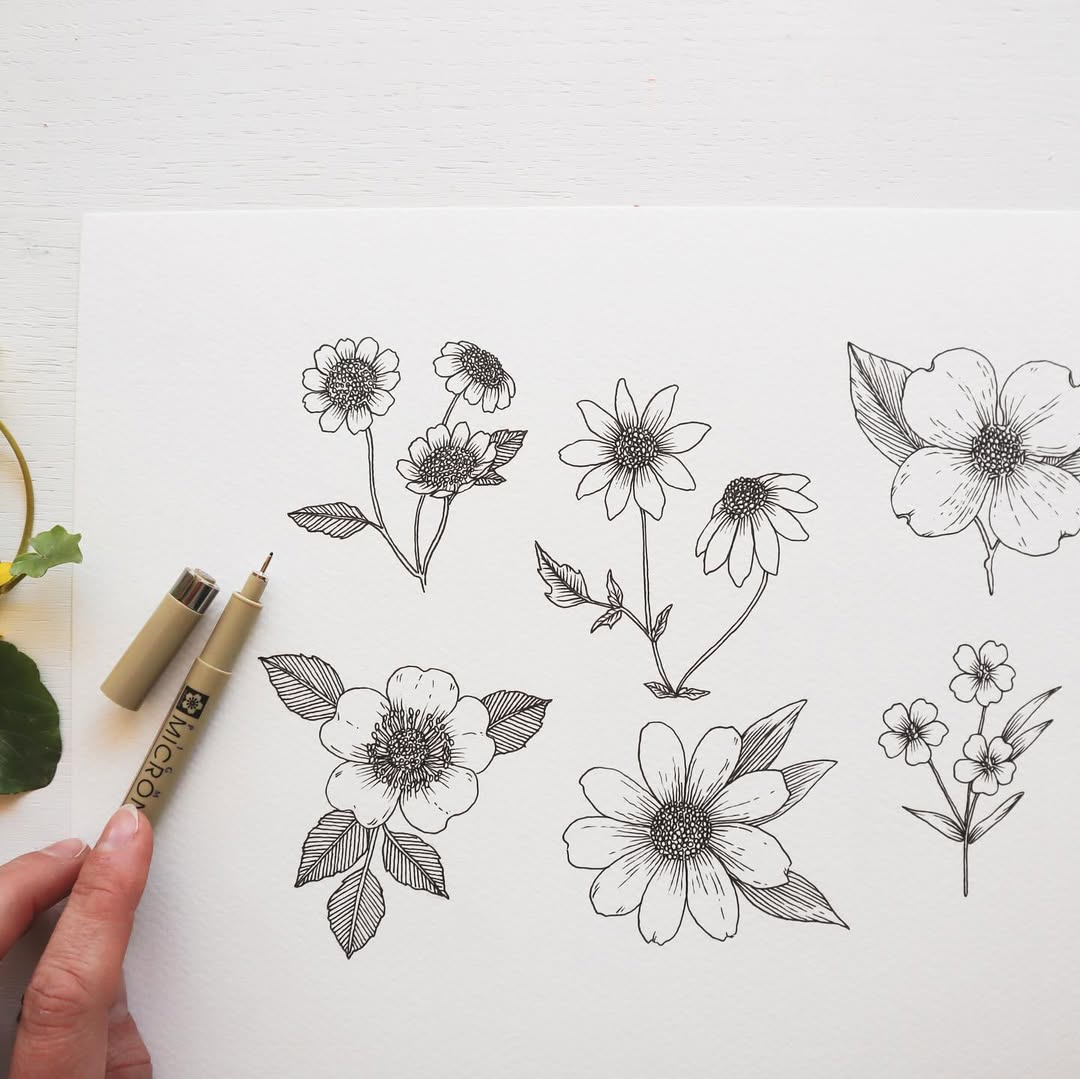
source @lovekdesigns
Many beginners make the mistake of trying to draw complex flowers right away, leading to frustration and uneven sketches. The best way to start is by breaking down flowers into basic shapes. Circles, ovals, and triangles can serve as the foundation for petals and leaves. For example, a daisy can begin with a small central circle surrounded by elongated ovals for petals. By simplifying the structure first, you’ll be able to maintain better symmetry and proportion in your drawings. This technique not only makes sketching easier but also builds confidence as you develop your artistic eye.
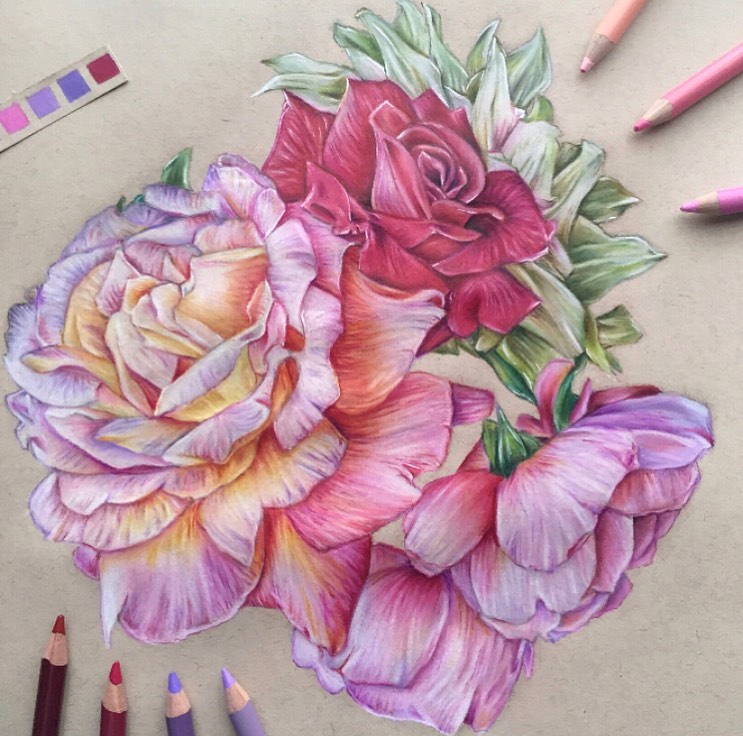
2. Choose the Right Pencils
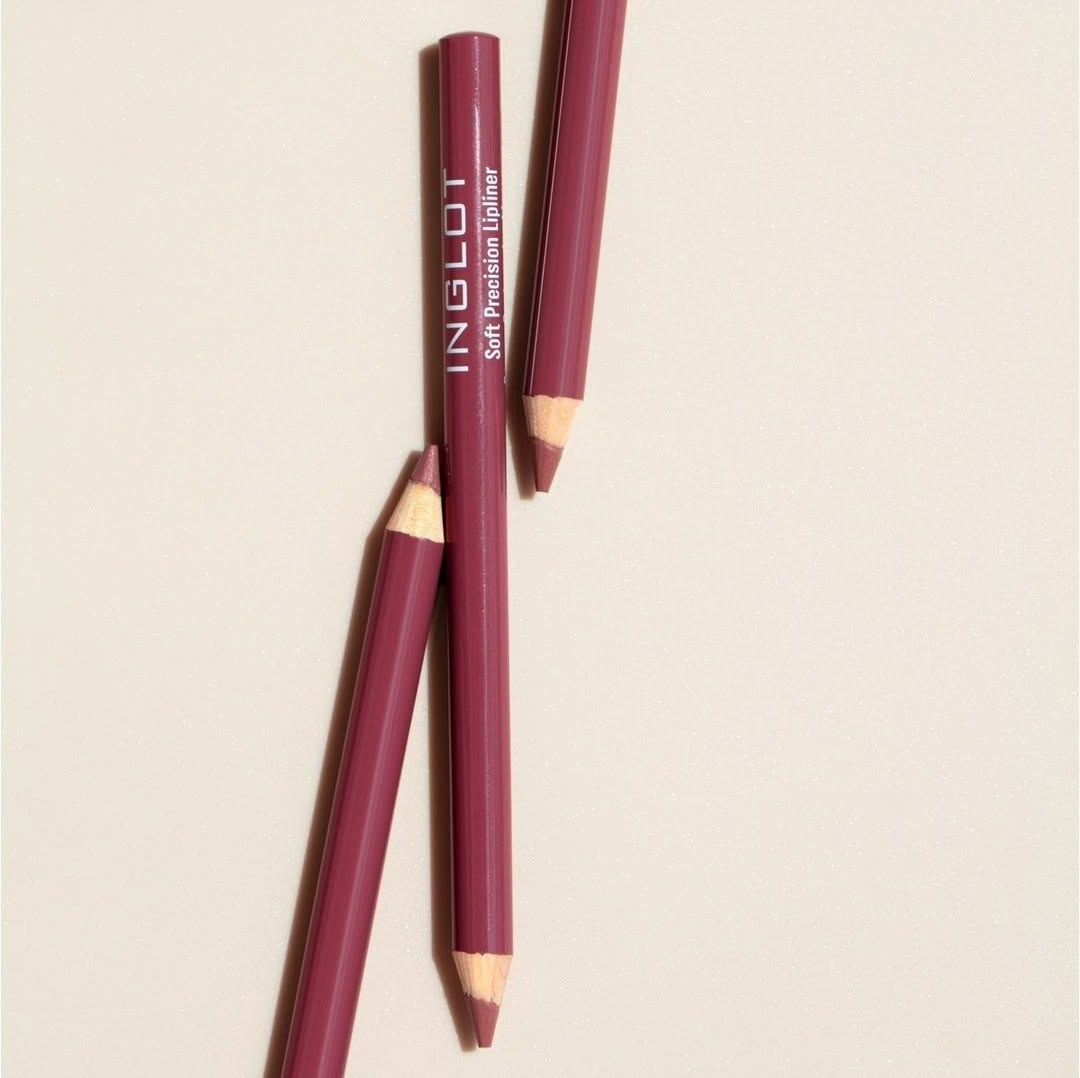
source @inglotbangladesh
The type of pencil you use can dramatically affect the outcome of your flower sketches. A regular No. 2 pencil might work for rough drafts, but if you want refined results, consider investing in a high-quality sketching set. Pencils with different grades, such as HB, 2B, and 4B, allow for varying levels of shading and detail. Softer pencils (like 4B and 6B) are perfect for creating smooth shadows, while harder ones (like H and HB) are great for precise outlines. Having the right tools will make your drawing experience smoother and more enjoyable.
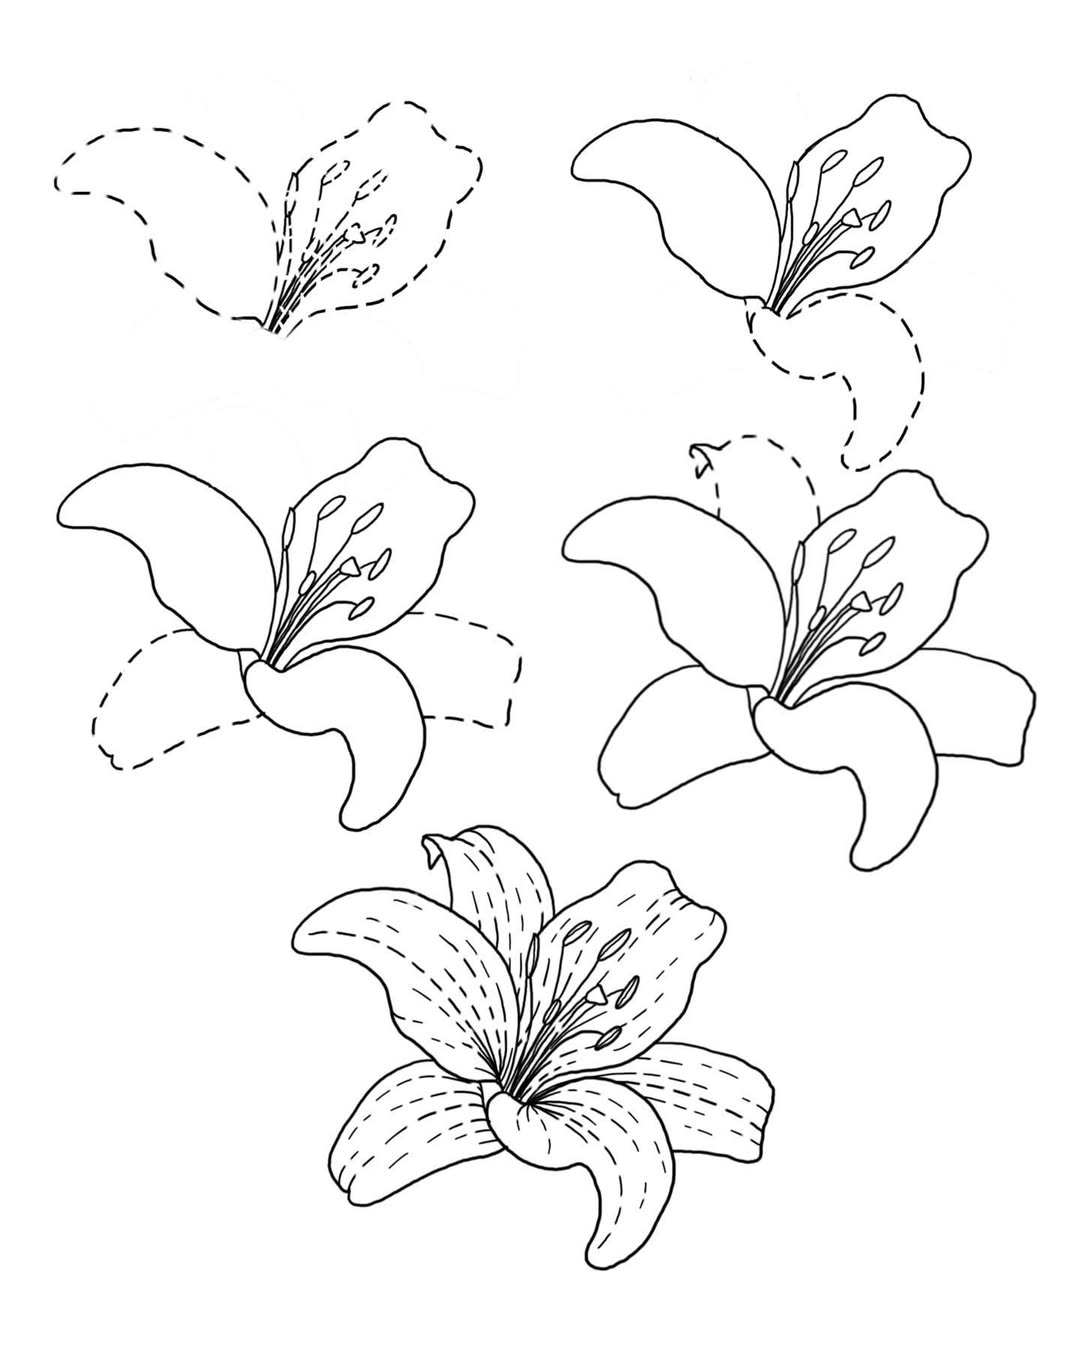
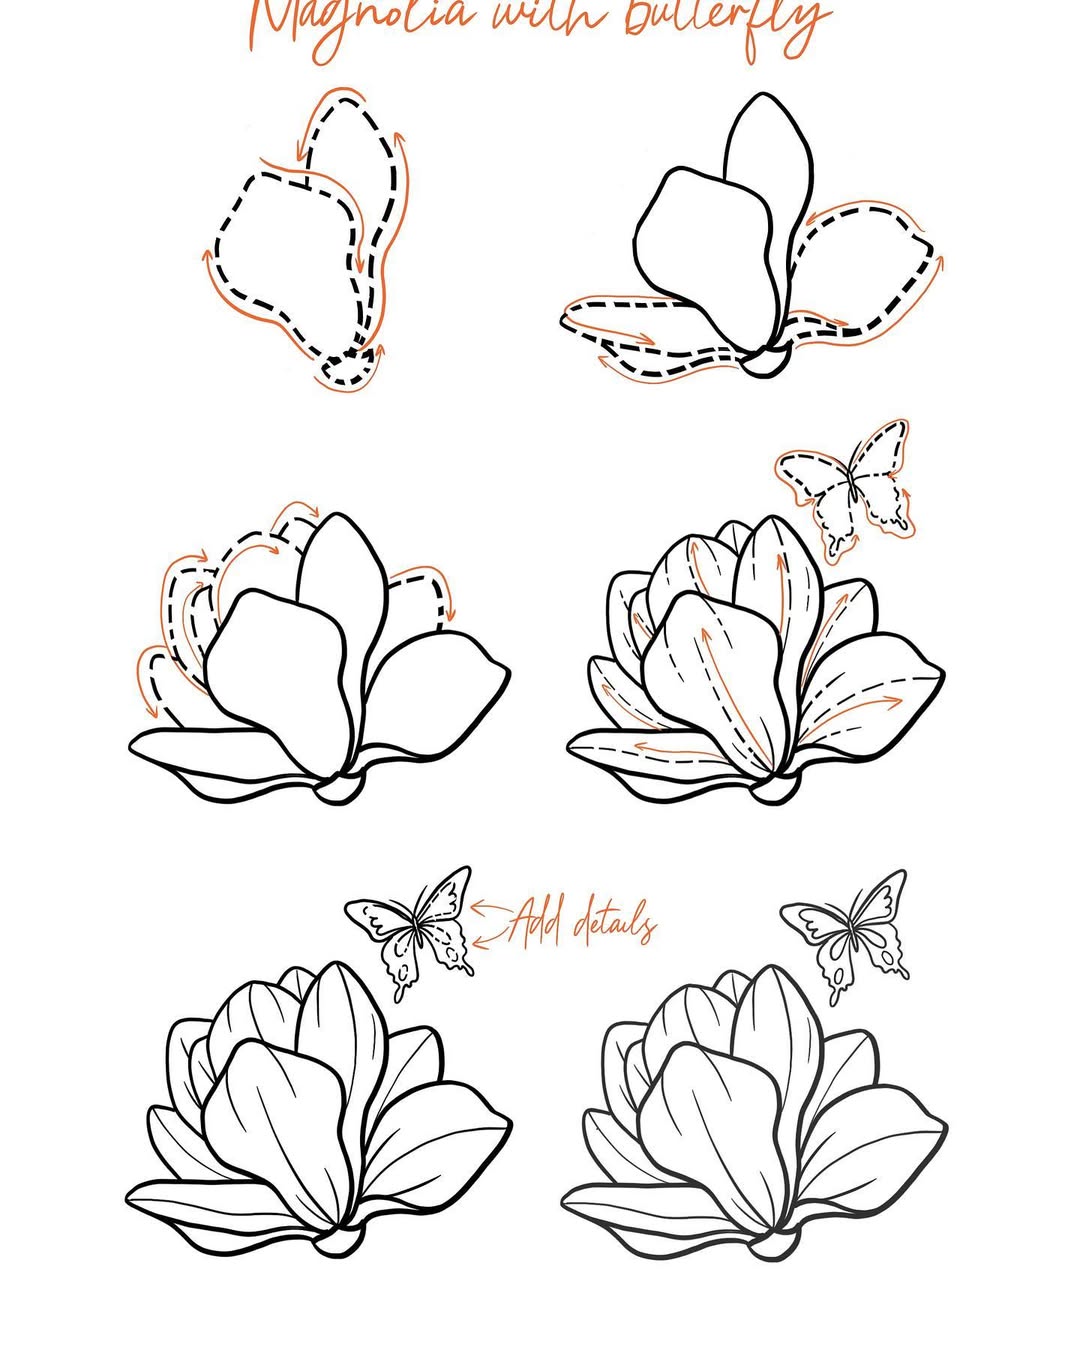
3. Master the Art of Petal Symmetry
source @doodleartclub
One of the key elements of drawing realistic flowers is achieving symmetrical petals. A common mistake is drawing petals of different sizes and shapes, which makes the flower look unnatural. To fix this, start by sketching light guidelines that divide the flower into equal sections. This method ensures that your petals radiate evenly from the center, creating a balanced and visually appealing flower. With practice, you’ll be able to sketch petals naturally without relying too much on guidelines.
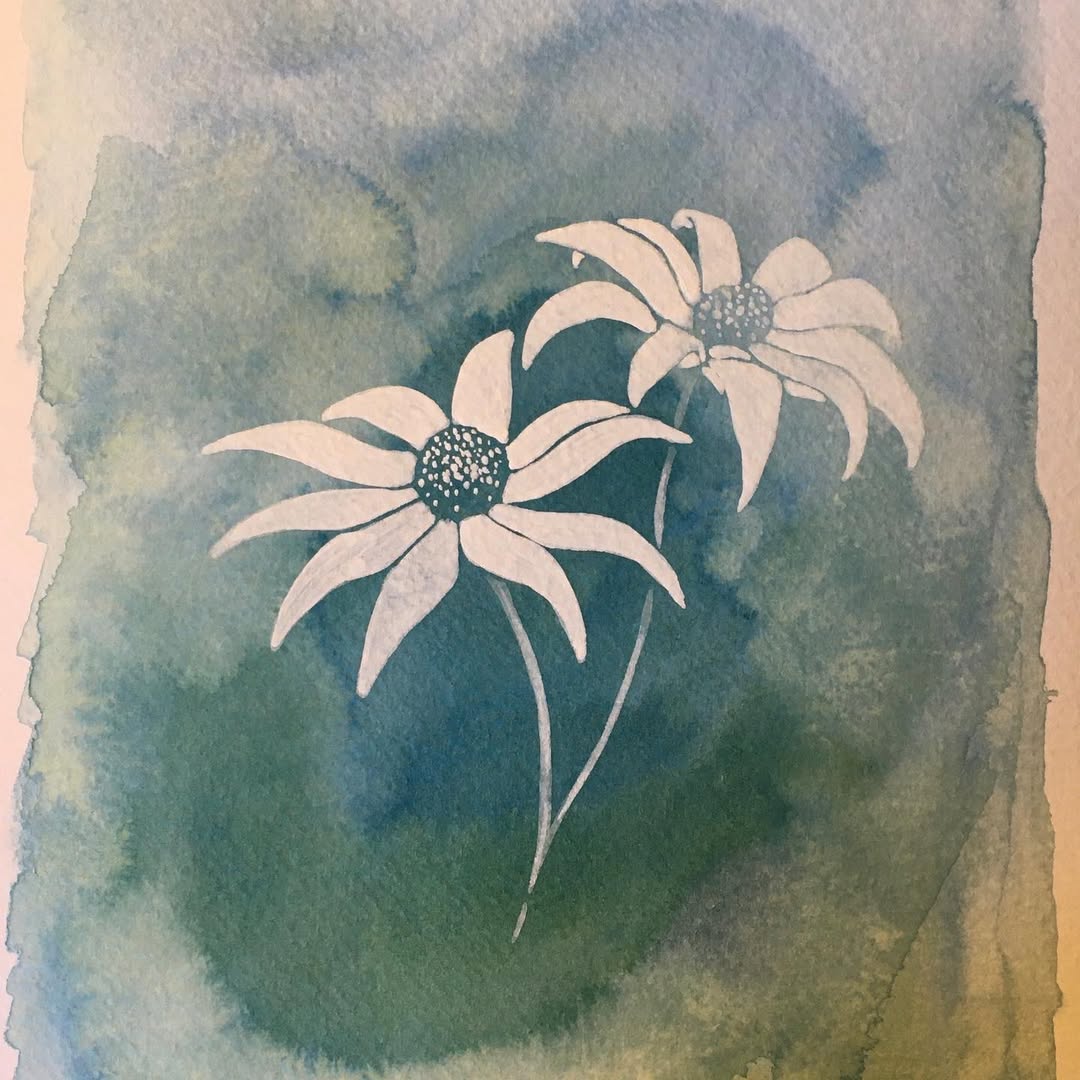
4. Experiment with Different Flower Types
source @taraleighjohnston
If you only draw one type of flower repeatedly, you might feel stuck in your progress. The best way to improve is to challenge yourself by sketching various flowers, each with unique petal shapes, textures, and structures. Try drawing roses with layered petals, tulips with smooth curves, and lilies with elongated, wavy petals. Observing different flowers and practicing their forms will not only refine your skills but also help you develop a versatile floral drawing style.
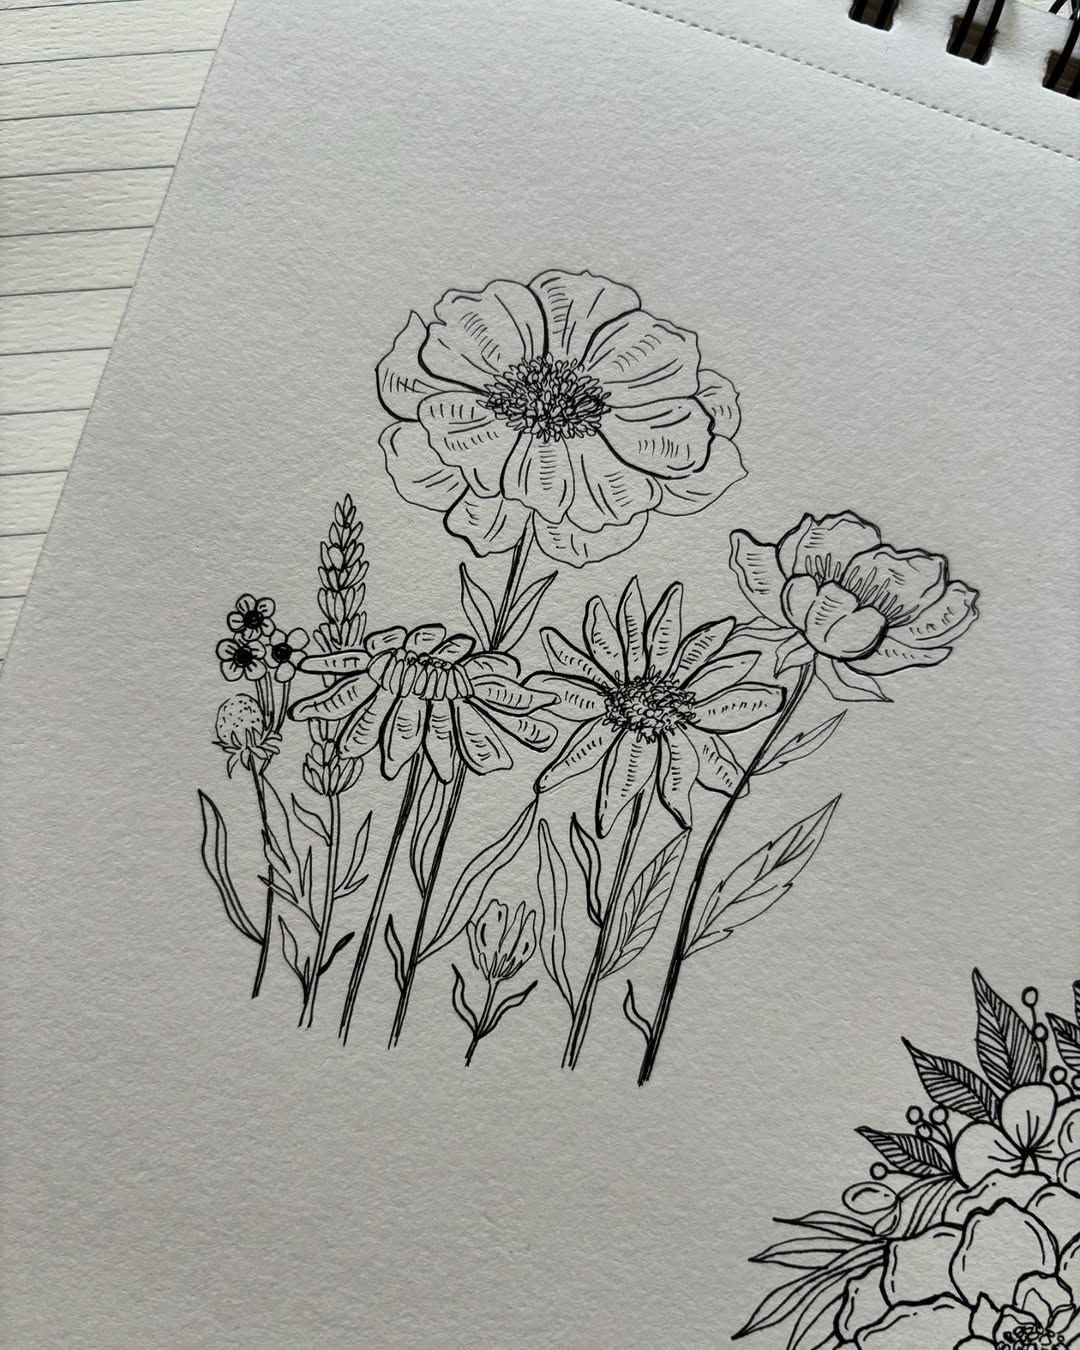
5. Use Reference Images for Accuracy
source @artbyrinad
Even the most talented artists use references when drawing flowers. Observing real flowers or high-quality photos can help you capture accurate details, such as petal textures and organic curves. Using a reference also improves your understanding of how flowers interact with light and shadow. Instead of relying on memory, which can lead to distorted proportions, study flower images closely and replicate their structure on paper.
6. Work on Your Line Quality
source @flowersbysi
The way you draw your lines can significantly impact the appearance of your flowers. Beginners often apply too much pressure, resulting in harsh, thick lines that make the drawing look stiff. Instead, practice drawing light, delicate strokes to achieve a natural, flowing effect. Try varying the pressure on your pencil—soft strokes for petal edges and firmer strokes for shadows—to create depth and elegance in your sketches.
7. Add Depth with Shading Techniques
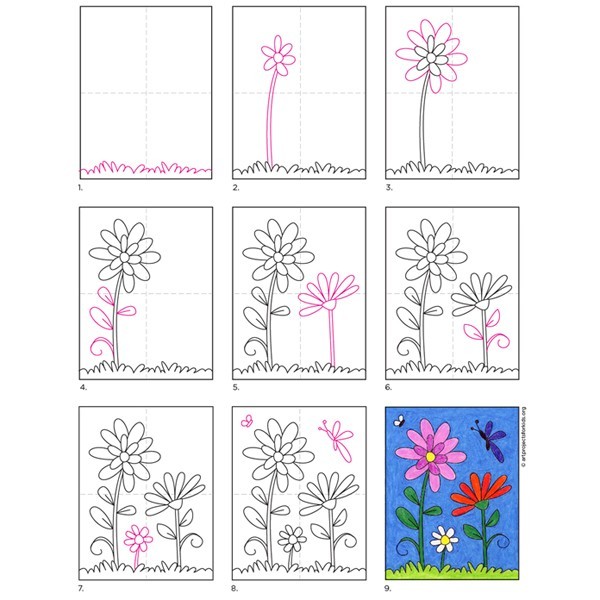
source @artprojectsforkids
Shading is an essential technique for making flowers appear more realistic and three-dimensional. Instead of drawing flat petals, focus on where the light naturally falls and where shadows are cast. Areas where petals overlap or fold should have darker shading, while the parts exposed to light should remain lighter. Try different shading techniques such as cross-hatching, stippling, or blending to add smooth depth to your drawings. Using a blending stump or tissue paper can help soften the pencil strokes, creating a seamless gradient effect. Experiment with different levels of pressure on your pencil to achieve subtle variations in shading that enhance the flower’s natural form.
8. Try Layering Petals for Realism
source @windblownideas
Real flowers have depth because their petals aren’t all positioned on the same plane. Instead of drawing petals flatly side by side, try overlapping them to create a more natural look. Start by sketching the petals in the foreground first, then add the ones that appear behind them. This technique gives the illusion of dimension and makes the flower look fuller and more lifelike. To enhance the realism even further, add slight shading to the areas where petals overlap to create a sense of depth.
9. Learn How to Draw Leaves and Stems Properly
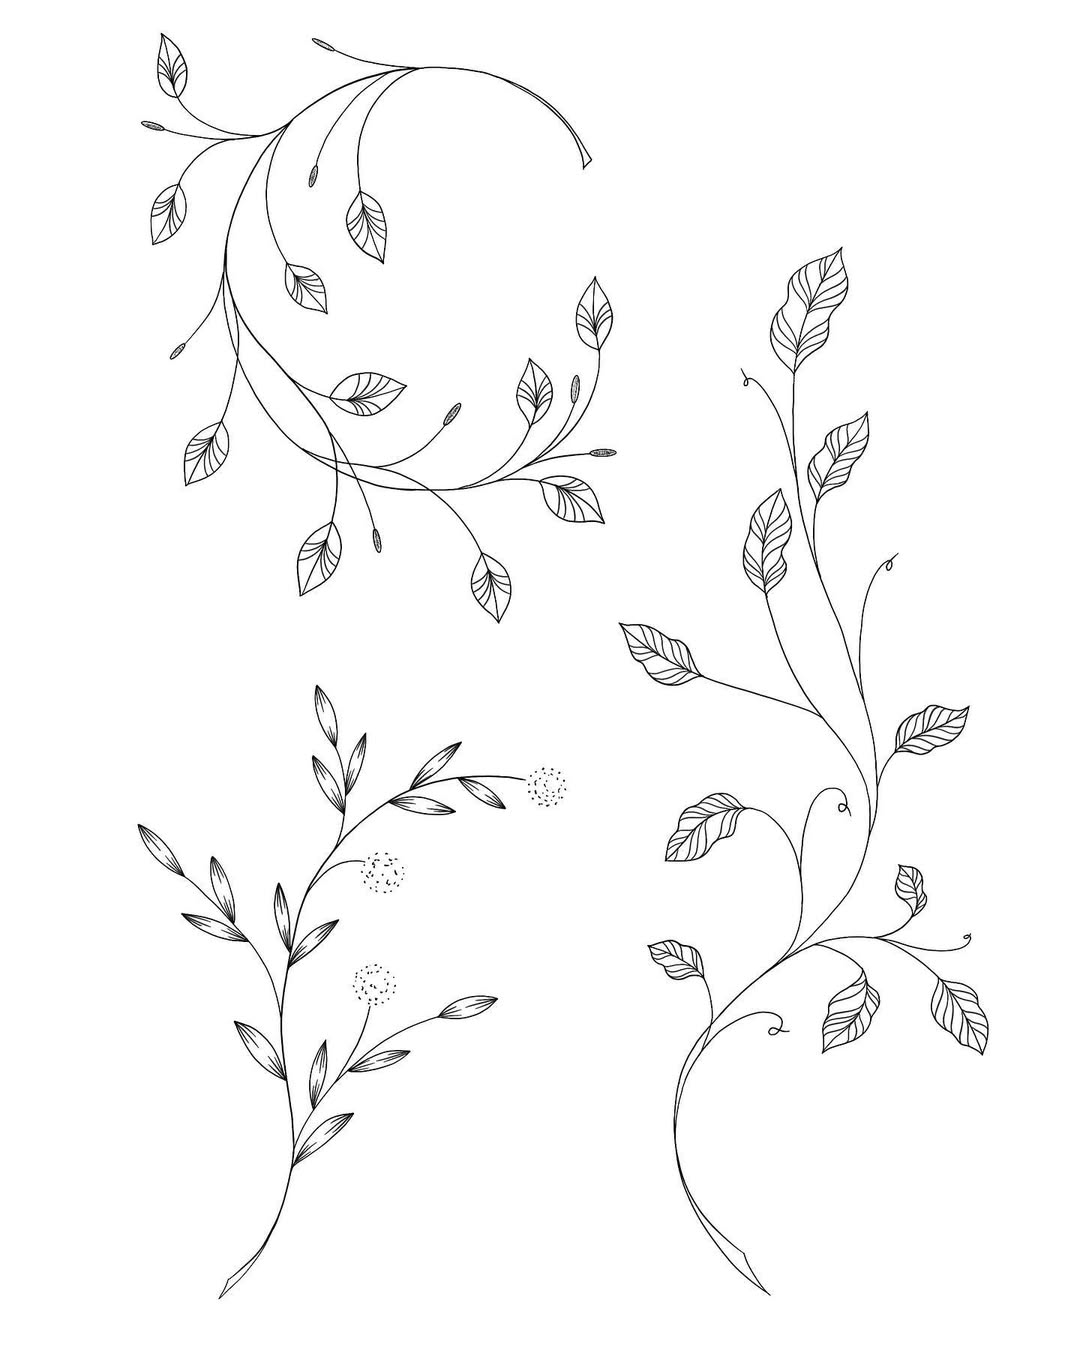
source @linebotanical
Leaves and stems are just as important as the flower itself when it comes to creating a balanced drawing. Many beginners focus on the petals but neglect the shape and texture of leaves, which can make the drawing look incomplete. Study different types of leaves—some are long and pointed, others are rounded or have jagged edges. Pay attention to vein patterns, as they add texture and realism. When drawing stems, avoid making them perfectly straight; adding slight curves and bends makes them look more natural.
10. Understand Light and Shadow
source @theunschooledproject
Understanding how light and shadow interact with a flower’s structure can take your drawing skills to the next level. Light typically comes from one direction, casting shadows on the opposite side. Identify where your light source is coming from and use it as a guide to add highlights and shading. The areas of the flower closest to the light should be the brightest, while the parts further away should be gradually darker. This contrast adds a three-dimensional effect to your drawing.
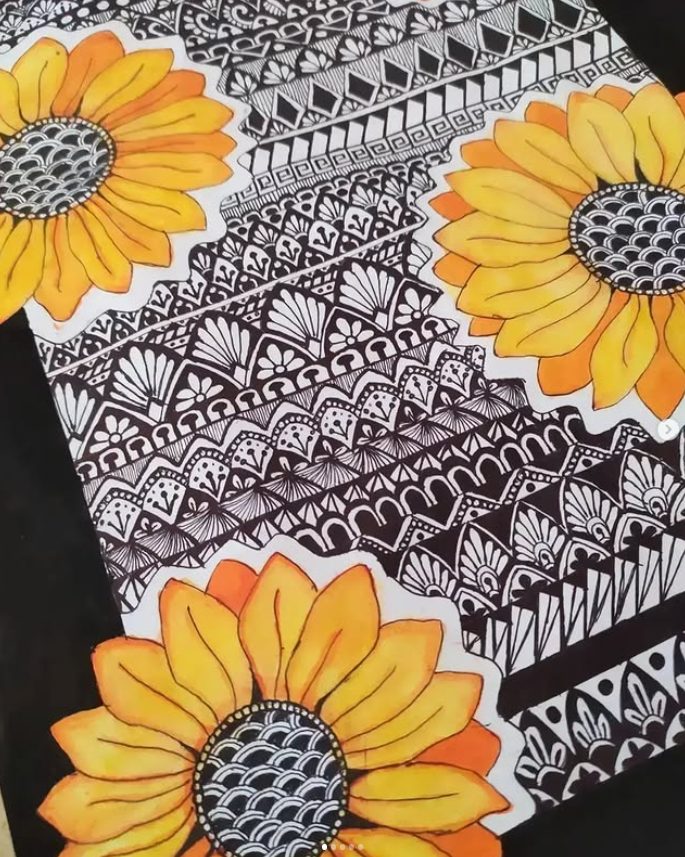
11. Use Different Stroke Techniques
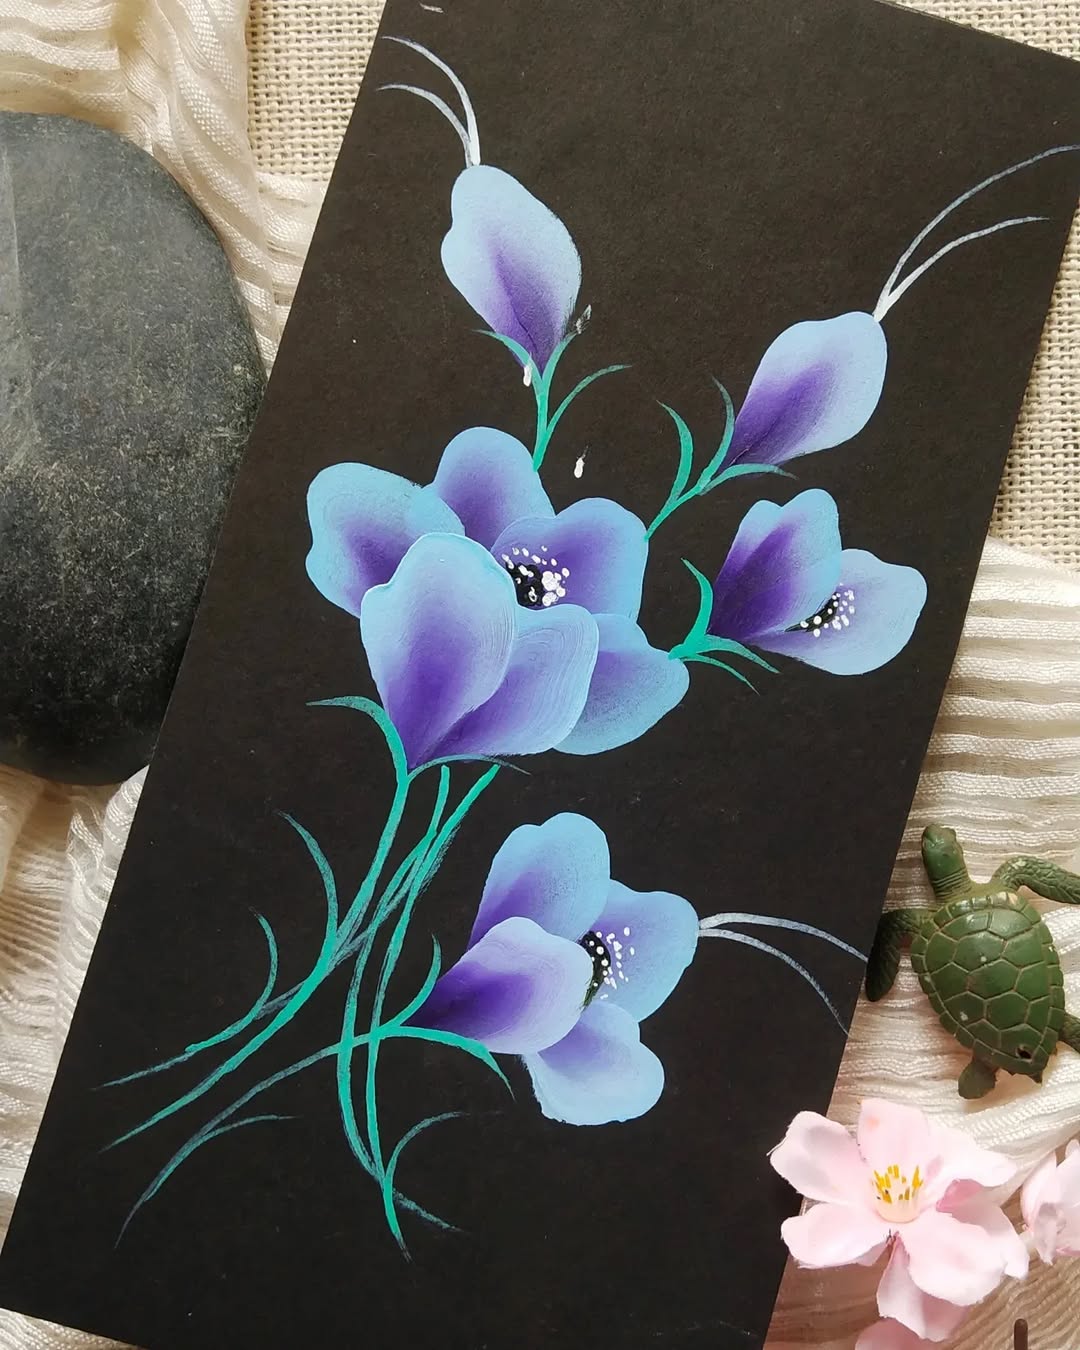
source @onestroke_nirusworld
Not all flower petals are smooth—some have unique textures and patterns. Varying your stroke technique can help replicate these textures. For soft, velvety petals, use gentle, curved strokes. For textured petals, like those of a sunflower, try short, sharp strokes. Experimenting with different stroke methods will give your flowers a more dynamic and natural appearance. The key is to observe real flowers and mimic their textures with your pencil or pen.
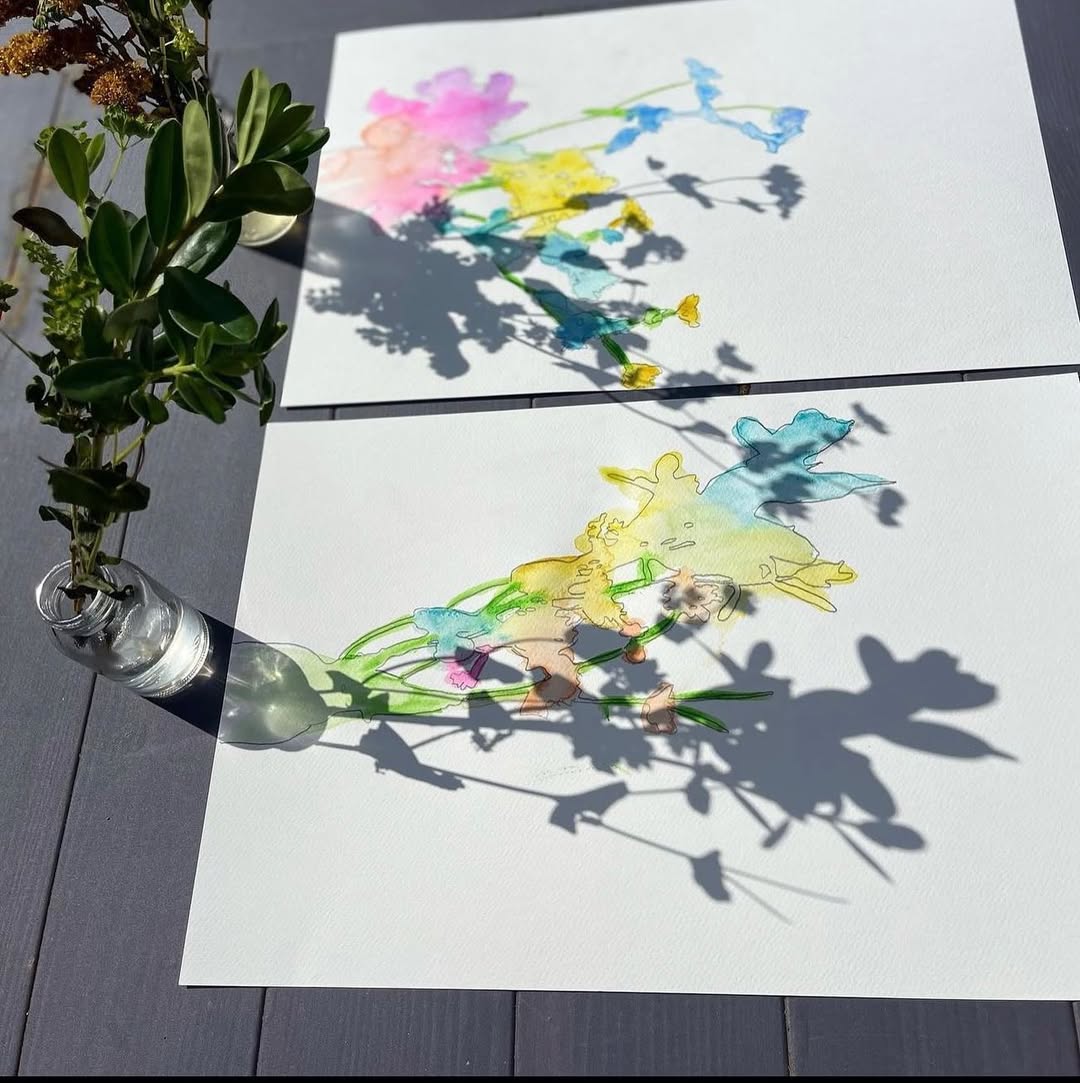
12. Explore Watercolor Pencils for Soft Effects
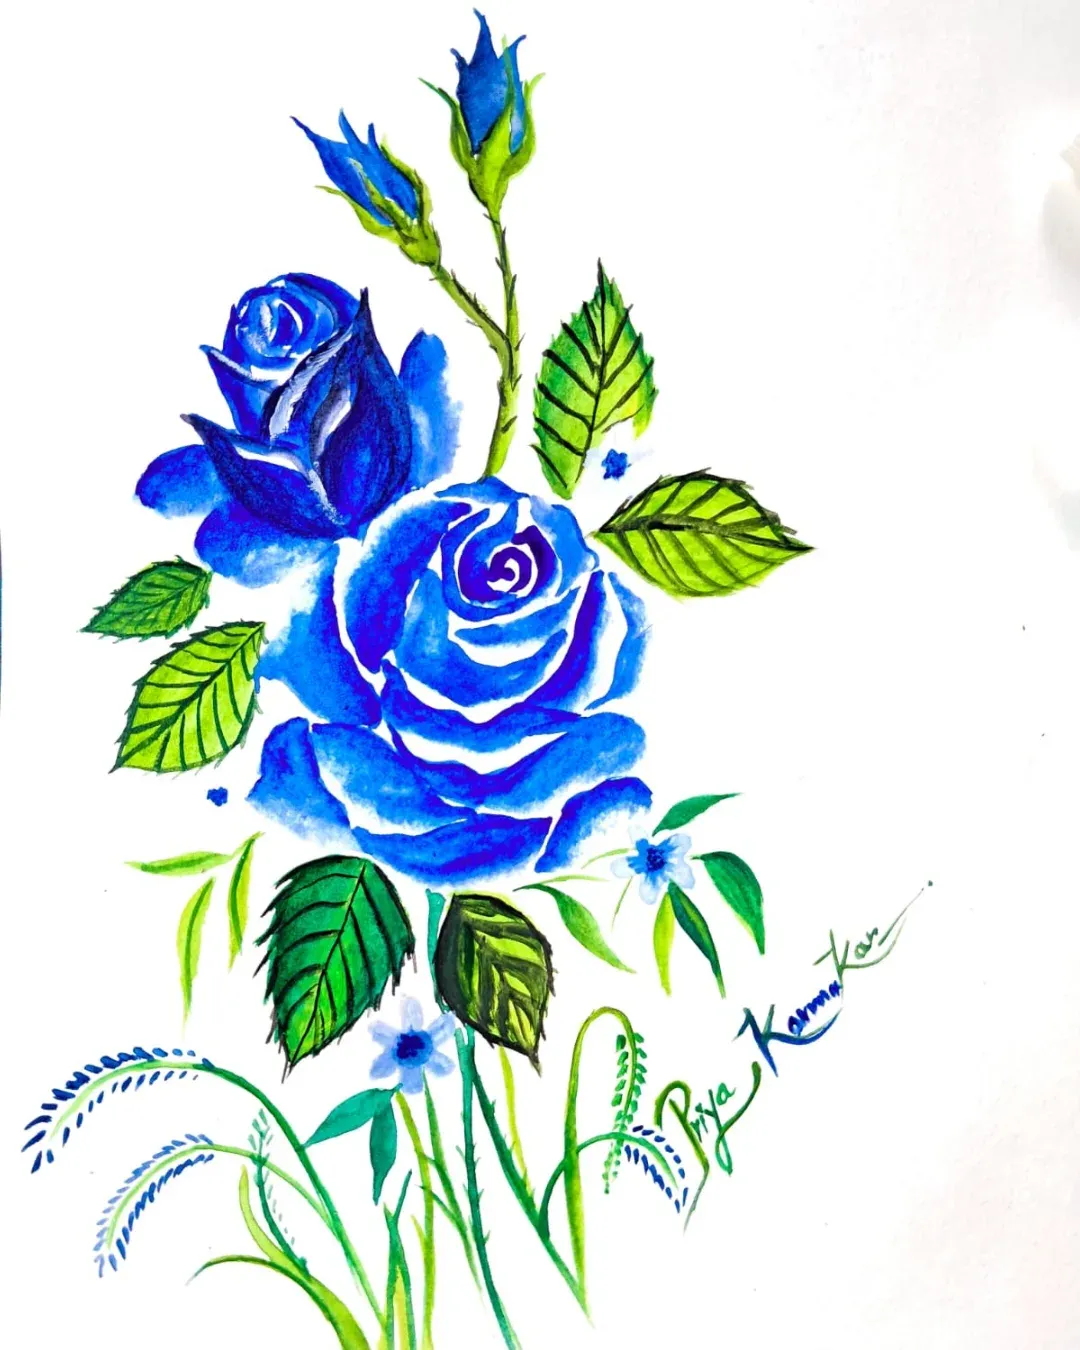
source @karmakar2254
If you want to add color without overpowering your sketch, watercolor pencils are a fantastic option. These pencils allow you to apply color dry, and then with a bit of water, the pigment blends beautifully into a soft, watercolor effect. This is especially great for delicate flowers like cherry blossoms or peonies, where a gentle wash of color can bring them to life. Unlike traditional watercolors, watercolor pencils give you more control over your shading and blending.
13. Create a Composition Before Drawing
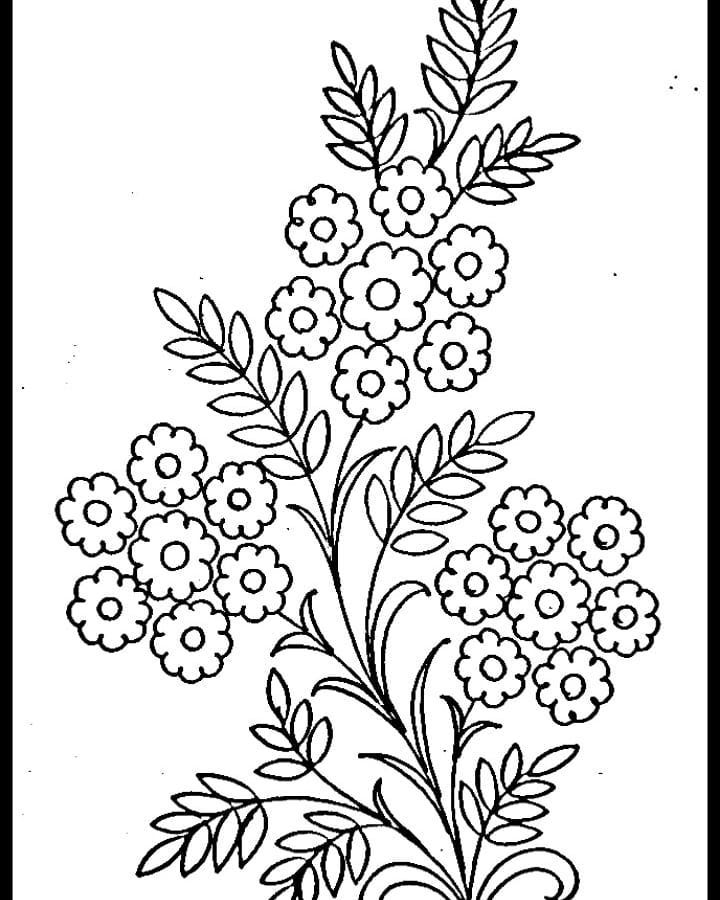
source @drawonlinepage
A well-planned composition makes a flower drawing more visually appealing. Instead of randomly placing flowers on the page, think about the arrangement first. Do you want a single flower as the focus, or a bouquet? Will there be surrounding leaves and vines? Consider sketching a rough outline of your composition before adding details. This step helps you avoid clutter and ensures that your design flows harmoniously.
14. Play with Different Paper Textures
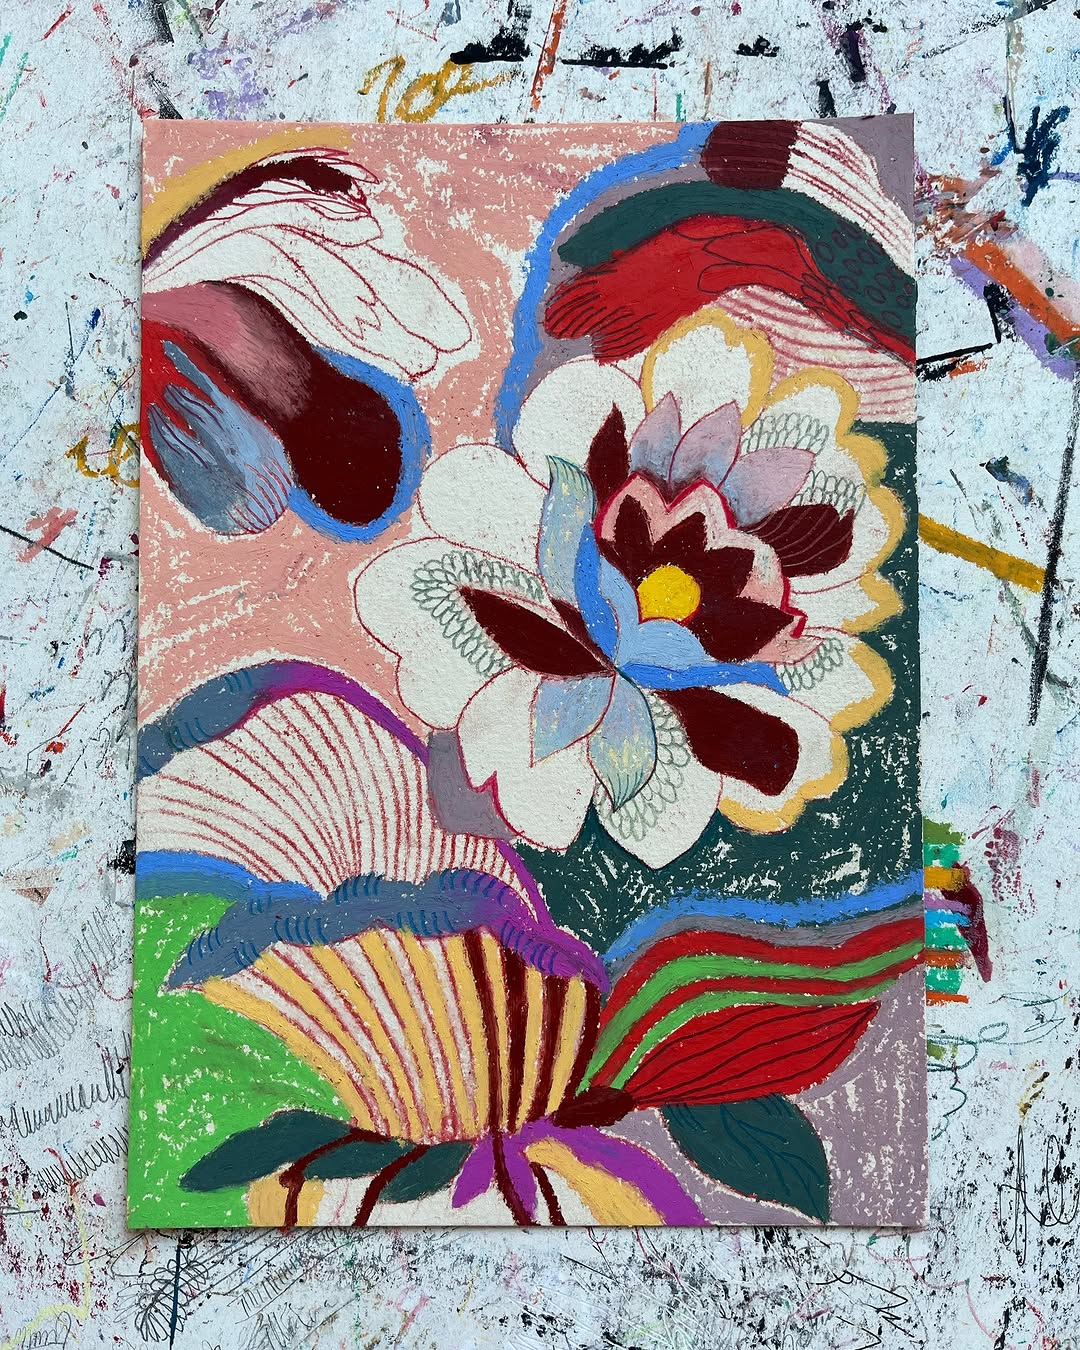
source @natasa_kekanovic_art
Not all paper is the same, and the type of paper you use can greatly impact the outcome of your drawing. Smooth paper is ideal for fine details, while textured paper adds an artistic feel to the drawing, making it look more painterly. If you enjoy blending with pencils or using watercolors, opt for high-quality sketch paper that can handle different mediums without tearing or warping.
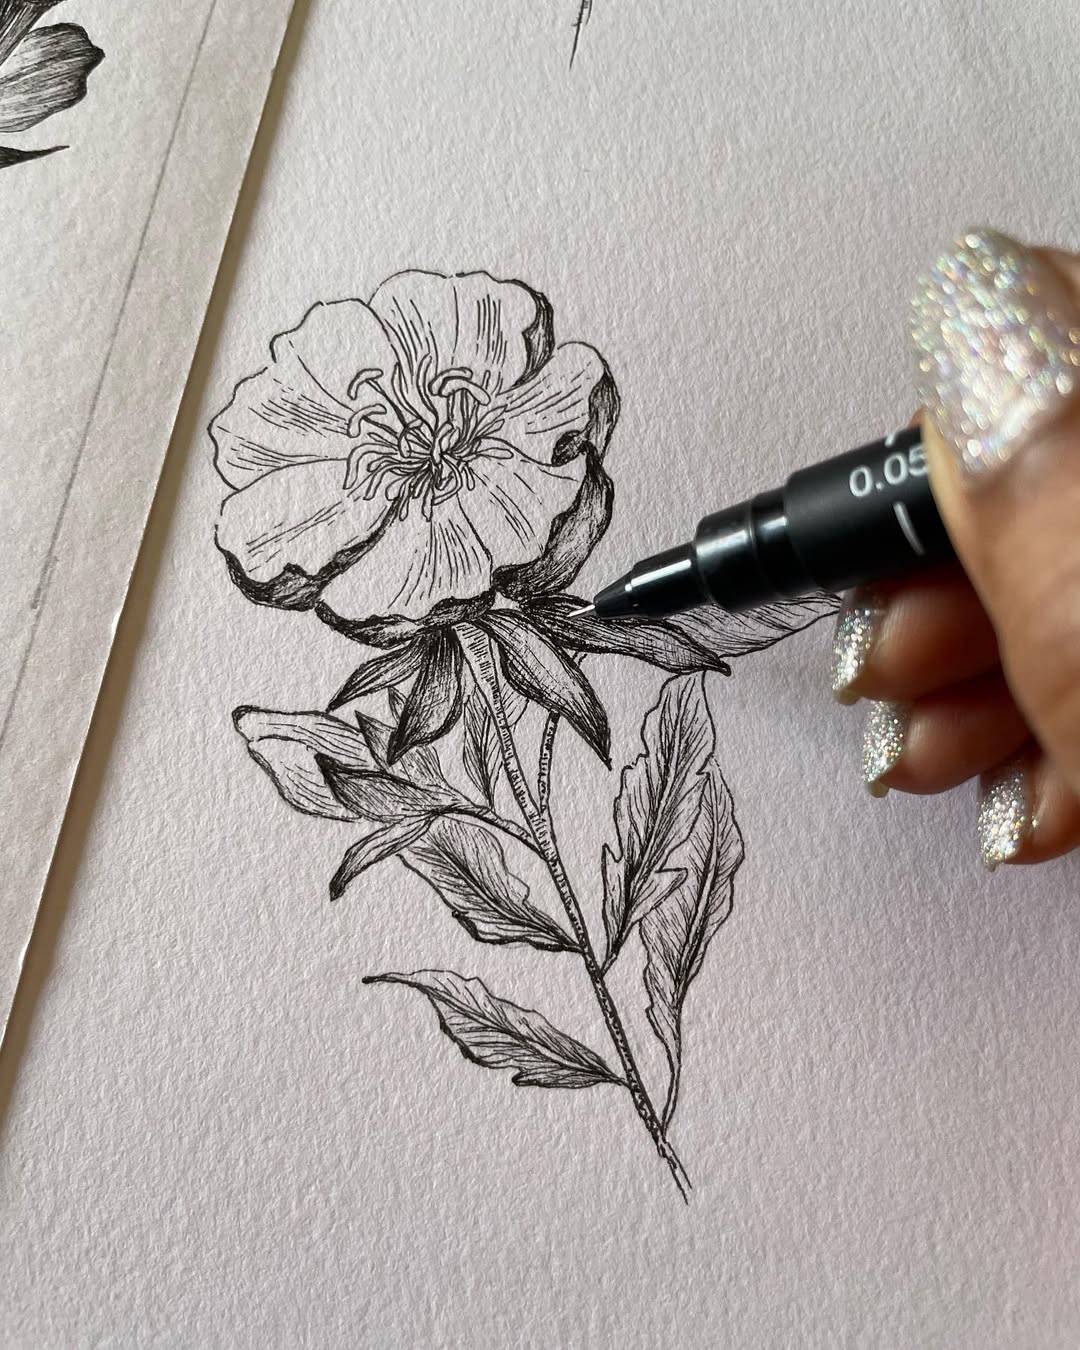
15. Use a Fine Liner for Outlines
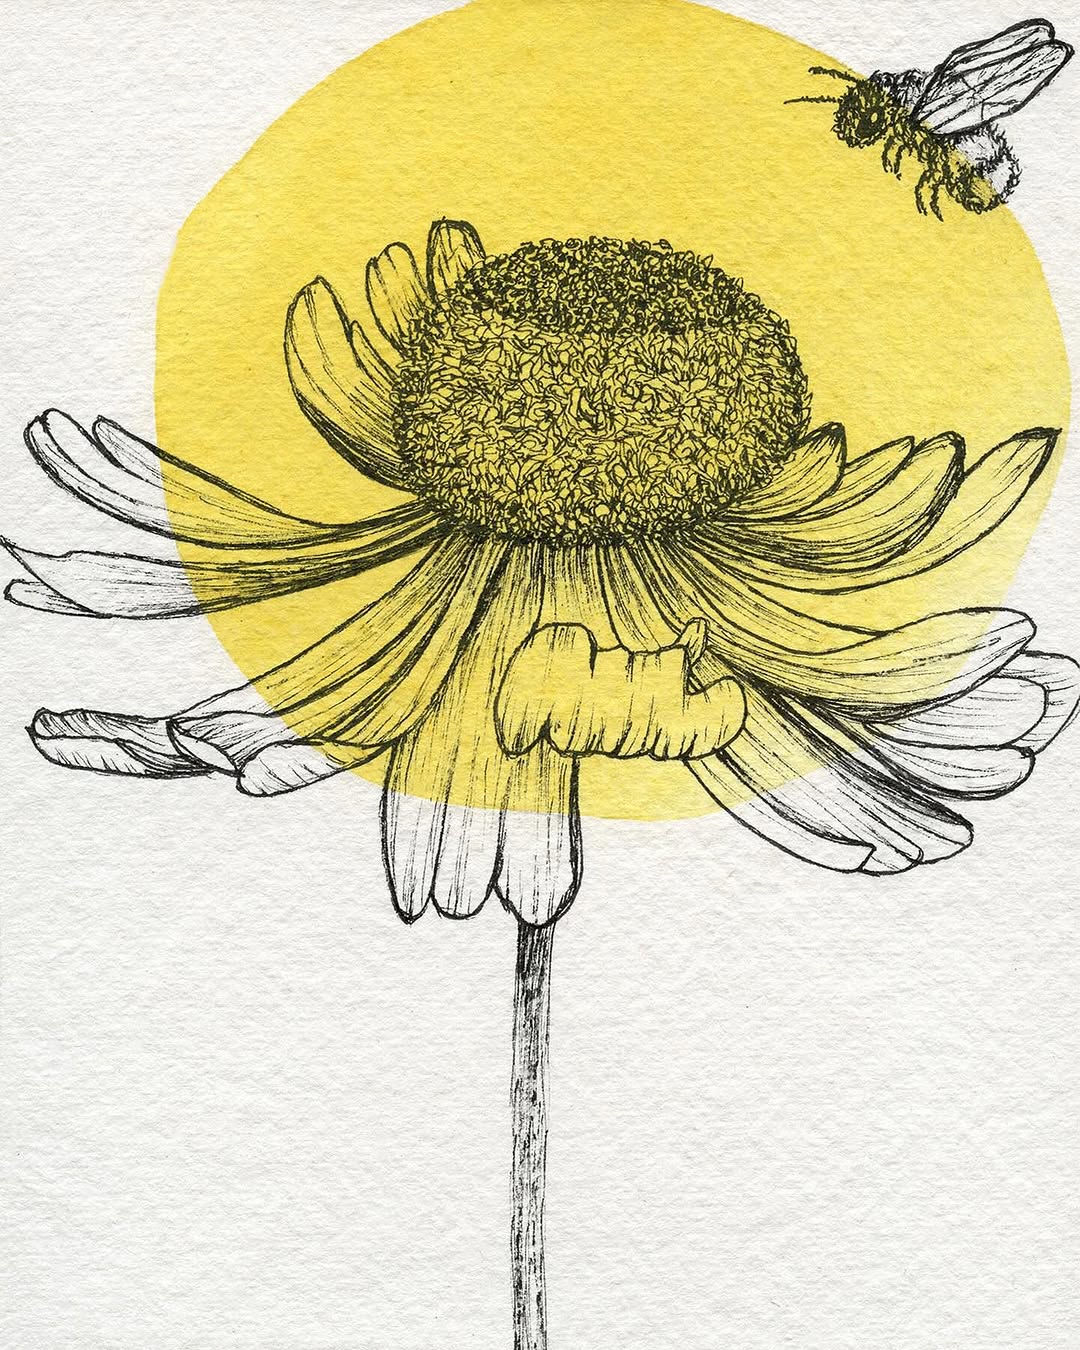
source @jradartdesign
For those who enjoy a crisp and defined flower sketch, fine liner pens can be a game changer. They create clean, precise outlines that give your flowers a more polished appearance. Use a fine liner to trace over your pencil sketches, then erase the pencil marks for a refined final piece. Fine liners are also excellent for botanical illustrations, as they enhance details like petal veins and leaf edges.
16. Study Botanical Illustrations
source @artbymaddy_02
One of the best ways to improve your flower drawing skills is by studying botanical illustrations. These highly detailed and accurate drawings showcase the true structure of flowers, making them excellent references for learning how to capture realistic details. By analyzing botanical art, you can learn how to accurately depict petal curvature, leaf textures, and even floral anatomy. Try replicating a few botanical illustrations to practice precision and proportion.
17. Keep Your Hand Steady for Delicate Details
source @linebotanical
Fine details, such as petal veins or tiny stamen, require a steady hand. If your hand is shaky, your lines might look uneven or wobbly. To improve steadiness, practice slow, controlled strokes rather than rushing through the details. Holding your pencil closer to the tip can also give you more control. If you’re using an ink pen, consider sketching lightly with a pencil first before outlining with ink.
18. Experiment with Negative Space
source @clairemiddletonart
Negative space is the empty area surrounding your flower drawing, and using it strategically can make your artwork more striking. Instead of filling the entire page with flowers, consider leaving some white space to create contrast. This technique draws more attention to the main subject and adds a sophisticated artistic touch. You can also experiment with lightly shading the background to make your flowers stand out even more.
19. Sketch Daily to Improve
source @flowersbysi
Like any skill, flower drawing improves with consistent practice. Even just a few minutes of daily sketching can make a noticeable difference in your ability to capture floral details. Keep a small sketchbook dedicated to flowers and challenge yourself to draw a different type of flower each day. Over time, you’ll build confidence and refine your artistic style.
20. Try Digital Flower Sketching
source @drawonlinepage
If you enjoy traditional drawing but want to explore new techniques, digital flower sketching can be a great next step. Using a drawing tablet and stylus allows you to experiment with colors, textures, and layers without worrying about erasing mistakes. Digital tools also offer brushes that mimic real-life pencil and ink strokes, making it easier to transition from paper to screen.
21. Have Fun and Develop Your Own Style
source @linebotanical
At the end of the day, the most important secret to beautiful flower drawings is to have fun and let your creativity flow. Don’t stress about making your flowers look “perfect.” Instead, embrace the imperfections that make your artwork unique. Experiment with different styles—whether it’s realistic, minimalistic, or whimsical—and develop a drawing approach that feels natural to you. Your artistic journey should be enjoyable and fulfilling, so trust the process and keep exploring new ideas!